Appendix D
255
Computer Virus Check
Computer Virus Check
D.
Comp
uter
V
iru
s Ch
eck
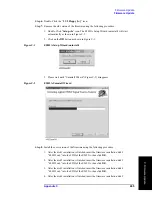
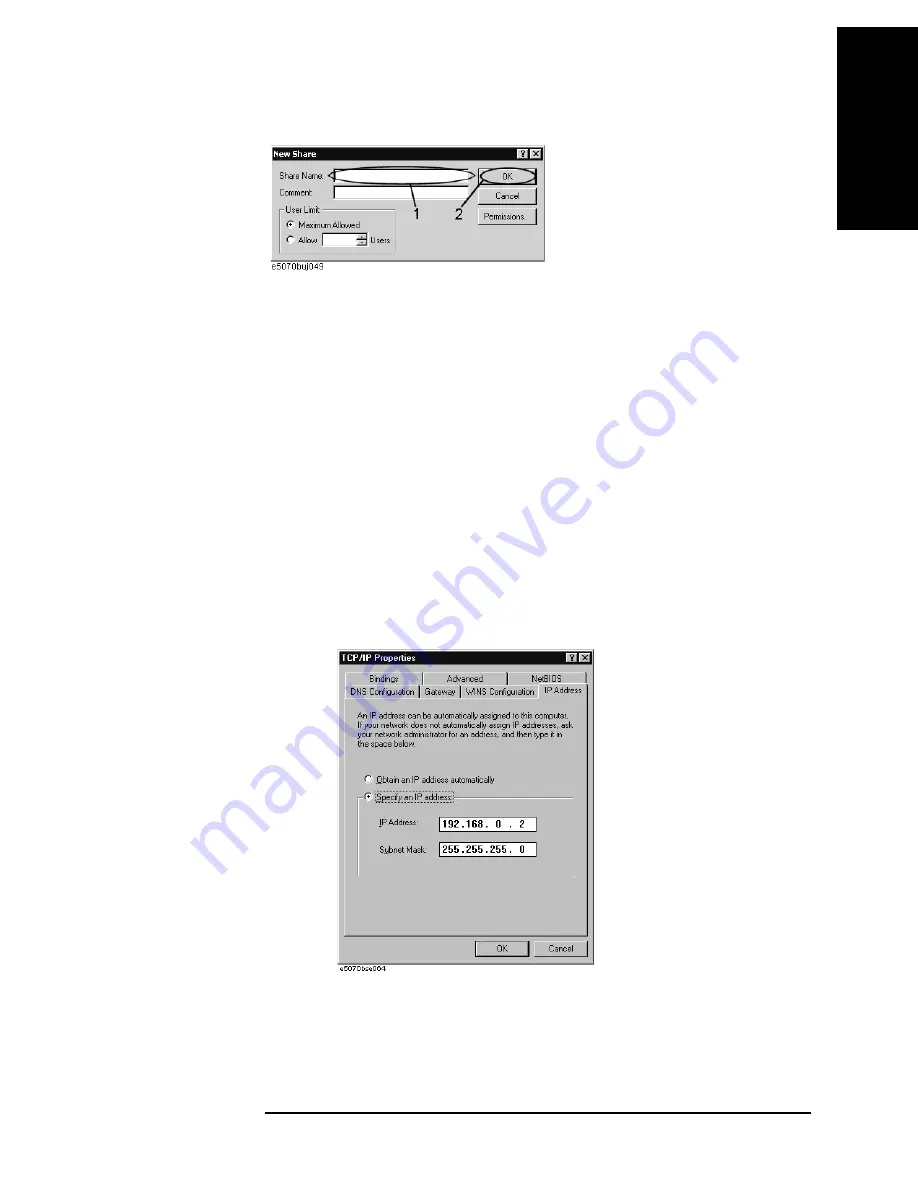
Figure D-9
New Share dialog box
6. In the (C:) or USERS(F:) Properties dialog box, click the
OK
button (2 in Figure D-8).
Step 4.
Set up the external PC’s IP address and subnet mask.
1. Double-click “
My Computer
” icon on Windows desktop of the external PC. And
double-click
Control Panel
. The Control Panel window will appear.
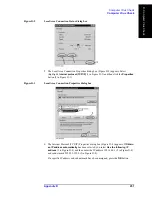
2. In the Control Panel window, double-click
Network
. The Network dialog box shown in
fig will appear. In the
Configuration
tab, select
TCP/IP
(display it in revers video) and
press the
Properties
button.
3. The dialog box appears. If
Specify an IP address
has been selected, record the IP
address and sbnet mask.
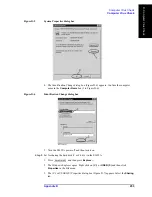
4. If the
Obtain an IP address automatically
has been selected, select the
Speccify an IP
address
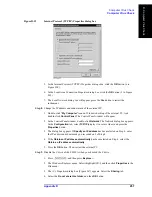
. Enter the IP address xxx.xxx.xxx.y and subnet mask xxx.xxx.xxx.xxx as
shown in Figure D-10. The letters x represent the IP address and subnet mask of the
E5052A. The letter y is different from the IP address of the E5052A. Press the
OK
button. Then, restart the external PC.
Figure D-10
Network Dialog Box (“IP Address” Tab)
Step 5.
Connect the drive of E5052A to the PC, and check the drive using anti-virus software.
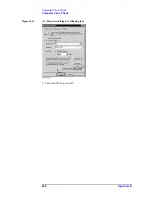
1. Click
Programs -Window Explorer
on the Start Menu to start up the PC’s Explorer.
Click
Tools
-
Map Network Drive
on the menu of the Explorer.
Summary of Contents for E5052A
Page 13: ...Contents 13 M 271 N 271 O 271 P 271 R 272 S 273 T 273 U 273 ...
Page 14: ...14 Contents ...
Page 22: ...22 Chapter1 General Information Required Equipment ...
Page 46: ...46 Chapter2 Performance Tests Individual Test Description Step 17 Turn off the power of AMP2 ...
Page 82: ...82 Chapter3 Adjustment Required Adjustment after Replacing Assembly ...
Page 218: ...216 Chapter6 Replacement Procedure A51 LCD Replacement Figure 6 27 A51 LCD Removal ...
Page 222: ...220 Chapter6 Replacement Procedure BNC Connector front Replacement ...
Page 244: ...242 AppendixB System Recovery Calibration of the Touch Screen ...
Page 250: ...248 AppendixC Firmware Update Firmware Update ...
Page 261: ...259 E Power Requirement E Power Requirement ...


