166
Chapter 6
Replacement Procedure
Outer Cover Removal
Outer Cover Removal
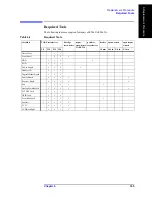
Tools Required
•
TORX screwdriver, T15 and T20
Procedure
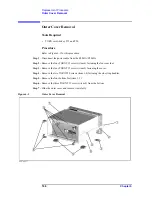
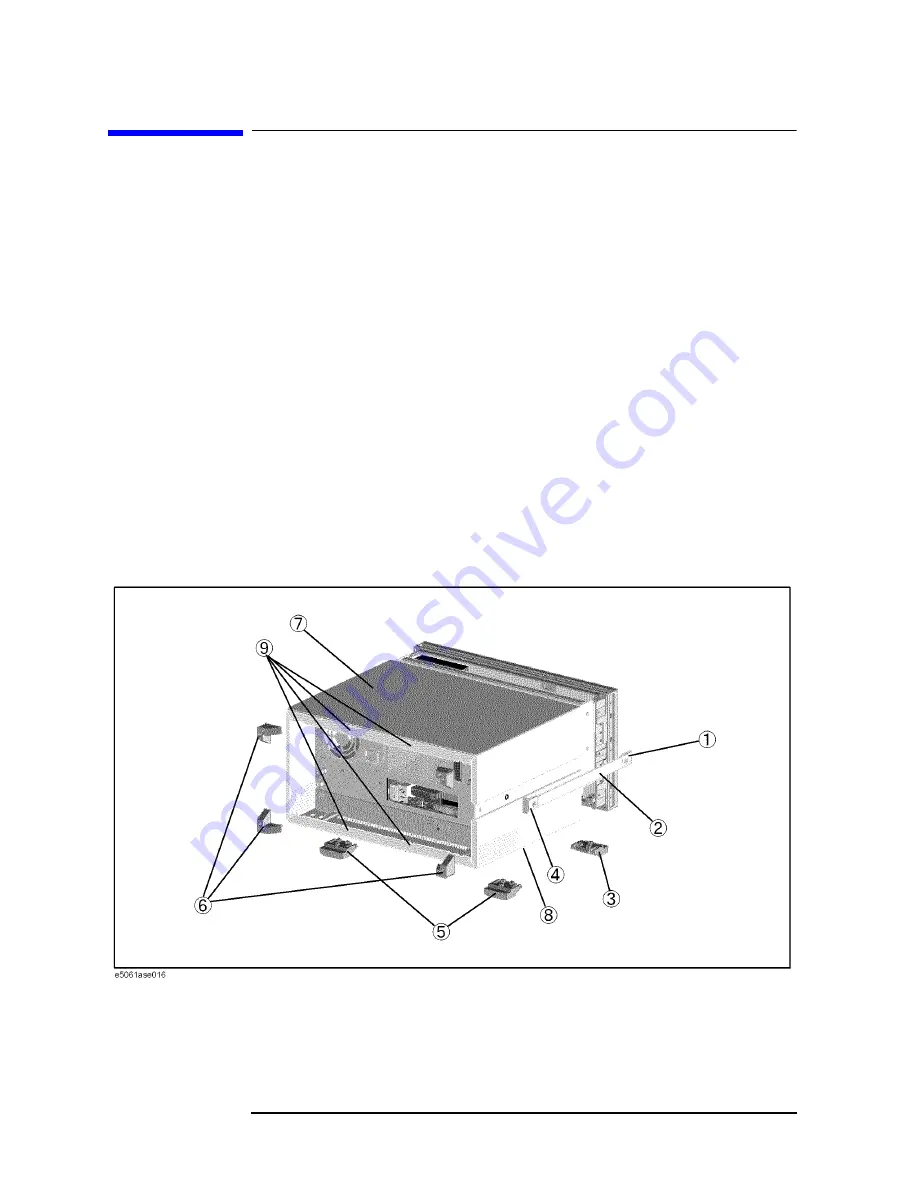
Refer to Figure 6-1 for this procedure.
Step 1.
Disconnect the power cable from the E5061A/E5062A.
Step 2.
Remove the four TORX T15 screws (item 6) fastening the four rear foot
Step 3.
Remove the four TORX T15 screws (item 9) fastening the cover.
Step 4.
Remove the two TORX T20 screws (item 1,4) fastening the side strap handles.
Step 5.
Remove the four bottom feet (item 3, 5).
Step 6.
Remove the three TORX T15 screws (item 8) from the bottom.
Step 7.
Slide the outer cover and remove it carefully.
Figure 6-1
Outer Cover Removal
Summary of Contents for E5061A
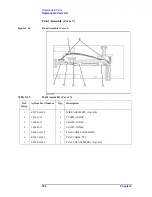
Page 142: ...142 Chapter5 Replaceable Parts Replaceable Parts List Front Panel Figure 5 9 Front Panel ...
Page 168: ...168 Chapter6 Replacement Procedure Front Panel Removal Figure 6 2 Front Panel Removal ...
Page 192: ...192 Chapter6 Replacement Procedure A51 LCD Display Replacement Figure 6 16 A51 LCD Removal ...
Page 194: ...194 Chapter6 Replacement Procedure LCD Backlight Replacement ...
Page 198: ...198 Chapter7 Post Repair Procedures Post Repair Procedures ...
Page 202: ...202 AppendixA Manual Changes Manual Changes ...
Page 218: ...218 AppendixB System Recovery Calibration of the Touch Screen ...
Page 233: ...233 E Power Requirement E Power Requirement ...


