34
Chapter 2
Installation
Starting the E5070A/E5071A
Step 2.
Turn the rotary knob (
)on the front panel to point the focus to the
Date & Time
tab and
press the
[
®
]
key to move the focus to the
Time Zone
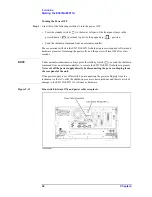
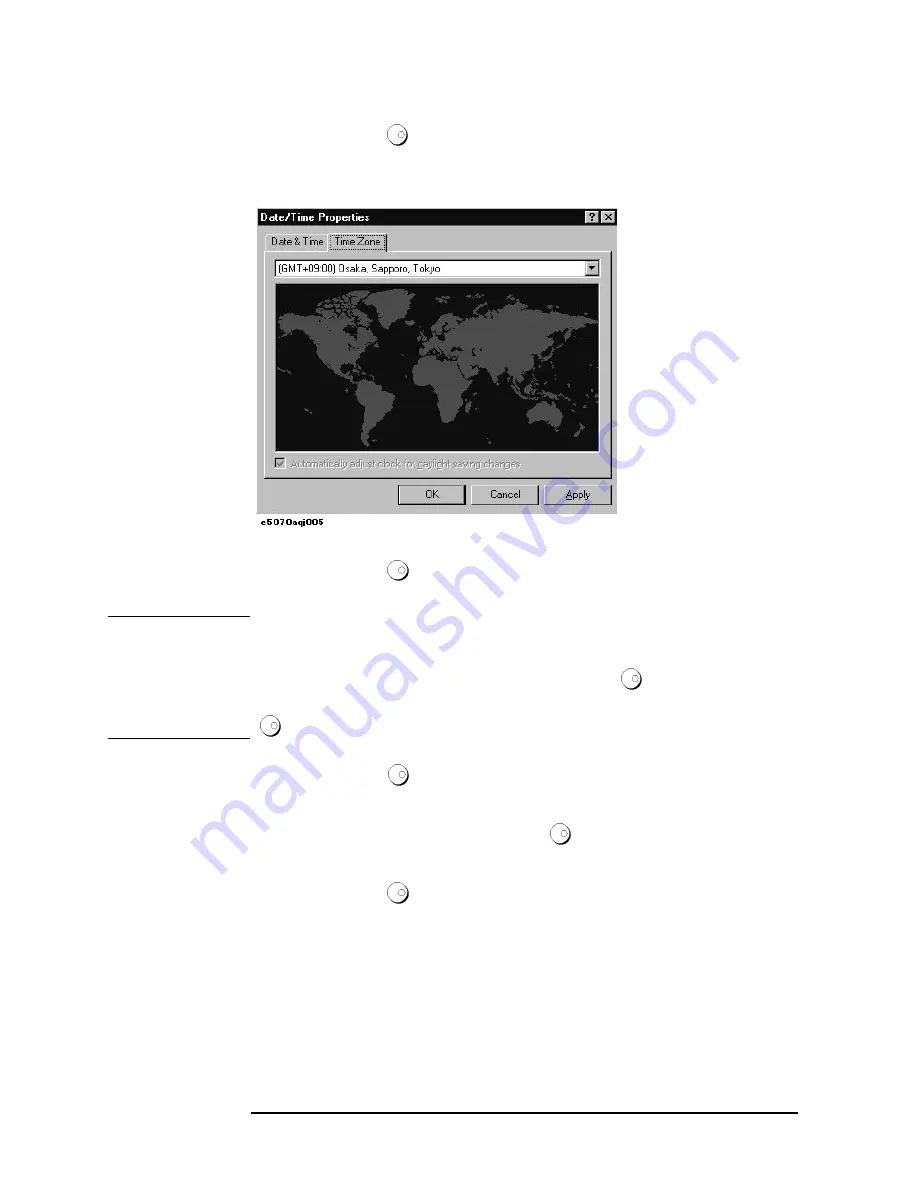
Figure 2-13
Date/Time Properties Dialog Box ("Time Zone" Tab)
Step 3.
Turn the rotary knob (
) on the front panel to point the focus to the
Time Zone
box and
press the
[
¬
]
/
[
®
]
or
[
¯
]
/
[
]
key to select the time zone.
NOTE
When you select the time zone for summer time, the
Automatically adjust clock for
daylight saving changes
box becomes selectable. To set the function of automatically
making summertime adjustment to ON, turn the rotary knob (
) to point the focus to the
Automatically adjust clock for daylight saving changes
box and press the rotary knob
(
) to display the
Ö
mark (Figure 2-13).
Step 4.
Turn the rotary knob (
) on the front panel to point the focus to the
Time Zone
tab and
press the
[
¬
]
key to move the focus to the
Date & Time
tab.
Step 5.
By referring to Figure 2-12, turn the rotary knob (
) on the front panel to point the focus
to the desired item. Press the
[
¬
]
/
[
®
]
or
[
¯
]
/
[
]
key to set each item.
Step 6.
Turn the rotary knob (
) on the front panel to point the focus to the
OK
button and then
press
[Enter]
key.
Summary of Contents for E5070A ENA Series
Page 12: ...12 Chapter1 Introduction of This Manual Overview of the E5070A E5071A ...
Page 30: ...30 Chapter2 Installation Power Supply and Blown Fuses Figure 2 10 Power cable options ...
Page 56: ...56 Chapter3 Quick Start Guide Measurement Example of a Bandpass Filter ...
Page 61: ...Index 61 Index U USB port front panel 41 User s Guide 6 V VBA Programmer s Guide 6 ...
Page 62: ......

