Chapter 3
137
Troubleshooting
To Troubleshoot the E5092A
3. T
ro
uble
s
hoo
tin
g
To Troubleshoot the E5092A
This section describes typical troubleshooting procedure when servicing the E5092A. The
information in this chapter helps you to identify the portion of the E5092A that is at fault.
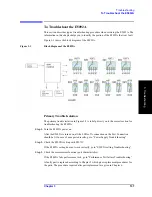
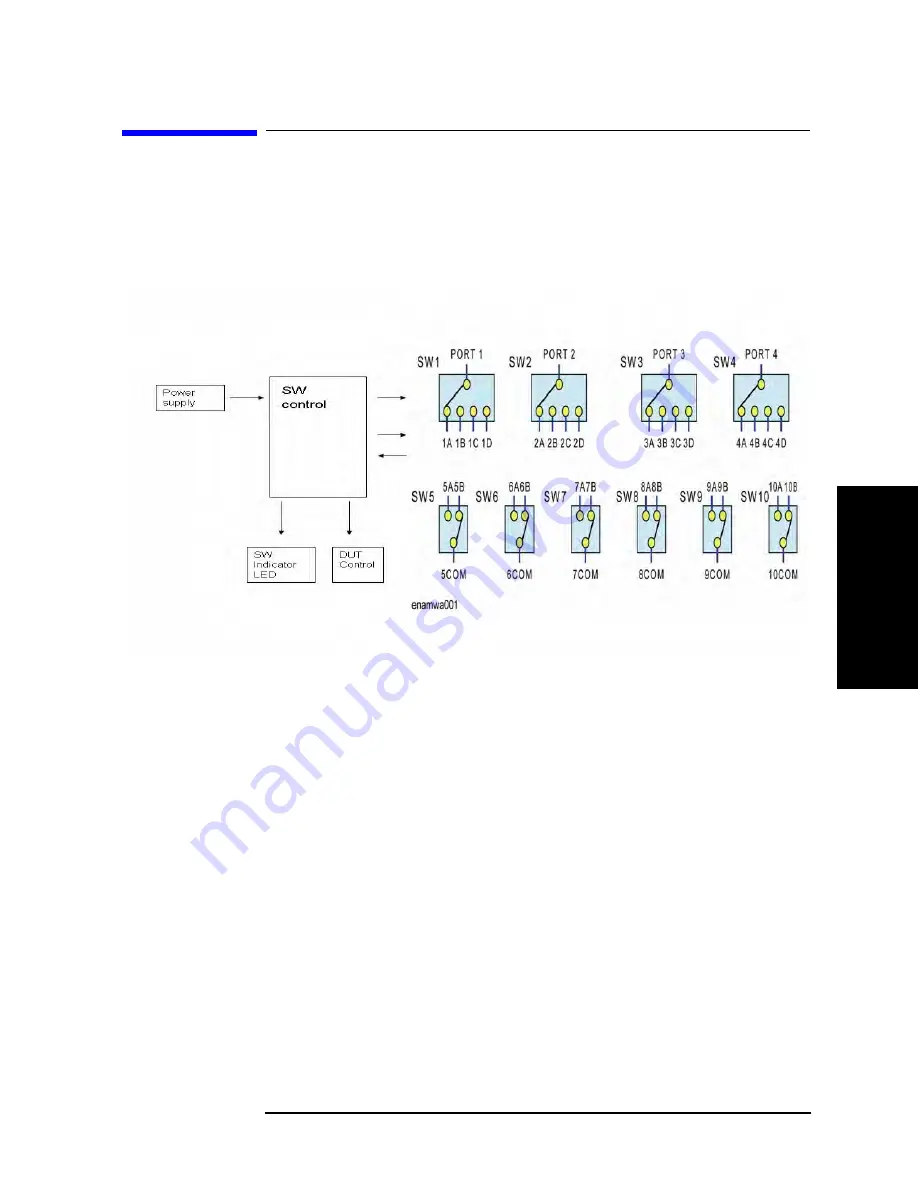
Figure 3-1 shows the block diagram of the E5092A.
Figure 3-1
Block diagram of the E5092A
Primary Trouble Isolation
The primary trouble isolation in Figure 3-2 is to help direct you to the correct section for
troubleshooting the E5092A.
Step 1.
Turn the E5092A power on
After the E5092A is turned on, all the LEDs of A connection on the Port Connection
should be lit. In case of unexpected results, go to “Power Supply Troubleshooting” .
Step 2.
Check the E5092A setting with E5071C
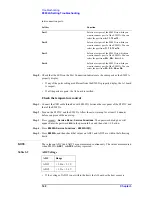
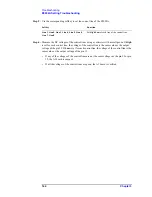
If the E5092A setting does not work correctly, go to “E5092A setting Troubleshooting”
Step 3.
Check the measurement function (port characteristics)
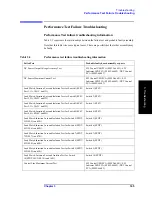
If the E5092A fails performance tests, go to “Performance Test failure Troubleshooting”.
A faulty part is replaced according to Chapter 5 which gives replacement procedures for
the parts. The procedure required after part replacement are given in Chapter 6.
Summary of Contents for E5092A
Page 10: ...4 ...
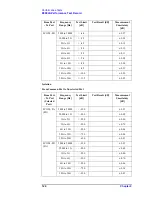
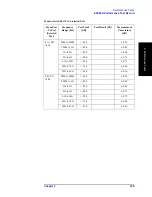
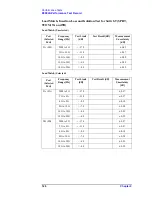
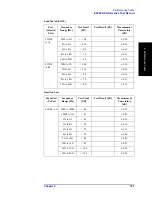
Page 140: ...134 Chapter2 Performance Tests E5092A Performance Test Record ...
Page 152: ...146 Chapter3 Troubleshooting Performance Test Failure Troubleshooting ...
Page 180: ...174 Chapter4 Replaceable Parts Replaceable Parts List for E5092A 020 ...
Page 205: ...199 B Power Requirement A Power Requirement ...


