Chapter 3
141
Troubleshooting
E5092A Setting Troubleshooting
3. T
ro
uble
s
hoo
tin
g
E5092A Setting Troubleshooting
Check the E5092A Setting
Step 1.
Connect the USB cable furnished with E5092A between the rear panel of the E5071C and
that of the E5092A.
Step 2.
Turn on the E5071C and the E5092A.
Step 3.
Immediately, after power-on, LEDs of port A for all port connection of the E5092A go on.
NOTE
If the E5071C is not powered on or if the E5071C and the E5092A are not connected with
the USB cable, LEDs of port A for all port connection of the E5092A stay off
Step 4.
Press
-
Multiport Test Set Setup
-
Test Set 1
to display the Test Set 1 menu.
Step 5.
Press
Control
to enable (
ON
) the control of the E5092A.
NOTE
The enable (
ON
)/disable (
OFF
) setting of the control function of the E5092A is executed
for all channels.
Step 6.
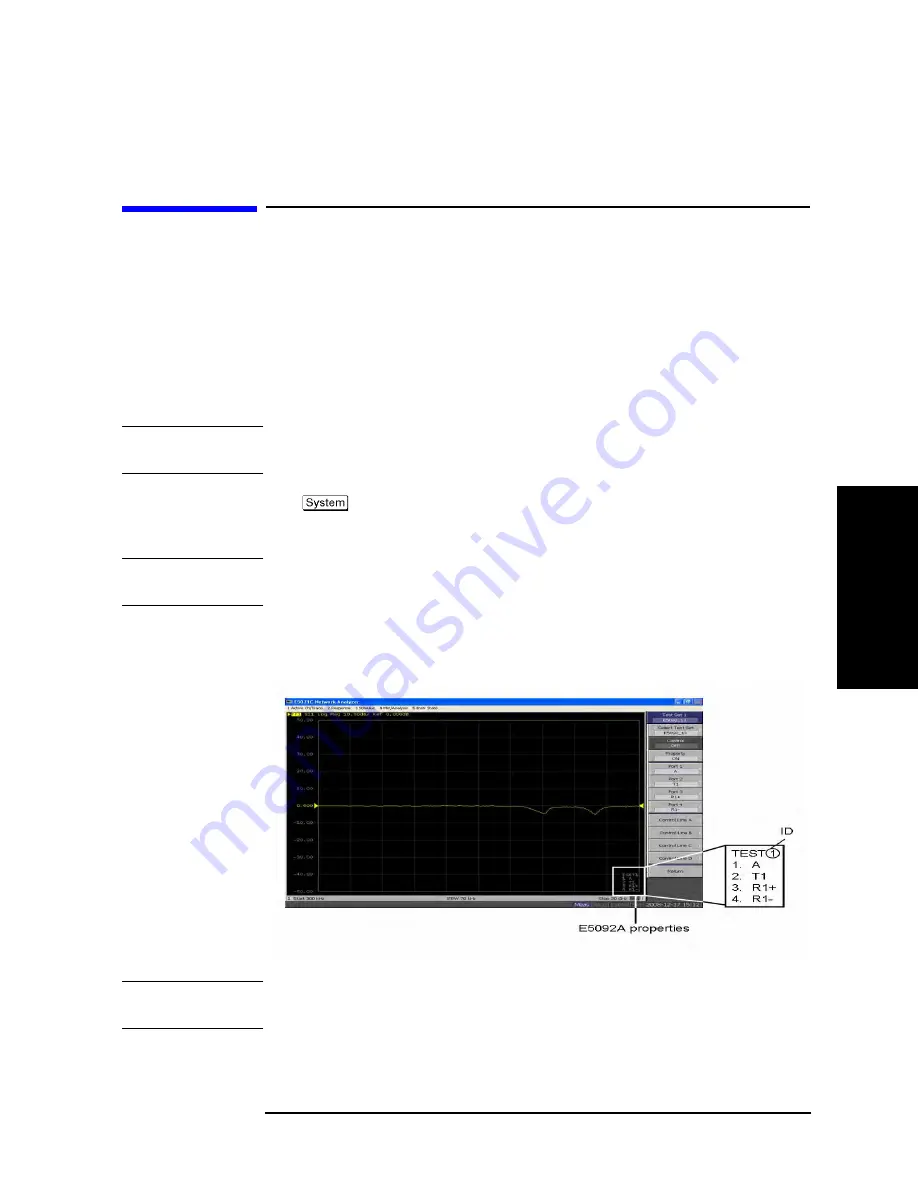
Press
Property
to enable (
ON
) the control of the E5092A as shown in Figure 3-4.
Figure 3-4
E5092A property
NOTE
The enable (
ON
)/disable (
OFF
) setting of theE5092A property display is executed for all
channels.
Step 7.
Use the corresponding softkey to assign between the test ports of the E5092A and the
Summary of Contents for E5092A
Page 10: ...4 ...
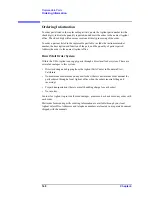
Page 140: ...134 Chapter2 Performance Tests E5092A Performance Test Record ...
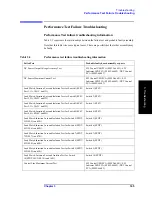
Page 152: ...146 Chapter3 Troubleshooting Performance Test Failure Troubleshooting ...
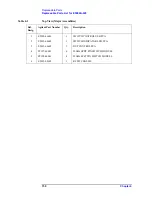
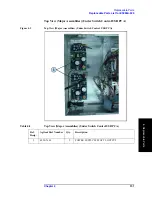
Page 180: ...174 Chapter4 Replaceable Parts Replaceable Parts List for E5092A 020 ...
Page 205: ...199 B Power Requirement A Power Requirement ...

