24
E5505A Installation Guide
3
System Interconnections
Making Connections
Use the information in this section to connect your system hardware.
1
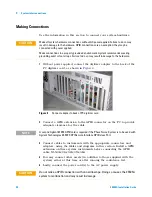
Without
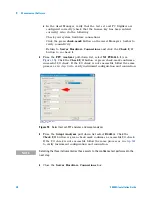
power applied, connect the digitizer adapter to the back of the
PC digitizer card, as shown in
2
Connect a GPIB extension to the GPIB connector on the PC to provide
adequate clearance for the cable.
3
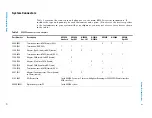
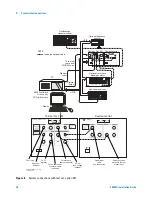
Connect cables to instruments with the appropriate connectors and
adapters, using the tables and diagrams in this section. Install a GPIB
extension on these system instruments before connecting the GPIB
cable: N5500A/01A/02A/07A/08A.
4
You may connect other assets (in addition to those supplied with the
system) either at this time or after running the confidence test.
5
Lastly, connect the power cord(s) to the AC power supply.
C A U T I O N
Make all system hardware connections without AC power applied. Failure to do so may
result in damage to the hardware. GPIB connections are an exception; they may be
connected with power applied.
Make connections in a properly grounded environment. Agilent recommends wearing
grounding wrist or foot straps. Failure to do so may result in damage to the hardware.
Figure 4
Connect adapter to back of PC digitizer card
Digitizer
N O T E
A second Agilent 82350 GPIB card is required if the Phase Noise System is to be used with
Agilent Technologies E5500 SCPI Remote Interface GPIB slave Port.
C A U T I O N
Do not
make a GPIB connection with an oscilloscope. Doing so causes the E5505A
system to malfunction and may result in damage.
Summary of Contents for E5505A
Page 18: ...18 E5505A Installation Guide 1 General Information ...
Page 22: ...22 E5505A Installation Guide 2 Flat Panel Display ...
Page 30: ...30 E5505A Installation Guide 3 System Interconnections ...
Page 84: ...84 E5505A Installation Guide 6 Preventive Maintenance ...
Page 96: ...96 E5505A Installation Guide A Service Support and Safety Information ...

