Recovery
5
E5505A Installation Guide
63
Partition a New Hard Drive Using Windows Disk Manager
®
Partition a new hard drive using Windows Disk Manager
®
Step
Notes
1
From the Windows
®
Desktop, make the
following selections:
a
‘Start‘
b
‘Programs’
c
‘Administrative Tools’
d
‘Computer Management’
•
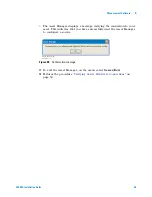
The ‘Computer Management’ window
appears.
2
Choose ‘Disk Management’.
•
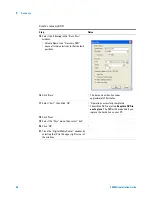
Disk 0 is the entire hard drive. There are two
sections. One section is approximately 20%
of the total. This was set by the bootable CD
as unallocated space.
3
Right-click on ‘Unallocated’.
•
4
Select “New Partition”.
•
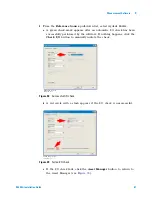
The ‘Welcome to the New Partition Wizard’
screen appears.
5
Click ‘Next’.
•
“Select partition type” appears.
6
Highlight ‘Primary Partition’.
•
This is the default.
7
Click ‘Next’.
•
The ‘Specify Partition Size’ screen appears.
8
To ‘Specify partition size’ use the default ‘Set
partition size @ maximum disk space in
Mbytes’
•
This is the default.
9
Click ‘Next’.
•
10
Select ‘Assign the following drive letter’ Use
the default “D”.
•
11
Click ‘Next”.
•
The ‘Format Partition’ screen appears.
12
Accept the defaults.
•
File system ‘NTFS’
•
Allocation unit size ‘default’
13
Type “Recovery” into the Volume Label field.
•
14
Select “Perform a quick format”
•
15
Click ‘Next’.
•
The message ‘Completing the New Partition
Wizard’ appears. This process takes about 15
seconds
16
Click ‘Finish’.
•
See ‘Recovery (D)’
•
approximately 7.45 GB NTFS
•
Healthy
17
Close the Computer Management window.
•
Summary of Contents for E5505A
Page 18: ...18 E5505A Installation Guide 1 General Information ...
Page 22: ...22 E5505A Installation Guide 2 Flat Panel Display ...
Page 30: ...30 E5505A Installation Guide 3 System Interconnections ...
Page 84: ...84 E5505A Installation Guide 6 Preventive Maintenance ...
Page 96: ...96 E5505A Installation Guide A Service Support and Safety Information ...

