134
FieldFox User’s Guide
Then choose from the following:
o
Internal
FieldFox memory (default)
o
SD Card
An external SD Card (must be inserted)
o
USB
An external USB flash drive (must be inserted)
Then
Manage Sessions
Then choose from the following:
o
Name
Using the FieldFox labeler, change the name of the session.
AutoSession (n) is the default name where (n) is the next-available number.
Learn how to use the labeler on page 190.
o
Sort
Arrange the listing of sessions
by Name
,
by Date
, or
by (file) Size
.
o
Delete
After a confirmation prompt, removes the contents of the selected
session from the list.
o
Copy
Copies the selected session to a different storage device, or the same
storage device with ‘Copy_’ appended to the beginning of the name.
o
Copy All
Copies ALL of the listed sessions to a different storage device, or
the same storage device with ‘Copy_’ appended to the beginning of the
names.
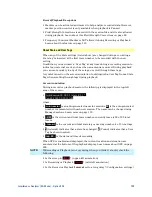
Record Playback Example
The following “Interval Recording” example shows how you can record spectral
activity over a longer period of time with less trace storage.
Press
Trace 6
then, with
Trace
= 1, press
State
then
Max Hold
Then
Record Playback Setup
Then
New Session
Then
Recording Configuration
Then
Record Source
to Trace1
Then
Record Interval
to 10
s
(seconds).
Then
Back
Then
Recorder Player
Then
Record
At the end of each 10 second record interval, the Max Hold trace
is recorded and the Max Hold processing is reset for the next 10 second record
interval.
Then
Stop
to end the recording.
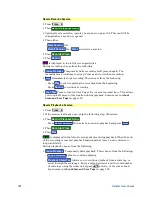
This session can be played back into any Trace State. For example:
Play the Max Hold recording into a
Clear/Write trace
to see the data exactly as
it was recorded.
Press
Trace 6
then with
Trace
= 1 and press
State
then
Clr/Wr
Then
Record Player
Then
Play


