Getting Started
1
6000 Series Oscilloscope User’s Guide
31
To power-on the oscilloscope
AC-Powered 6000 Series
1
Connect the power cord to the rear of the oscilloscope, then
to a suitable AC voltage source.
The oscilloscope automatically adjusts for input line voltages
in the range 100 to 240 VAC. Ensure that you have the correct
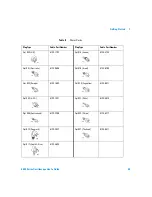
line cord. See
on page 35. The line cord provided is
matched to the country of origin.
2
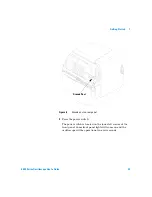
Press the power switch.
The power switch is located on the lower left corner of the
front panel. Some front panel lights will come on and the
oscilloscope will be operational in a few seconds.
Battery-Powered 6000A Series
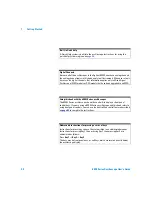
WA R N I N G
Always use a grounded power cord. Do not defeat the power cord
ground.
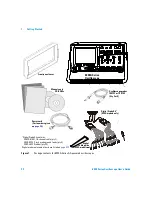
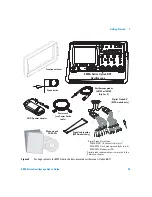
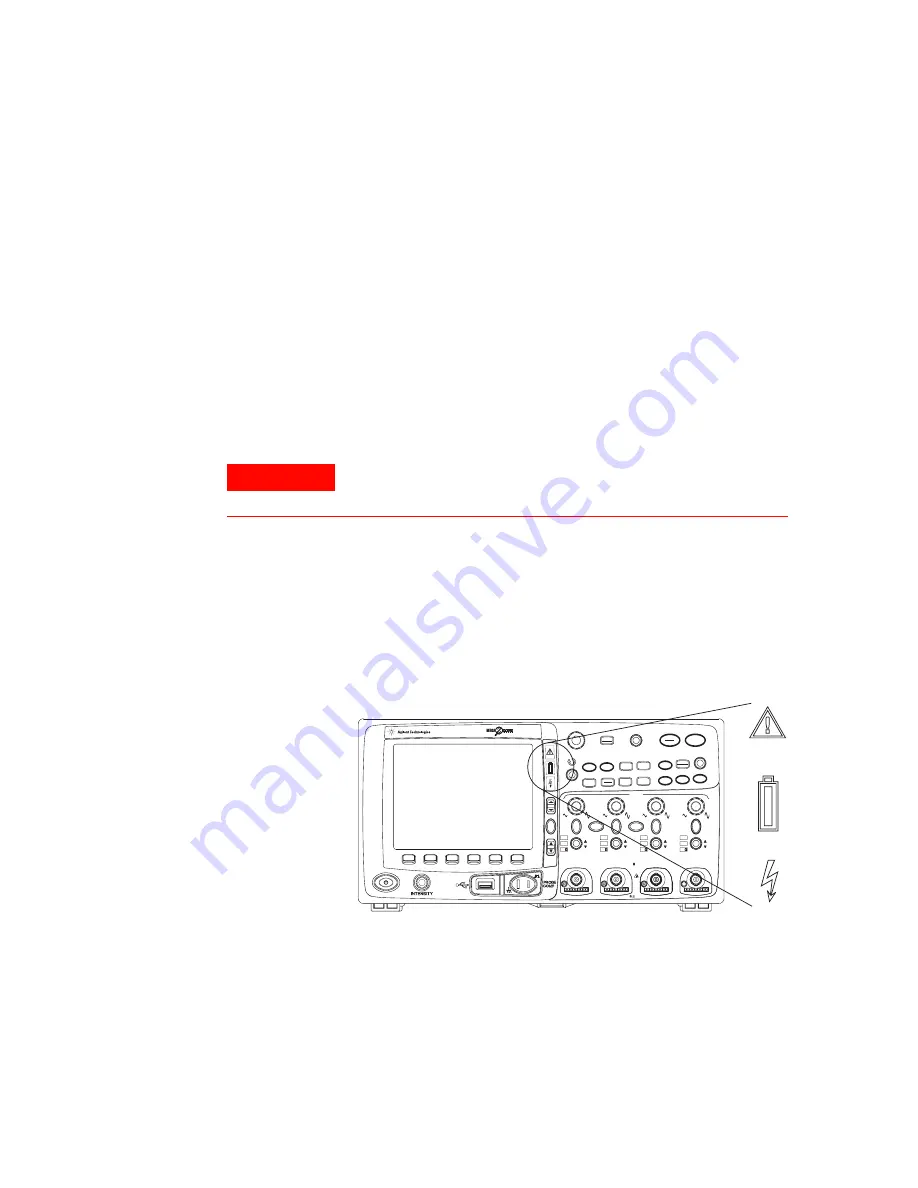
Figure 4
Additional indicators on battery-powered 6000A Series
Digital
Select
Position
54684A
Oscilloscope
1 GHz
4 GSa/s
Analog
1
2
3
4
CAT I
300 V RMS
~
~
14pF
1 M
50 5 V RMS
AC
BW
50
AC
BW
50
AC
BW
50
AC
BW
50
X
Y
Z
Main
Delayed
Single
Mode
Coupling
Stop
Run
Edge
Pulse
Width
Pattern
More
Cursors
Quick
Meas
Acquire
Display
Auto-
Scale
Save
Recall
Quick
Utility
1
2
Math
Label
3
4
D15
D0
Thru
54684e82
Summary of Contents for InfiniiVision DSO6014L
Page 2: ...Agilent Technologies Agilent 6000 Series Oscilloscopes User s Guide...
Page 59: ...58 6000 Series Oscilloscope User s Guide 1 Getting Started...
Page 109: ...108 6000 Series Oscilloscope User s Guide 2 Front Panel Controls...
Page 125: ...124 6000 Series Oscilloscope User s Guide 3 Viewing and Measuring Digital Signals...
Page 251: ...250 6000 Series Oscilloscope User s Guide 5 Making Measurements...
Page 287: ...286 6000 Series Oscilloscope User s Guide 6 Displaying Data Interpreting Decoded LIN Data...
Page 321: ...320 6000 Series Oscilloscope User s Guide 7 Saving and Printing Data...
Page 370: ......

