SureScan System User Guide
29
Using the Slot Table
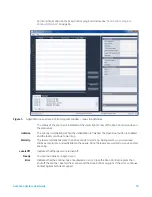
The slot table provides a display of the cassette and its contents. Once you load slides into the
cassette and close the door, the Scan Control software reads the barcode for each slide and
shows it as the Slide ID in the slot table. The numbers to the left of the table correspond to the
slots in the scanner cassette. The color of the number indicates the status of the slot. For details
on the Scan Control main window, see
“Scan Control Program Window Reference”
The topics in this section describe how to use the Scan Control slot table to prepare for scanning
slides.
To change a Slide ID
The Slide ID is used in the image file name. By default, it is the slide barcode read by the scanner.
See
“Barcode and barcode label specifications”
on page 91 for information on barcodes.
Typically, the scanner automatically reads the barcode for a slide and displays it as the Slide ID in
the slot table. To add or change the Slide ID in the table, follow the instructions below.
1
In the slot table, click the Slide ID cell for the slide you want to add or change. Cell editing is
enabled only when the slot has a slide loaded and is not yet in the queue.
2
Type the new slide ID.
To set or change the scan protocol
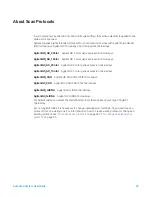
A scan protocol is a predefined set of scan settings. Several default scan protocols are provided
with the software. See
If no scan protocol is selected for a slide, or if you want to change the scan protocol, follow the
instructions below.
1
In the slot table, click the Scan Protocol cell for the selected slide and then click again to show
the list of available scan protocols.
2
Click a scan protocol from the drop-down list.
NOTE
After you change the Slide ID, move your mouse cursor over the Slide ID cell in
the scan table to see the barcode for the slide. The barcode appears in a
tooltip.
NOTE
You cannot change scan protocols for slides in the queue.

