SureScan System User Guide
30
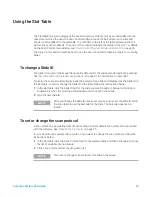
To change the output folder for a scan
The output folder is where the scanned image files for a slide are saved. By default, the output
folder is D:\ScanData.
1
In the slot table, click the Output Folder cell for a slide.
2
Click the browse icon.
The Browse For Folder dialog box opens.
3
Browse to the location where you want to save the scanned image files for this slide, and click
OK
.
To apply a selection to multiple slides
Within the slot table, you can select more than one slide and then make a selection for Scan
Protocol and Output Folder.
1
In the slot table, click to highlight the first slide.
2
To select multiple contiguous slides, hold down the Shift key and then select a second slide.
All slides between and including the selected slides are highlighted in the slot table.
Or
To select a series of noncontiguous slides, hold down the Ctrl key and then click additional
slides you want to select. Selected slides are highlighted in the slot table.
3
Within the last selected slide, select the Scan Protocol or Output Folder cell.
The selection is applied to all highlighted slides.
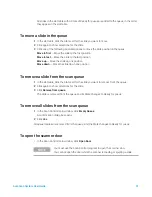
To add a slide to the scan queue
1
In the slot table, click the State cell for the slide you want to add to the queue.
2
Click
Add to queue
(if no other slides are in the queue).
Or
Click
Add to queue first
to add the slide to the beginning of the queue.
Or
Click
Add to queue last
to add the slide to the end of the queue.
To add all slides to the queue
1
In the Scan Control main window, click
All to Queue
.
A confirmation dialog box opens.
2
Click
Yes
.
NOTE
You cannot make changes to slides in the queue.

