SureScan System User Guide
80
Image Settings
Transform
Image
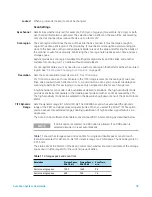
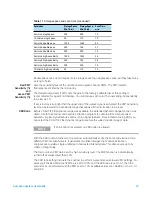
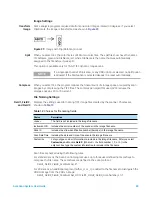
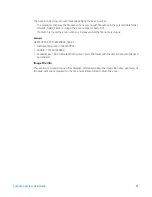
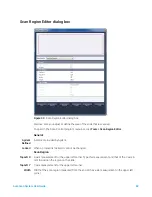
Some analysis programs require data from one-color images rotated 90 degrees. If you select
Flip/Rotate, the image is transformed as shown in
Figure 29
Image with Flip/Rotate option set
Split
When you select Yes, the color file is split into two color files. The split files now have the names
of
FileName
_green and
FileName
_red, where
FileName
is the name that was automatically
assigned to the file before it was split.
This option is available only for 16-bit TIFF dynamic range scans.
Compress
When you select Yes, the program reduces the final amount of storage space occupied by scan
images by compressing the TIFF files. The compression algorithm used, LZW, reduces the
storage space by 20 to 70 percent.
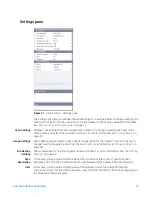
File Naming Settings
Field 1, Field 2,
and Field 3
Displays the settings used for naming TIFF image files created by the scanner. Choices are
shown in
Scan files are named using the following rules.
For
standard scans
, the Scan Control program uses up to three user-defined name prefixes to
compose the file name. These prefixes are defined in the scan protocol.
Field1_Field2_Field3_ScanNumber.tif
For
XDR scans
, an additional segment (either _H or _L) is added to the file name to distinguish the
XDR Hi image from the XDR Lo image:
Field1_Field2_Field3_ScanNumber_H.tif Field1_Field2_Field3_ScanNumber_L.tif
NOTE
If a single dye channel, 20-bit scan, or any XDR option is selected, no Split option
is allowed; if the Split option is selected already, it is reset automatically.
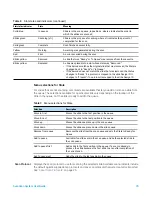
Table 12
Choices for file naming fields
Choice
Description
<none>
The field is not included in the image file name.
Instrument SN
Includes the serial number of the scanner in the image file name.
Slide ID
Includes the slide identification number (barcode) in the image file name.
Scan DateTime
Includes the date and time of the scan in the image file name.
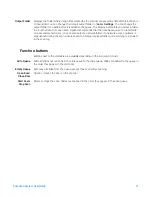
Customize
Lets you type custom information to include in the image file name. After you select
Customize
, double-click
Field X
. (Where X = the field number 1, 2, or 3.) In the
adjacent box, type the custom information to include in the file name.

