24
Chapter 2
Installation Guide
How to Install Front Handles/Rack Mounting Flanges
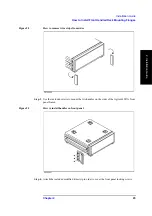
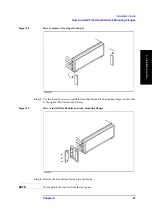
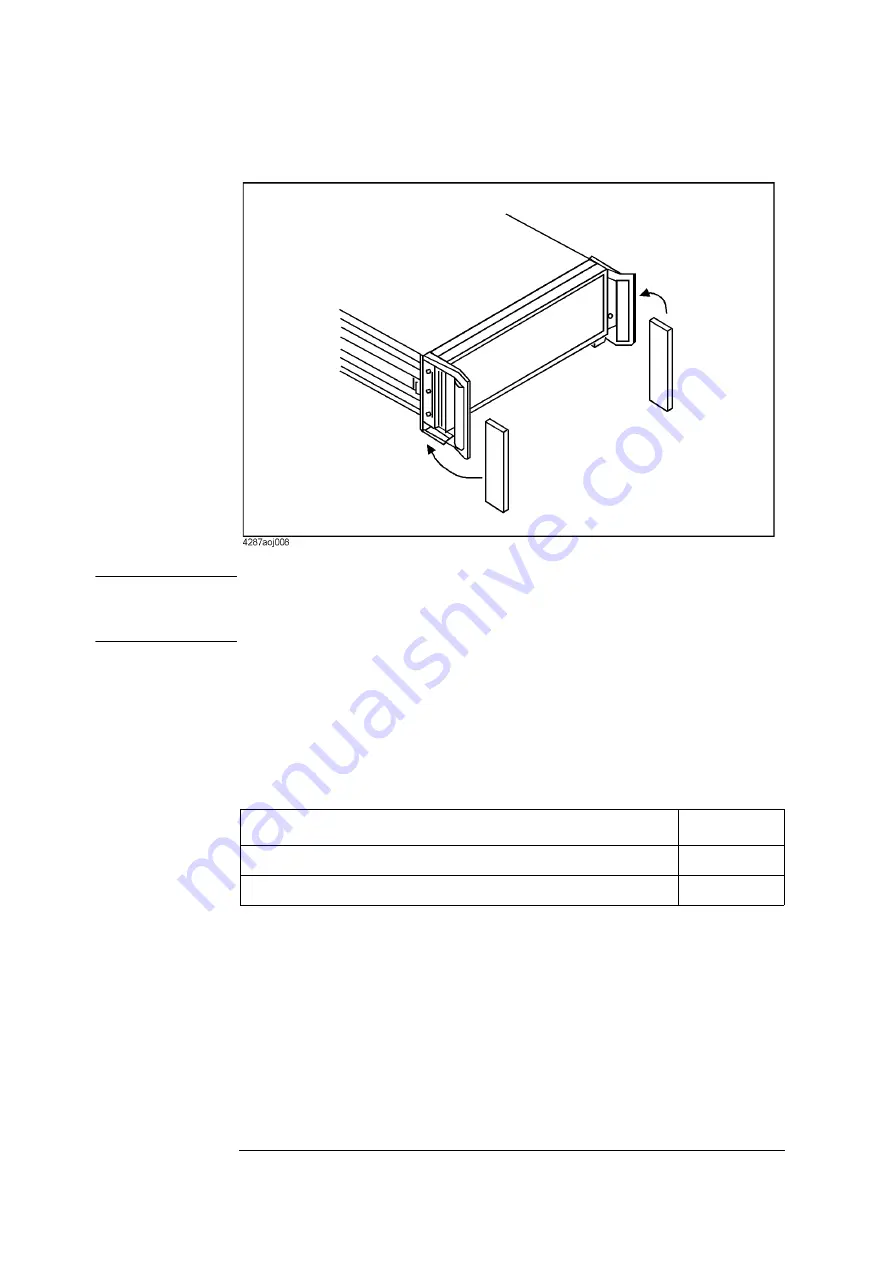
Figure 2-4
How to install modified trim strip
WARNING
If the installed front handle becomes damaged, replace it with a new one immediately.
A damaged handle can break while moving or lifting the instrument and cause
personal injury or damage to the instrument.
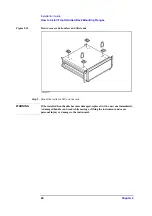
How to install rackmount kit (Option 1CM)
Install the rackmount kit by following these steps:
Step 1.
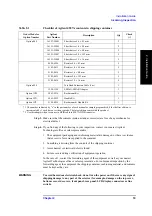
Make sure that all of the contents of the rackmount kit (Option 1CM) have been supplied in
the shipping container (Table 2-4).
Step 2.
Remove the trim strips from both sides of the outer frame of the Agilent 4287A front panel.
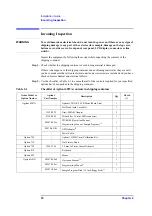
Table 2-4
Contents of rack-mount kit (Option 1CM)
Name
Quantity
Rackmounting flange (locking side plate)
2
Screw
6
Summary of Contents for Twelfth 4287A RF LCR
Page 8: ...8...
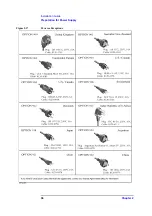
Page 36: ...36 Chapter2 Installation Guide Preparation for Power Supply Figure 2 17 Power cable options...
Page 114: ...114 Chapter5 Setting Measurement Conditions Setting up dc resistance Rdc measurement...
Page 250: ...250 Chapter11 Setting and Using the Control and Management Facilities System Recovery...
Page 294: ...294 AppendixA Manual Changes Manual Changes...
Page 328: ...328 AppendixF Error Messages Undefined header...


