26
Chapter 2
Installation Guide
How to Install Front Handles/Rack Mounting Flanges
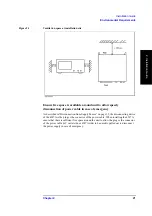
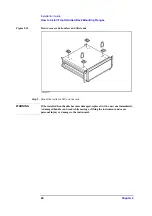
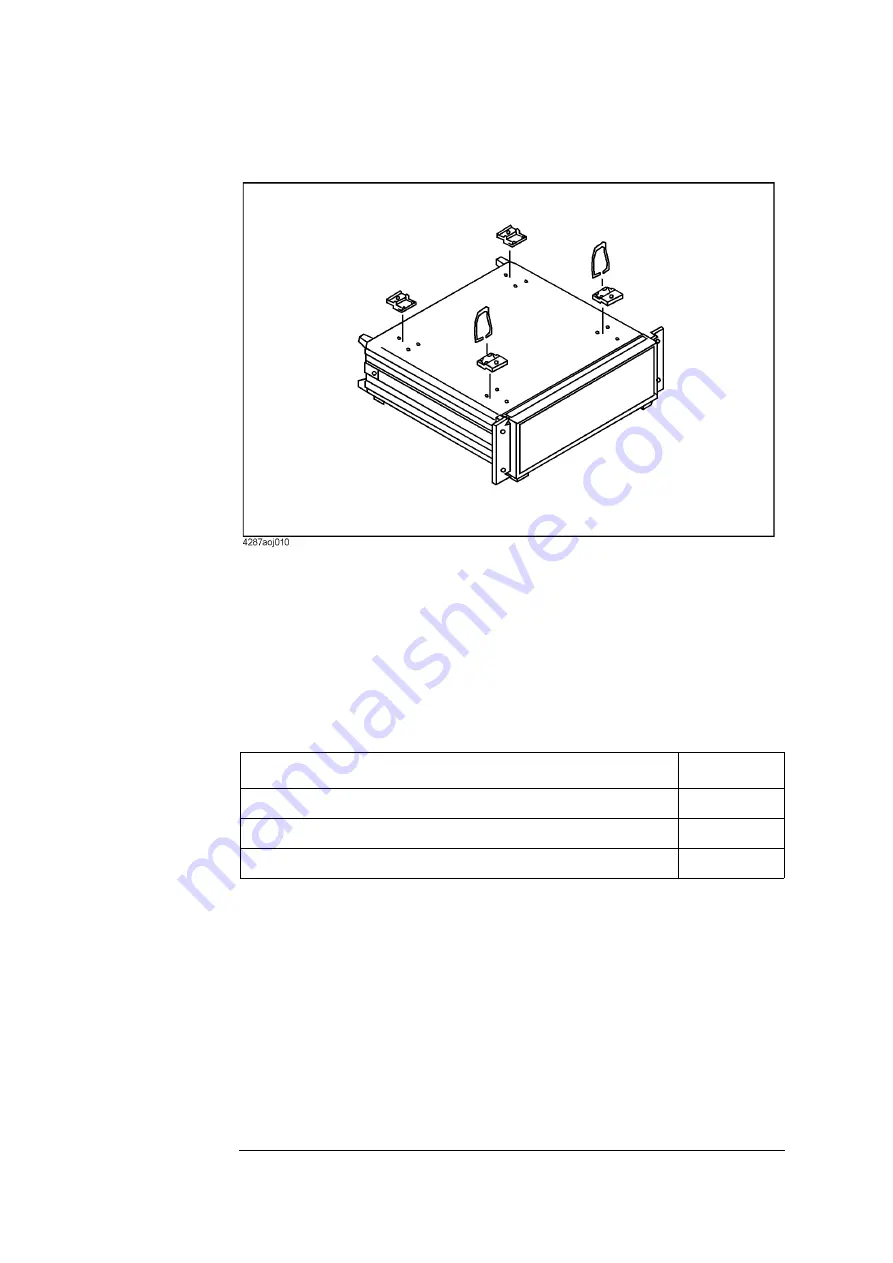
Figure 2-7
How to remove bottom feet and tilt stands
Step 5.
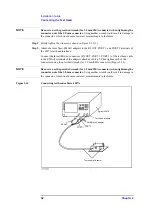
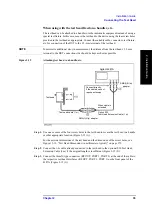
Mount the Agilent 4287A on the rack.
How to install rack-mount and handle kit (Option 1CP)
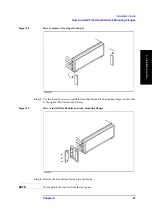
Install both the rack-mounting flanges and front handles by following these steps:
Step 1.
Make sure that all of the contents of the rack-mount and handle kit (Option 1CM) have
been supplied in the shipping container (Table 2-5).
Step 2.
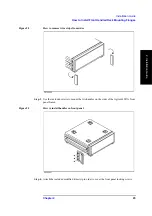
Remove the trim strips from both sides of the outer frame of the Agilent 4287A front panel.
Table 2-5
Contents of rack-mount and handle kit (Option 1CP)
Name
Quantity
Rack-mounting flange (locking side plate)
2
Front handle
2
Screw
8
Summary of Contents for Twelfth 4287A RF LCR
Page 8: ...8...
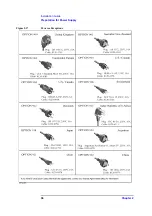
Page 36: ...36 Chapter2 Installation Guide Preparation for Power Supply Figure 2 17 Power cable options...
Page 114: ...114 Chapter5 Setting Measurement Conditions Setting up dc resistance Rdc measurement...
Page 250: ...250 Chapter11 Setting and Using the Control and Management Facilities System Recovery...
Page 294: ...294 AppendixA Manual Changes Manual Changes...
Page 328: ...328 AppendixF Error Messages Undefined header...

