STEP 1
STEP 2
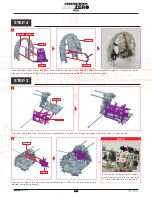
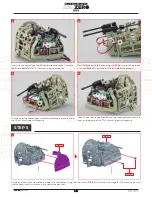
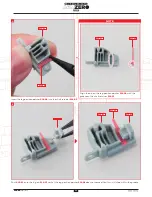
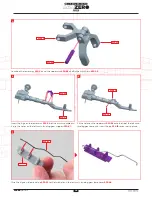
Insert the protrusions of seat
027-02
into the holes on the seat frames
026-03
&
026-04
assembled in stage 26, and glue the lower
lugs into the cockpit partition. Then glue the seat adjustment lever
027-01
to the cockpit partition.
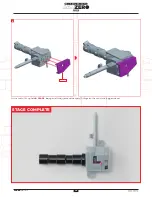
Glue the two lugs on the instrument panel completed in STEP 1 to the two holes on the
left side frame of the cockpit.
STEP 3
NOTE
Push the two lugs on the instrument
panel (circled right) into the two holes
in the left cockpit frame (circled left).
019-02
021-02
2
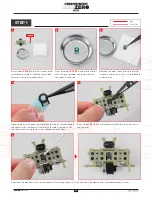
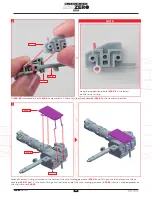
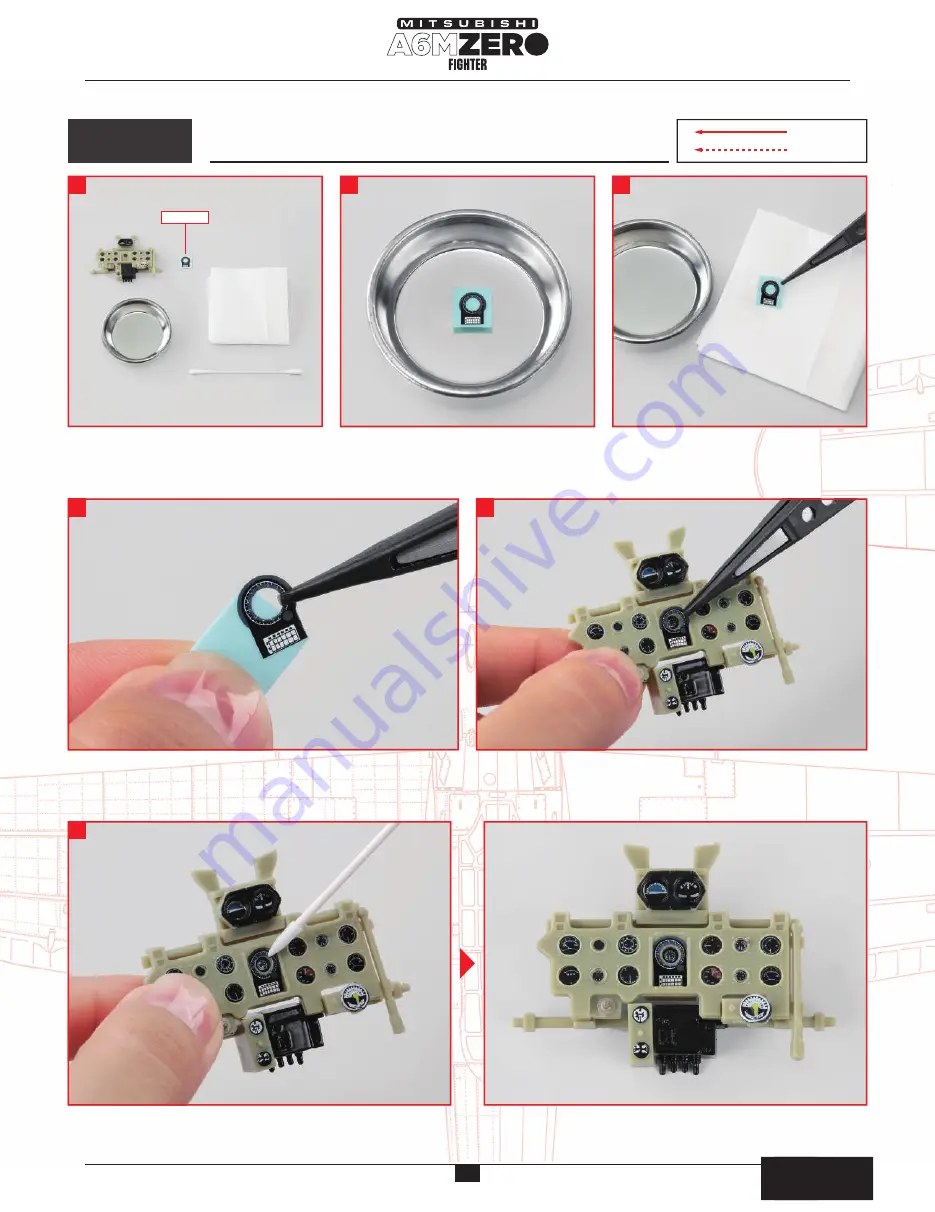
Attach decal
027-03
to the instrument panel
assembled in stage 21. Prepare a small dish
of water, a tissue, and cotton bud.
Float the decal
027-03
in the dish of water
with the printed side facing up and wait
for about 10 seconds.
Remove the decal from the water using
tweezers and place it on a tissue to absorb
excess water.
Slide the decal with your finger and grab the part that comes off
the mount with tweezers. If it’s difficult to slide, the glue hasn’t
melted, so put it in water for a few seconds and try again.
Fine-tune the position with a cotton bud so that the compass is in the centre of the decal circle, and absorb excess water.
Attach decal
027-03
to the compass in the centre of the instru-
ment panel.
1
2
3
4
5
6
1
1
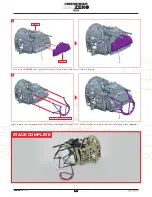
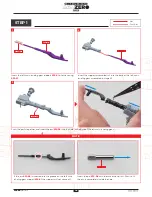
Glue the three tabs on the left side frame assembled in stage 25 to the three corresponding notches on the cockpit floor.
026-02
018-01
024-01
027-01
027-02
026-02
026-03
026-04
027-03
:
Glue
:
Don’t Glue
組み立てガイド
組み立てガイド
4
AGORA
MODELS


