14
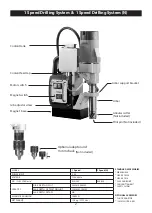
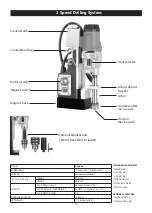
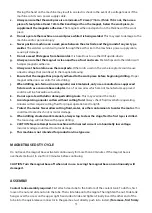
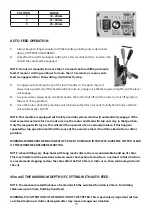
bolts. Then an optional chuck adaptor arbor and chuck must be fitted. Follow the
special instructions below to replace the arbor support bracket. (For 1 speed & 2
speed model only ).
Arbor support bracket replacement
1.
Replace arbor support bracket and screw in the 3 hex head bolts finger tight
only (ensure that the needle bearing is clean and adequately greased.)
2.
Replace the annular cutter arbor.
WARNING: use extreme care to avoid contacting the rotating arbor shaft!
3.
Double check to ensure that there is no binding anywhere throughout the
stroke.
SPECIAL INSTRUCTIONS FOR AUTO-FEED MODELS
WARNING: NEVER attempt to use machine in auto feed mode when using twist drills. THIS WILL RESULT
IN MAGNET LIFTING.
WARNING: NEVER use poor quality, incorrect sized or dull cutters in auto feed mode. THIS MAY RESULT
IN MAGNET LIFTING.
The Auto-Feed Feature
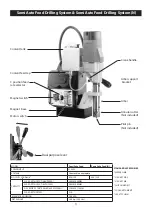
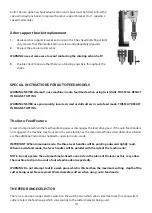
A lever incorporated into the feed handle engages or disengages the feed drive gears. If the auto-feed mode is
not engaged, the machine may be used in the same fashion as the manual machine as described above. Below
are the additional instructions needed to operate in auto-mode.
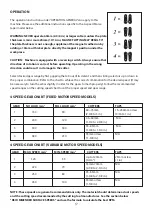
IMPORTANT: When in manual mode, the three lever handles will be pointing outward slightly (out).
When in auto-feed mode, the lever handles will be parallel with the side of the machine (in).
NOTE: Do not operate the auto machine banked to one side in the plane of the lever as this may allow
the machine to slip into or out of auto-feed mode unexpectedly.
WARNING: Do not attempt to drill a work piece which is thicker than the maximum cutting depth of the
cutter being used. Never exceed 30mm diameter cutters when using auto-feed mode.
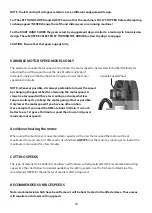
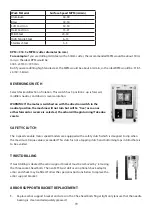
THE FEED RANGE SELECTOR
There is a 3-position range selector switch on the switch panel which allows ideal feed rate for various sized
cutters. Select the feed range which corresponds to the cutter diameter being used.
Summary of Contents for MD120/4
Page 44: ......


