S150/S151/S152/Z152
6-8
6
Attachments
6.2.2.1 Changing a bucket
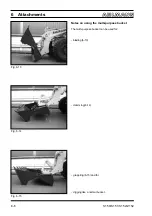
(1) Lift and mechanically prop up bucket arm [e.g. by
inserting the bucket arm support (option) (1-1/arrow)] and
lower bucket arm until it rests on the bucket arm support.
(2) Move the front-end loader into a position where the
bucket heel is flush with the ground.
(3) Switch off the engine.
(4) Release the pressure on the hydraulic hoses by
moving the auxiliary hydraulics lever (4-6/5) back and forth.
(5) Close both stop valves (1-2/1 and 1-2/2).
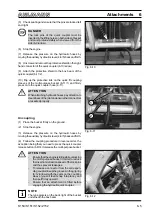
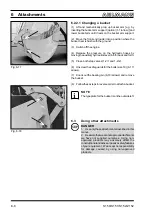
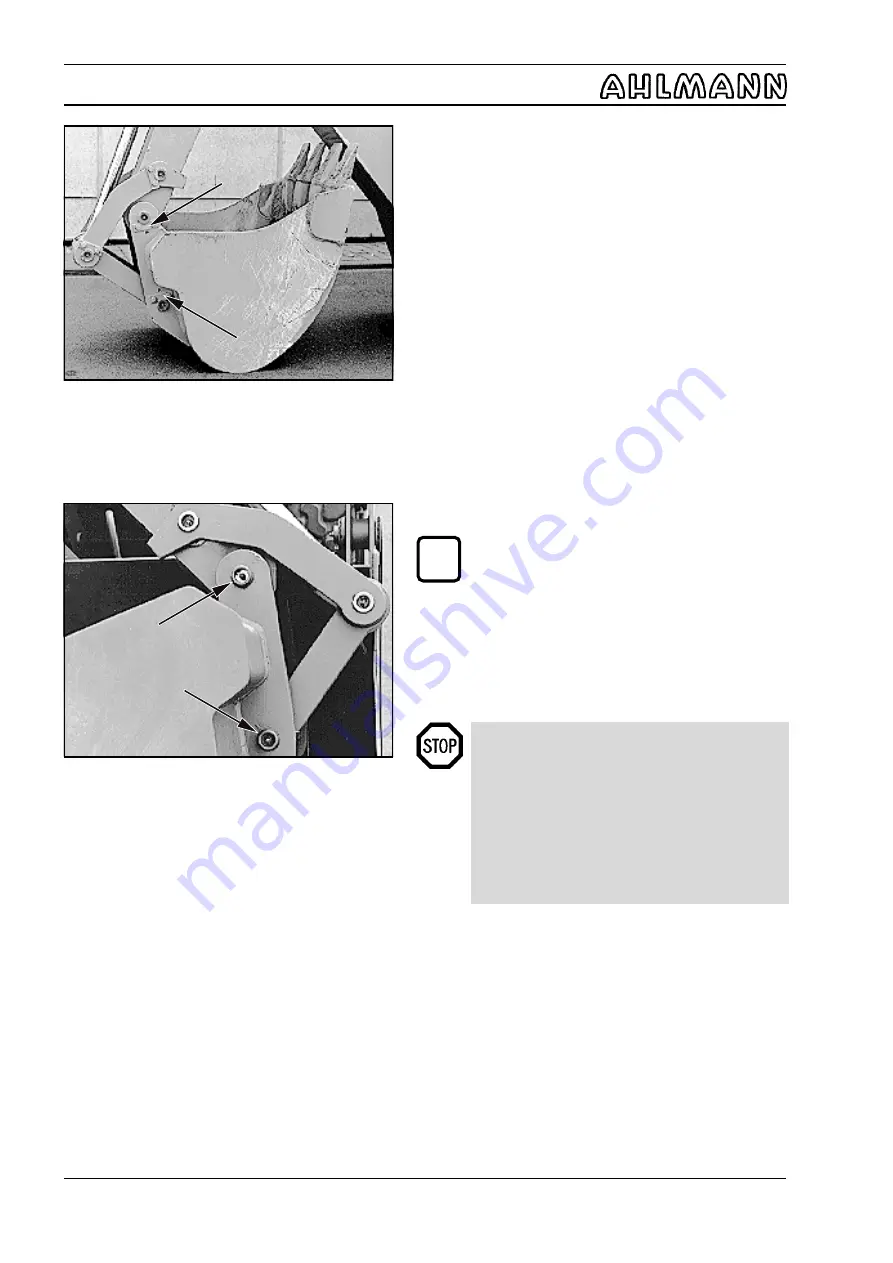
(6) Unscrew the safeguards for the bolts (size 19) (6-17/
arrows).
(7) Knock out the bearing pin (6-18/arrows) and remove
the bucket.
(8) Follow these steps in reverse order to attach a bucket.
NOTE
The type plate for the bucket is on the outside left.
6.3
Using other attachments
DANGER
1. Use only those attachments described in this
manul.
2. Be aware that we cannot approve attachments
we have not supplied ourselves. Using non-
approved products may adversely affect the
constructional and active or passive safety features
of your equipment . We accept no responsibility
for damage caused by using non-approved
products.
Fig. 6-17
Fig. 6-18
i
Summary of Contents for AS 150
Page 7: ...Safety regulations ...
Page 19: ...Signs ...
Page 22: ...Anti TheftProtection ...
Page 25: ...Description ...
Page 34: ...Operations ...
Page 46: ...Attachments ...
Page 54: ...Rescue Towing Lashing Crane Lifting ...
Page 61: ...Maintenance ...
Page 80: ...Troubleshooting ...
Page 83: ...Wiring and Hydraulics ...
Page 98: ...Technical Data Equipment ...
Page 103: ...Technical Data Attachments ...
Page 112: ...Optional Extras Changes ...

