11
Chapter 2. Hardware Setup
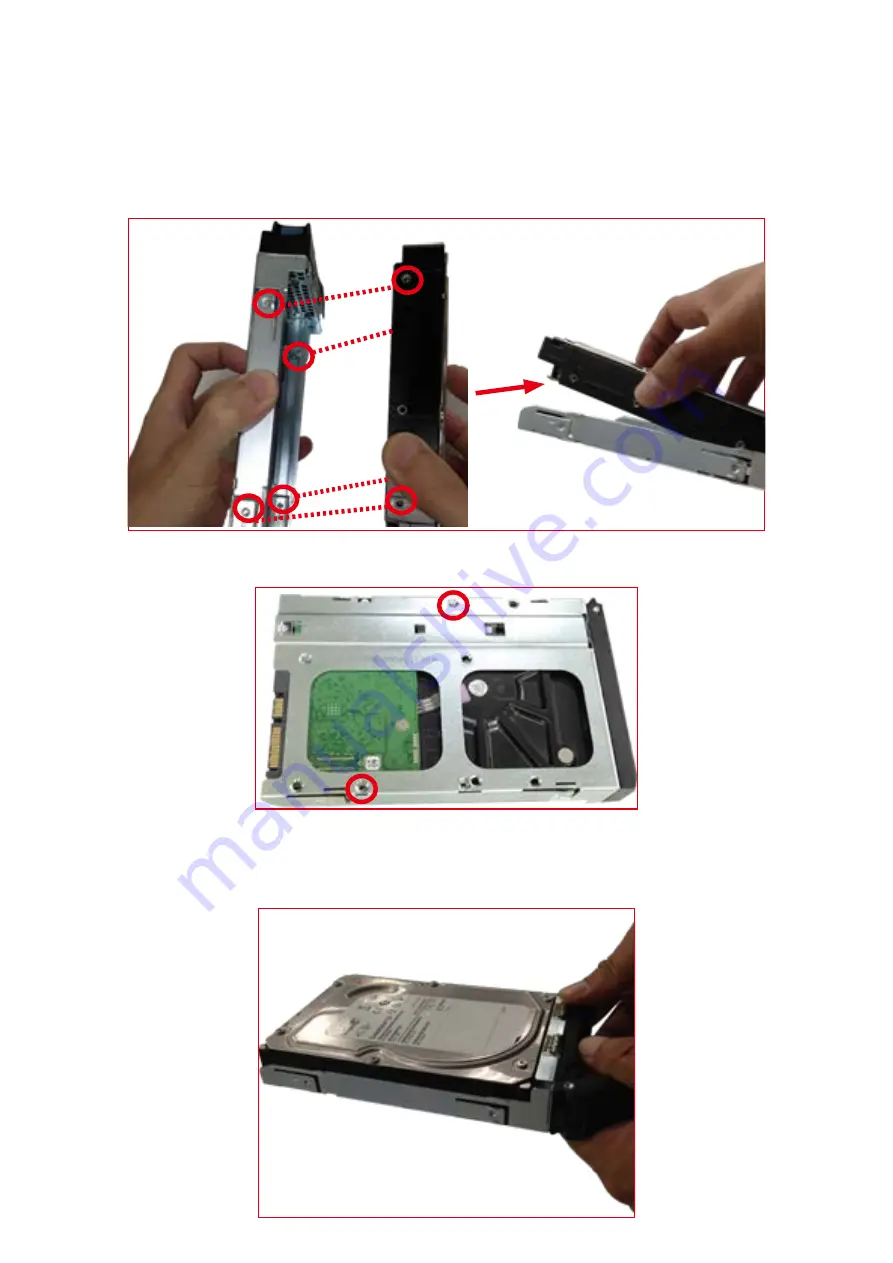
Match the dimples on the tray to insert the new HDD into the tray. Pull upward to
remove the HDD from the HDD tray. Make certain that the HDD is not damaged
during installation or removal process.
HDD can also be screwed on HDD tray by fastening two screws.
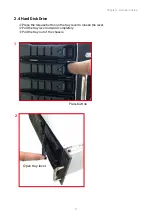
Insert the drive tray into chassis HDD cage. Make sure the drive tray is correctly
secured in place when its front edge aligns with the bay edge. Push the tray lever
until it reaches the end and clicks.
Summary of Contents for RSC-2ET
Page 1: ...UM_RSC 2ET_v1 3_030921 RSC 2ET Rackmount Chassis User s Manual...
Page 13: ...5 Chapter 1 Product Features Top View 3 x 80x38mm hot swap fans...
Page 21: ...13 Chapter 2 Hardware Setup Hold the module on both sides Lift the module upward 3 4 Lift Hold...
Page 25: ...17 Chapter 2 Hardware Setup Attach outer rail to the rack Lock Push Align...
Page 33: ...25 Chapter 3 Hardware Specifications 3 1 5 Drive Slot Map...


