Exploring the ATC63E
Before you can use your ATC63E, you must fully charge
the battery. Connect the power adapter as shown and
leave to charge for:
• A minimum of 10H 9m when using the internal battery.
Condition: The operation time is based on the LCD
brightness at 16%, Battery saver, Idle mode, Wi-
Fi/BT/camera/ALS off, Half of max volume (50%).
Installation Procedures:
Connect the male end of the power adapter to the DC-in
of ATC63E.
Connect the male end of the power cord to the DC power
adapter.
Connect the 3-pin male plug of the power cord to an
electrical outlet.
NOTE: Be sure always handle the power cords by holding
the plug ends only.
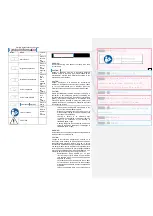
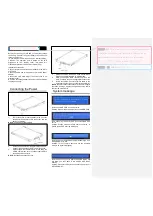
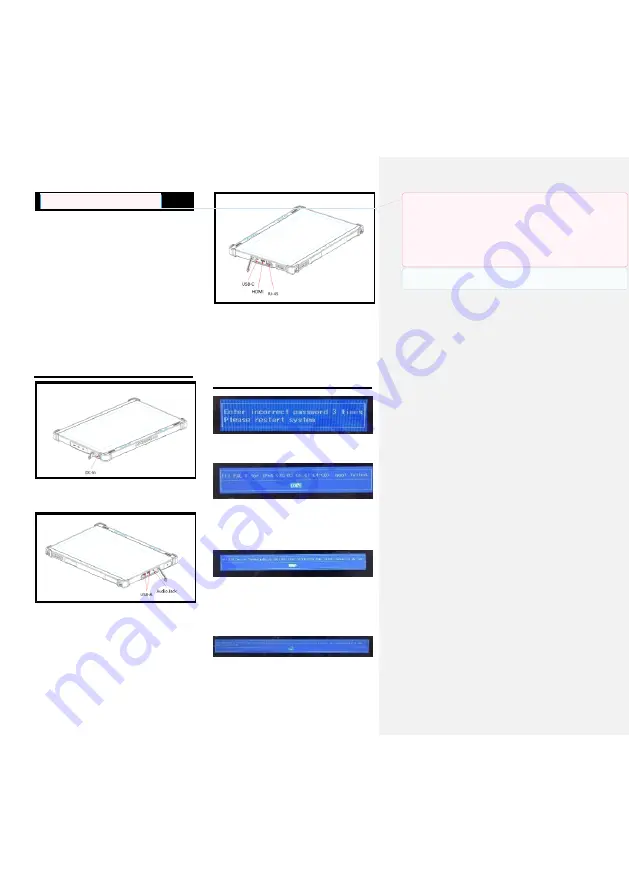
Connecting the Power
1.
DC-in connection
:
When the battery is low, connect
the adaptor and power cord to the socket, and the
device is charging.
NOTE:
Unplug when fully charged.
2.
Audio Jack connection: Support earphone only.
Connect the headphone cable to hear the sound.
3.
USB3.0 type A: Data transfer only.
When using the
USB-A cable, make sure to connect right cable to
the appropriate connector.
NOTE:
Not support headset function.
4.
HDMI connection: Audio and video transmission.
Please use a HDMI cable with a HDMI logo.
5.
USB-C connection: Data transfer only. Use the
USB-C cable to connect the appropriate connector.
6.
RJ-45 connection: Connect ethernet cable to the
appropriate socket in an environment without WIFI.
NOTE
: Incorrect cable connections may result in irregular
operation, damage display quality/components and/or
shorten the module’s life.
System message
Root cause: HDD PWD incorrect 3 times
Solution: Please reboot and input the correct HDD PWD
Root Cause: try to boot by PXE but no bootable PXE
server
Solution: Please make sure LAN cable connected, or
please ignore PXE boot (by SSD boot)
Root cause: your bootable device(efi) without sign , and
SECURE BOOT is ON.
Solution: Turn off secure boot and use the bootable
device with signature(signed).
Root cause: once you try to boot by SECURE BOOT ON
but failed,
you can’t back to turn off SECURE BOOT
directly.
Solution: Please turn off system then boot up and turn off
SECURE BOOT.
已註解
[SD17]:
Information provided indicating where the
installation instructions may be found or information on
qualified personnel who can perform the installation
產品安裝資訊
,
包含
VESA mount
安裝注意事項
已註解
[H
黃
A18R17]:
增加圖文說明

