background image

11

■ 

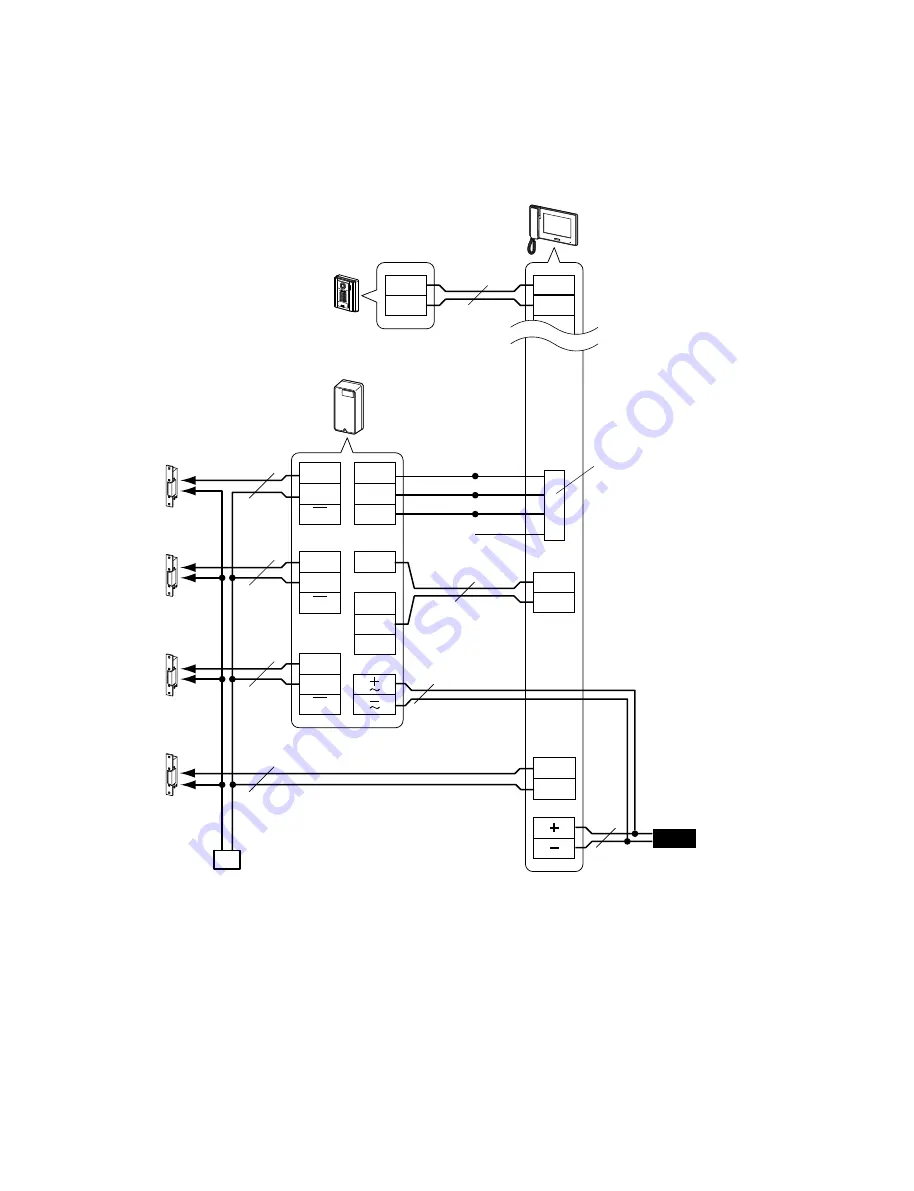
Adding selective door release to the system

Connect four door release devices to the master station via RY-3DL, a multiple door release adaptor.
Electric door strike 1 - 3 contacts release the door where communication is established.

PS24

A1

A2

L1

L1

PT

NP

2

NP

2

2

NP

2

NP

2

NP

2

NP

L2
L2

1A1

1A2

2A1

b1

L1

b2

C1

b3

L

L1

L3

C3

L3

L2

C2

L2

D1

E

D2

P

2

P

2

Master station

JP-4MED

Door station 1

JP-DA etc.

Electric door strike 1

EL-12S

Electric door strike 2

EL-12S

Electric door strike 3

EL-12S

Electric door strike 4

EL-12S

4-pin option connector

4 pin option connector identi

fi

 es active 

door.
b1 is brown lead, active with door 1.
b2 is red lead, active with door 2.
b3 is orange lead, active with door 3.
b4 is yellow lead, active with door 4.

Brown

Red

Orange

Yellow

Multiple door 
release adaptor
RY-3DL 

AC transformer

Summary of Contents for JP-4MED

Page 1: ...fe place for future reference Also read the installation manuals for the other devices included in your system Please note that the illustrations in this manual may differ from the actual product JP 4...

Page 2: ...the option connectors 12 MOUNTING 13 Mounting locations 13 Mounting procedure 14 SETTINGS AFTER INSTALLATION 16 Setting list 16 INSTALL menu 16 Setting for inputs and outputs 17 Door release settings...

Page 3: ...s such as bathrooms cellars greenhouses etc Places where the temperature is quite low such as inside a refrigerated area or in front of an air conditioner Places subject to steam or smoke near heating...

Page 4: ...Pair1 T568A Pair4 Pair2 Pair3 Pair1 T568B Notes on CAT5e cables for residential stations Do not bend the cables to an extent where the radius is less than 25 mm 1 Communication failure could result D...

Page 5: ...r station 50 m 165 75 m 245 100 m 330 100 m 330 D Master station power supply 5 m 16 5 m 16 10 m 33 10 m 33 E Long distance adaptor power supply 50 m 165 75 m 245 100 m 330 100 m 330 F Master station...

Page 6: ...r station Long distance adaptor Master and sub master stations 1 4 Master and sub master stations with long distance adaptors 1 3 4 Sub master stations only 6 2 Supplying power to sub master stations...

Page 7: ...G 0 8 mm 20 AWG 1 0 mm 18 AWG 1 2 mm 16 AWG A 5 m 16 5 m 16 10 m 33 10 m 33 B 300 m 980 C 150 m 490 200 m 650 300 m 980 300 m 980 When powering up to one master station and four sub master stations D...

Page 8: ...or cable Master station ID 1 JP 4MED Door station 1 JP DA JP DV JP DVF JP DVF L Door station 2 Door station 3 Optional call extension speaker IER 2 P 12 P 12 12 pin option connector 4 pin option conne...

Page 9: ...ted For connecting other manufacturers products refer to the instruction manuals for those products The positions of the terminals on the above illustrations differ from the actual product This is to...

Page 10: ...tion in place of a video door station or Video door station JP DA JP DV JP DVF JP DVF L NOTES An optional audio door station installed with a CCTV camera provides door call in audio monitoring and com...

Page 11: ...b2 C1 b3 L L1 L3 C3 L3 L2 C2 L2 D1 E D2 P 2 P 2 Master station JP 4MED Door station 1 JP DA etc Electric door strike 1 EL 12S Electric door strike 2 EL 12S Electric door strike 3 EL 12S Electric door...

Page 12: ...DC 5 V 100 mA 5 Video out Outputs video signals to an external monitor DVR etc NTSC PAL 1 Vp p 75 Wiring distance 3 m 10 feet NOTES A video signal is output while receiving a call from communicating...

Page 13: ...ns Install this station in a place where the screen is not exposed to direct sunlight Allow at least 15 cm 6 above and 25 cm 9 below center of the mounting bracket for installation of the station 15 c...

Page 14: ...unting bracket How to connect or disconnect wires Insert the wire into one of the coupling terminals To ensure that the wire will not bend press the release button while inserting into terminal Openin...

Page 15: ...ount the unit directly on the wall using wood mounting screws Cable inlet plate Mounting bracket pre attached by factory The unit The unit The unit Wood mounting screw 4 not included Screw shaft 4 1 o...

Page 16: ...vate the connected external devices NOTES These settings should be made by the installer before the system is used It is recommended to set the display language for the screen to the language needed D...

Page 17: ...usage of the inputs 2 Touch this to change the input detection method between N O Normally Open and N C Normally Closed Usage list Usage Description DISABLE Select this when no connection is made to t...

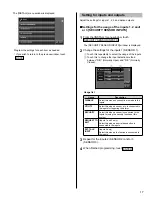
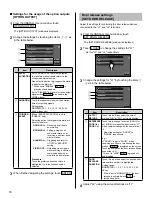
Page 18: ...Procedure Touch the preferred action so that it is highlighted Up to four actions can be selected When finished adjusting the settings touch 3 ENTER Door release settings SET DOOR RELEASE Adjust the s...

Page 19: ...an abrasive cleaner or cloth Initializing station INITIALIZE By initializing this station all settings return to default Recorded images on the SD or SDHC card are not be erased From th 1 e INSTALL me...

Page 20: ...will not provide compensation for any loss or damage incurred by the breakdown or malfunction of its products during use or for any consequent inconvenience or losses that may result The object area o...

Reviews: