6
Post Installation Checkout
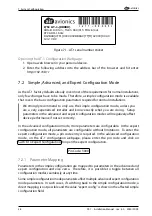
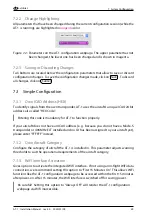
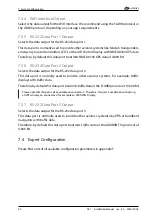
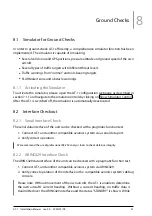
This chapter contains instructions for checking out an AT-1 installation. Checks shall ensure
that the system is properly installed and functions correctly.
6.1 Wiring Checks
Verify that all cables are properly secured. Check the movement of aircraft controls to verify
that there is no interference between the cabling and the controls. Ensure that all wiring is
installed as described.
Prior to powering up AT-1, the wiring harness must be checked for proper connections.
Point to point continuity must be checked to expose any faults such as shorting to ground
or wrong connections.
After accomplishing a continuity check, perform power and ground checks to verify that
proper power and GND levels are present. Any faults or discrepancies must be corrected at
this time.
Any faults or discrepancies must be corrected before proceeding.
6.2 Connector Engagement Checks
Prior to powering up the AT-1, a connector engagement check should be performed.
1. Optically inspect all interconnects.
2. Check if all data connectors are locked properly, verify by gently pulling on the
connectors.
3. Ensure that the antenna connectors are installed and tightened correctly.
4. Ensure that the pressure tubing sits tightly and completely covers the pressure
connector.
AT-1 may be connected to power after completion of the continuity and power checks. All
connections must be made before the unit is powered up.
36
AT-1
·
Installation Manual
·
rev. 4.0
·
2020/01/09

