background image

www.airdryclotheslines.com.au 


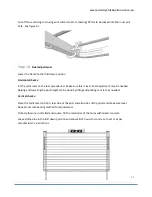
Cut off the remaining cord using wire cutter/ scissors, leaving 100mm to be tucked into the inner arm 
hole.  See figure 9c. 


Step 10: 

Final adjustments


Lower the frame to the fold down position 

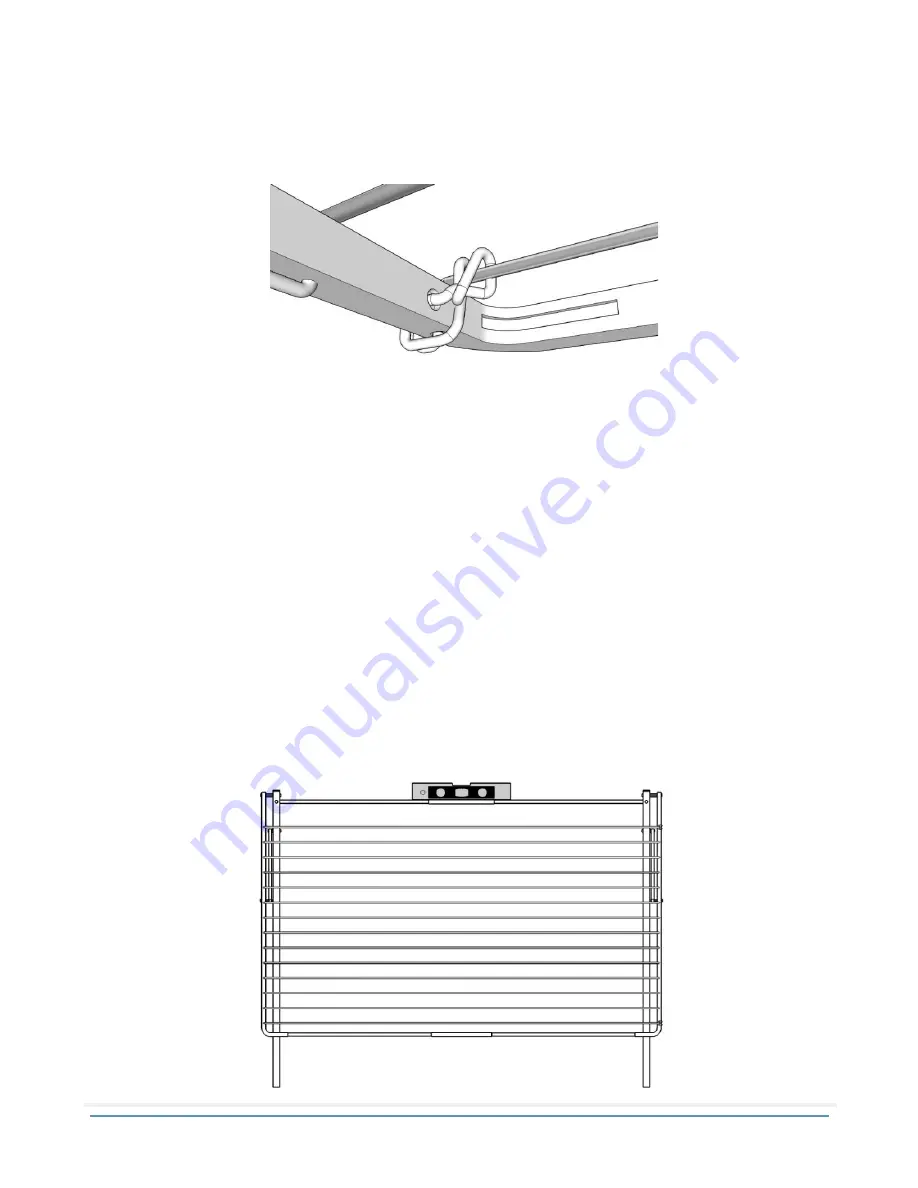
Horizontal checks: 

Sit the spirit level on the rear spreader bar. Make sure this is level. Post adjustment may be needed. 
Raising and lowering the post height can be done by lifting and packing concrete as needed. 

Vertical checks: 

Place the spirit level on front/ rear side of the post and also sides of the posts and make sure level. 
Repeat concrete packing method for adjustments. 

Once clothesline is installed and square, fill the remainder of the holes with mixed concrete. 

Leave clothesline in the fold down position and allow 48-72 hours for concrete to set or as per 

manufacturer’s instructions.


Summary of Contents for Ground Mounted

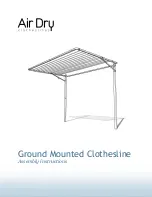
Page 1: ...Ground Mounted Clothesline Assembly instructions ...

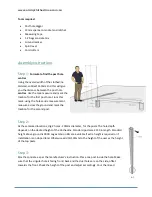
Page 2: ... read through these to acquaint yourself before starting the assembly and use of the clothesline Parts A 2 x Posts B 2 x Arms C 4 x Spreaders D 2 x Small Joiners 2400 width clotheslines E 2 x Large Joiners 2400 width clotheslines F 2 x Struts G 1 x Cord Bundle 1 x Accessory kit 2 x 120mm bolts 2 x 80mm bolts 2 x 75mm bolts 2 x 60mm bolts 8 x nuts 2 x washers 2 x Large 45mm spacers 4 x Small 10mm s...

Page 3: ... ground and mark the location for the second post Step 2 At these marked locations dig 2 holes 200mm diameter for the posts The hole depth depends on the desired height of the clothesline Standard posts are 2150 in length Standard height above ground is 1800 Leg extension kits are available if extra height is required or if installation is on sloped land Otherwise add 50 100mm to the height of the...

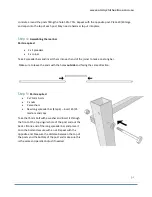
Page 4: ...sure to leave the ends with the holes outside and facing the same direction Step 5 Parts required 2 x 75mm bolts 2 x nuts 2 x washers New long spreader bar Step 4 insert 25 25 medium end caps Take the 75mm bolt with a washer and insert it through the front of the top singular hole of the post and out the back Lift one end of the long spreader bar and place it onto the bolt and secure with a nut Re...

Page 5: ...th a nut E Working from the outside to the middle thread the 80mm bolt F through the top of the strut G followed by a 10mm spacer H Making sure to have the strut spring facing backwards thread the bolt through the second hole on the post D and finishing by locking with a nut I Working from the inside to the outside thread the 60mm bolt L through the hole at the bottom of the strut G followed by th...

Page 6: ...lick and engage Gently release the front bar To disengage the struts and lower the frame lift the bar evenly from the centre until both struts click and lower the frame Please note if the front bar is lifted in an uneven manner both struts will not engage If this happens reset by disengaging the strut and lower the frame Start the process again making sure to place your hands directly in the centr...

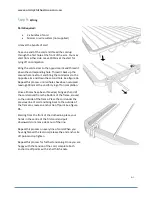
Page 7: ...les have been occupied leaving 300mm at the end for tying off on completion Once all holes have been threaded bring each end of the cord around from the bottom of the frame around to the outside of the frame Place the cord under the previous line of cord and bring back to the outside of the frame to create an anchor tie off point See figure 9b Starting from the front of the clothesline place your ...

Page 8: ...el Post adjustment may be needed Raising and lowering the post height can be done by lifting and packing concrete as needed Vertical checks Place the spirit level on front rear side of the post and also sides of the posts and make sure level Repeat concrete packing method for adjustments Once clothesline is installed and square fill the remainder of the holes with mixed concrete Leave clothesline ...

Reviews: