WirelessONE
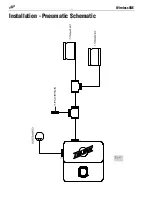
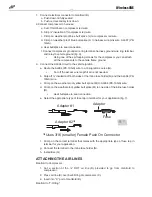
1. Cut a section of the ¼” DOT air line (D) provided to go from manifold (B) to “T- Fitting” (F).
2. Press air line (D) into the ”1” fitting of manifold (B).
3. Press other side of air line (D) into “T” fitting (F).
“T-Fitting” to Springs:
1. Cut a section of the ¼” DOT air line (D) provided to go from “T-Fitting” (F) to Left and
Right Air Springs.
2. Insert one side of air line (D) into “T-Fitting” (F) and the other into the Air Springs.
CHECKING THE SYSTEM
1. Pressurize the system to check for leaks.
2. Inspect all air line connections with a solution of 1/5 dish soap to 4/5 water. If a leak is
detected in a push-lock-fitting, cut the hose end square and reinstall the air line to the
fitting. Make sure the air line is cut off squarely and that the air line is completely pushed
into the fitting.
3. If the compressor or the solenoid fails to function, check the 15 AMP fuse and ground
connection. Repair and replace as necessary.
OPERATIONAL MODES
Normal Mode
: Mode in which the user can increment and decrement the desired pressure,
as well as set and recall the three memory pressures. “LB” will be displayed on startup
when the battery is getting low.
Settings Mode
: Mode in which the user can change the backlighting color, alter the unit
of measure (psig, or BAR).
Settings Mode
1.
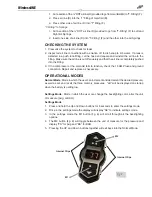
Press and hold the Up and Down buttons for 5 seconds to enter the settings mode.
2. Once in the settings mode the display will display “SE” to indicate settings mode.
3.
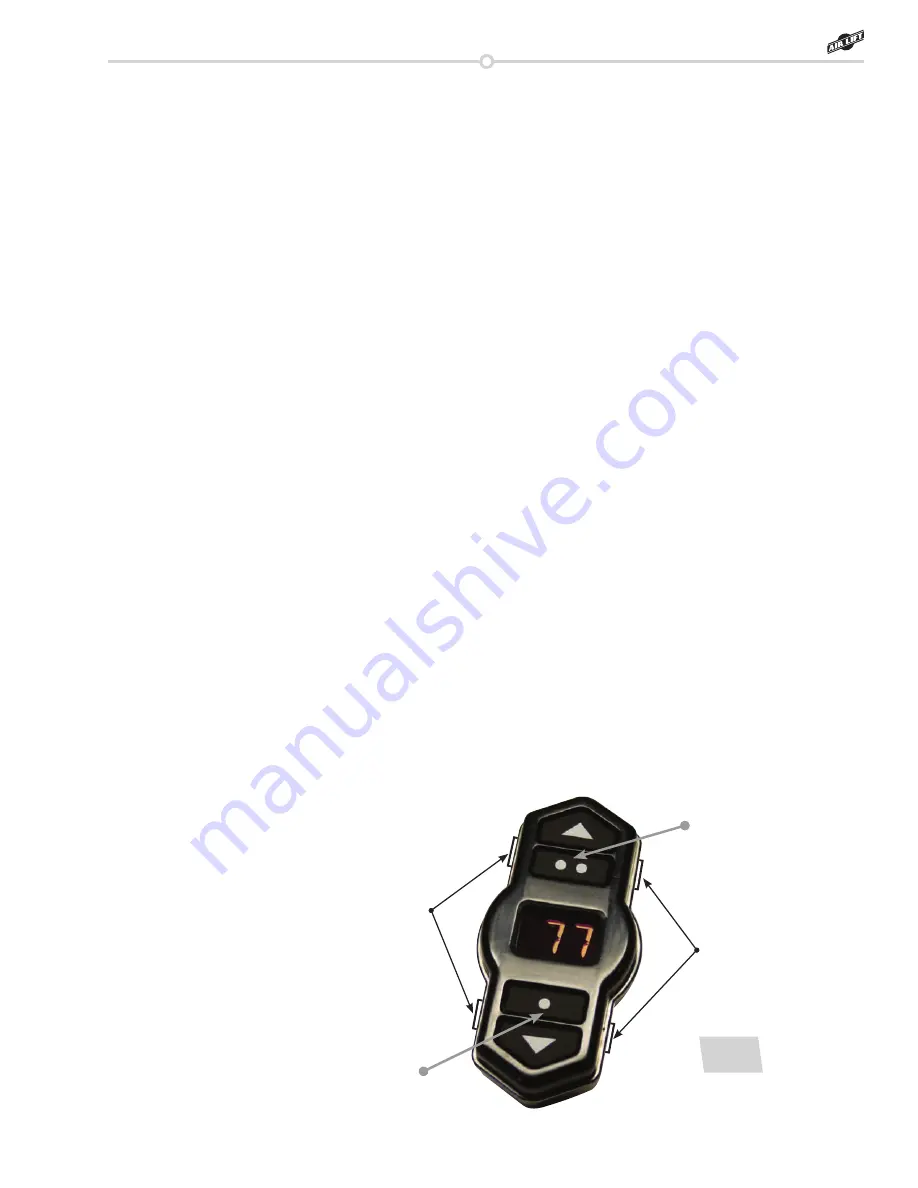
In the settings mode the M1 button (fig. 8) will scroll through all the backlighting
options.
4. The M2 button (fig. 8) will toggle between the unit of measure for the pressure and
display “PS” for psig and “BA” for BAR.
5.
Pressing the UP and Down buttons together will exit back into the Normal Mode.
fig. 8
Internal Clips
Internal Clips
M2
M1

