4
2. INSTALLATION - USER’S MANUAL SOLO GA
The SOLO GA, hereinafter referred to as "SOLO", has been technologically
developed to be fully Plug&Fly. It connects easily to any computer running
the FSX hereinafter referred to as "MFS" or Prepar3D hereinafter referred
to as "P3D" or X-Plane. Even so, weíll give you a series of steps to follow
to install your panel.
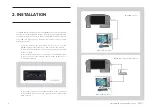
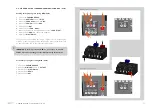
• Place the panel on the table where it is to be used or on the
SOLO support; in the latter case, follow its instruction manual.
•
Connect all the socket power cables from back panel to the multiple
power socket (2).
• Connect the multiple power socket (2) to a 115-230 VAC outlet.
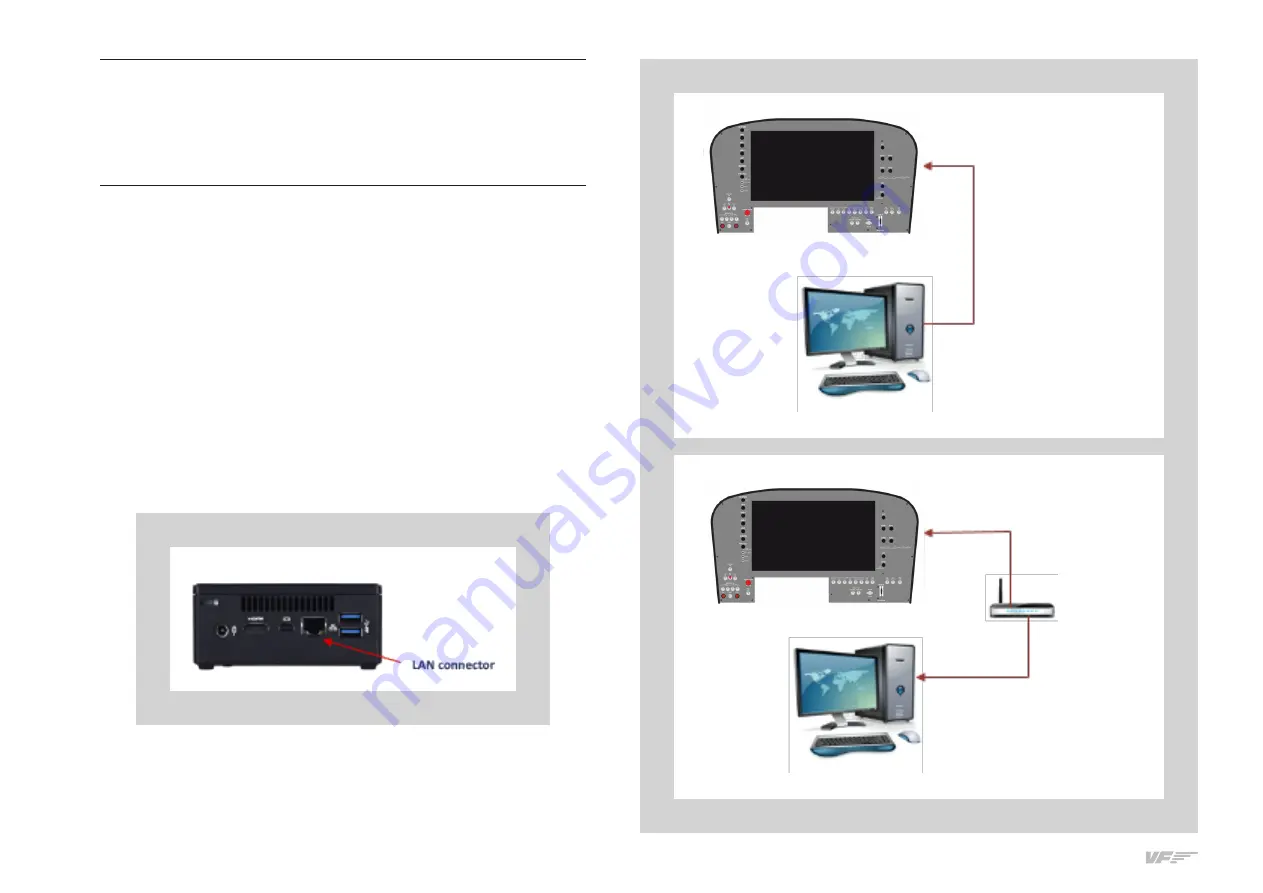
• Connect one end of the network cable (3) to the LAN connector
of the Mini-computer.
• Connect the other end of the network cable (3) to the computer's
MFS / P3D / X-Plane. You have two options, direct or through the
LAN network.
2. INSTALLATION
OPTION 1: direct
MFS / P3D computer
MFS / P3D computer
OPTION 2: Through LAN network

