CHAPTER 8: SENSOR CALIBRATION
55
8.3.3 Airdog ADII Gyroscope (Gyro) Calibration
Calibrate the Gyro on the drone only if the error message:
“Gyro Failed! Calibrate
Gyro”
displayed on AirLeash during the Airdog ADII Preflight Check.
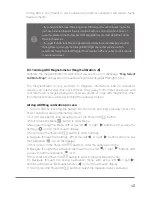
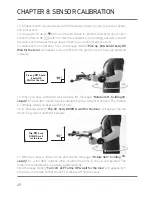
Follow the instructions as indicated below to complete gyroscope calibration. Make
sure you do not touch, move or shake the drone until the calibration process is
completed
Airdog ADII Gyro calibration process:
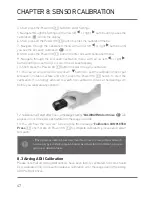
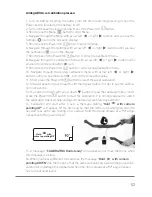
1. Turn on ADII by inserting the battery into the drone and long pressing (3 sec.) the
Power button (located on the battery itself).
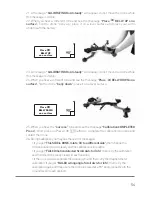
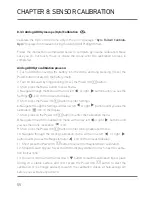
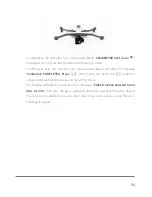
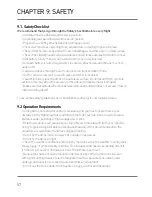
2. Turn on AirLeash by long pressing (3 sec.) the Power/OK
button.
3. Short press the Menu button to enter Menu.
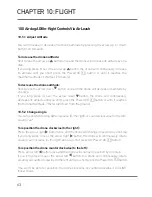
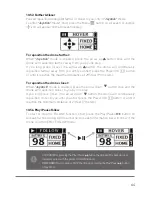
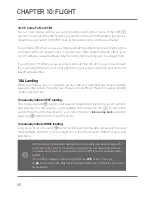
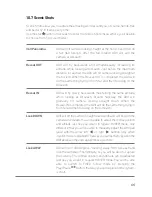
4. Navigate through the Menu with arrow left
or right
buttons until you see the
Settings
icon on the AirLeash display.
5. Short press the Power/OK
button to enter Settings.
6. Navigate through the Settings with arrow left
or right
buttons until you see the
Calibration
icon on the display.
7. Short press on the Power/OK
button to enter the Calibration menu.
8. Navigate through the Calibration menu with arrow left
or right
buttons until
you see the drone calibration
icon.
9. Short press the Power/OK
button to enter Airdog Calibration menu.
10. Navigate through the Airdog Calibration menu with arrow left
or right
buttons until you see the Magnetometer
icon on the AirLeash display.
11. Short press the Power/OK
button to select the magnetometer calibration.
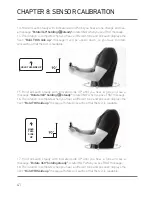
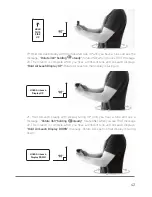
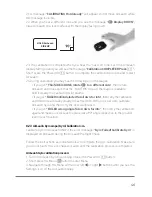
12. Strap AirLeash on your forearm with the display visible in order to see the calibra-
tion instructions.
13. You can scroll down with arrow down
button to read the calibration tips or place
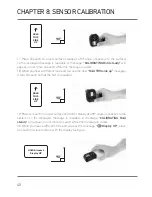
Airdog on a stable surface and short press the Power/OK
button to start the
calibration. It is strongly advised to watch the calibration videos at help.airdog.com
before you calibrate any sensors!

