Operation
8
3A1182G
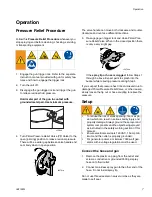
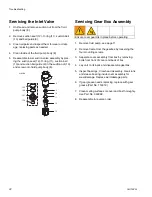
Fill the Packing Nut/Wet Cup
1. Fill the Packing Nut/Wet Cup with 5 drops of Air-
lessco Throat Seal Oil (TSO).
Flush the Sprayer
1. Flush the sprayer. See
Flushing Procedure
on
page
Prime and Flush Storage Fluid
Before beginning a new spraying project you need to
prime the sprayer and flush the storage fluid out of the
sprayer.
Oil- or Water-based Materials
•
When changing from water-based
material to oil
based material, flush with soapy water and then
mineral spirits solvent (also called white spirit).
•
When changing from oil based material to water
base material, flush with mineral spirits solvent (also
called white spirit), followed by soapy water, then a
clean water flush.
•
When flushing with solvents, ground pail and gun.
•
Flush before changing colors, before fluid can dry in
the equipment, at the end of the day, before storing,
and before repairing equipment.
Flushing
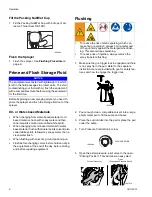
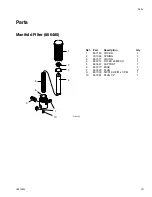
1. Make sure the gun trigger lock in engaged and there
is no spray tip in the gun. Refer to the separate
instruction manual provided with gun for safety fea-
tures and how to engage the trigger lock.
2. Pour enough clean, compatible solvent into a large,
empty metal pail to fill the pump and hoses.
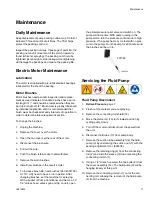
3. Place the suction tube into the pail or place the pail
under the pump.
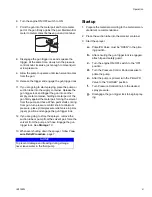
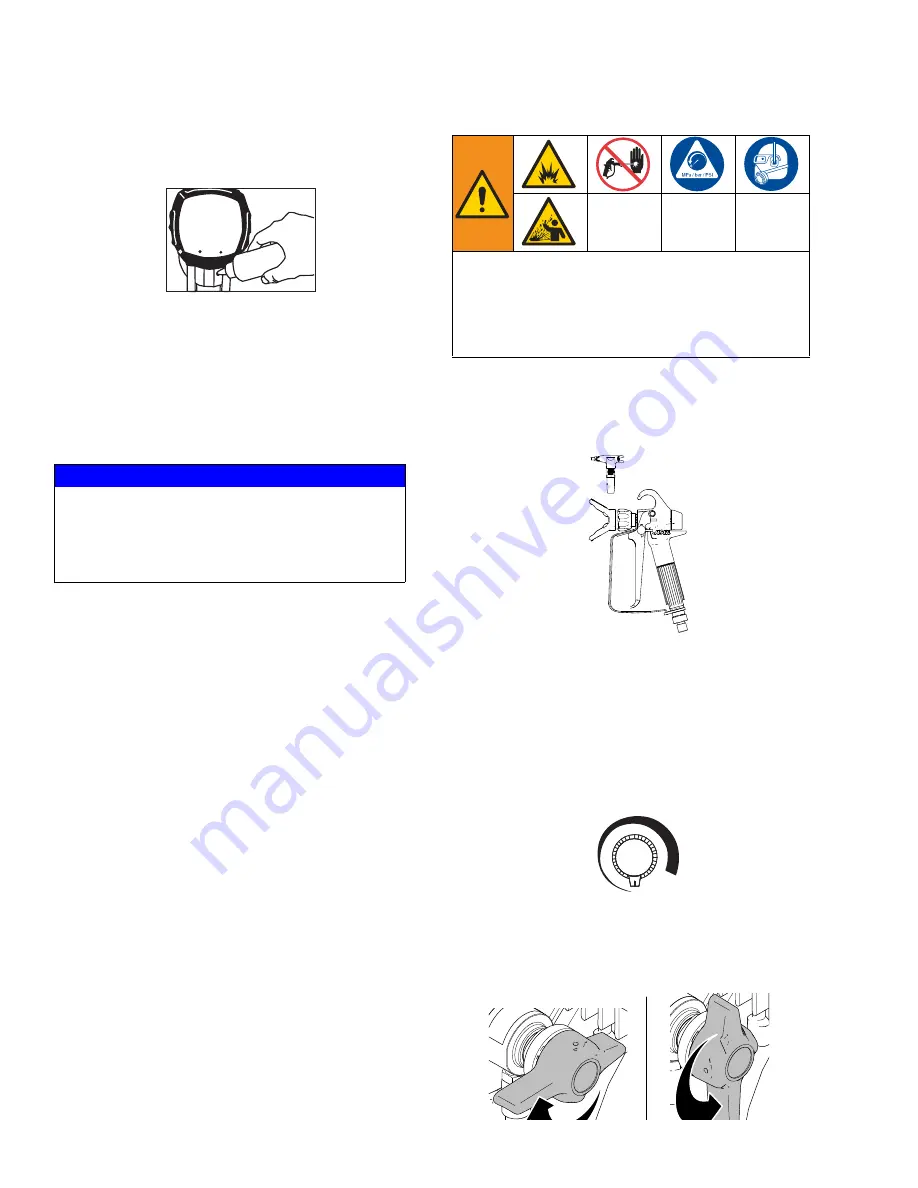
4. Turn Pressure Control Knob to low.
5. Open the prime/pressure relief valve to the open -
“Priming Position”. This will allow an easy start.
NOTICE
The equipment was tested with lightweight oil, which
is left in the fluid passages to protect parts. To avoid
contaminating your fluid with oil, flush the equipment
with a compatible solvent before using the equipment
for the first time.
M
M
•
To reduce the risk of static sparking, which can
cause fire or explosion, always hold a metal part
of the gun firmly against the metal pail when flush-
ing. This also reduces splashing.
•
To reduce risk of injection, always remove the
spray tip before flushing.
ti16028a
ti16048a
HIGH PRESSURE
Closed (Pressure)
Open
(Priming and Pressure Relief)
ti14791a
ti16049a


