


Maintenance
3A1182G
15
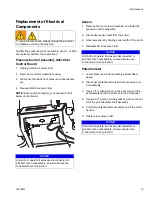
Replacement of Electrical
Components
Anytime the pressure control assembly, sensor, or both
are replaced, perform the calibrations.
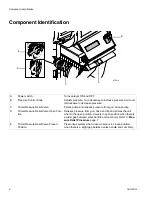
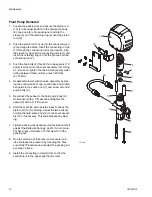
Pressure Control Assembly (Electrical
Control Board)
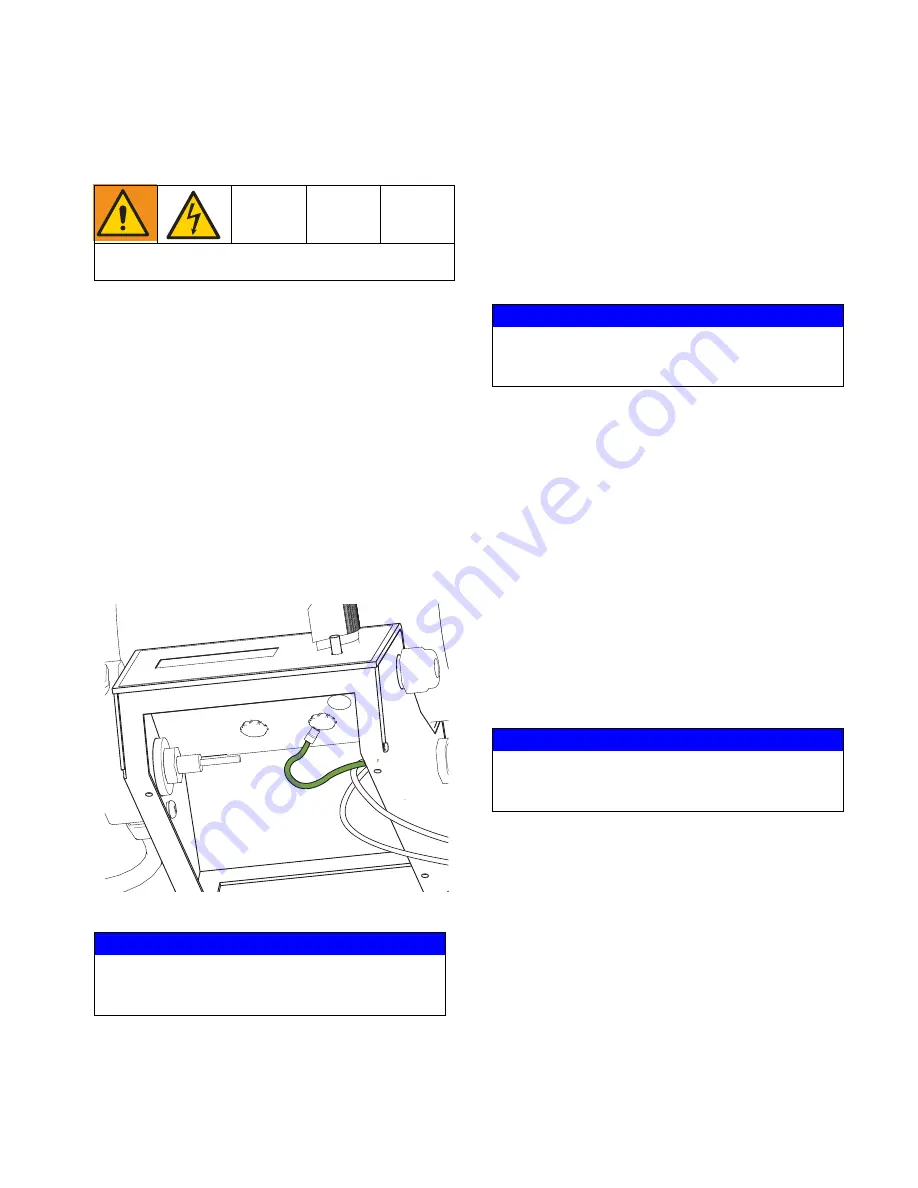
1. Unplug machine’s power cord.
2. Remove six screws heatsink housing.
3. Disconnect all leads from pressure control assem-
bly.
4. Reassemble in reverse order.
NOTE:
Ensure ground lead (A) is connected to bolt
below control board.
Sensor
1. Remove the four screws, heatsink, and lower the
pressure control assembly.
2. Disconnect sensor lead from the board.
3. Unscrew sensor by holding sensor with 3/4” wrench.
4. Reassemble in reverse order.
Potentiometer
1. Lower pressure control assembly as described
above.
2. Disconnect potentiometer lead from pressure con-
trol assembly.
3. Use a 1/16” allen wrench, loosen set screw in the
poteniometer knob and remove knob and spacer.
4. Using a 1/2” wrench or deep socket, remove the nut
from the potentiometer shaft assembly.
5. Pull entire potentiometer assembly out of the termi-
nal box.
6. Replace in reverse order.
To avoid electric shock, always unplug the electrical
cord before servicing the machine.
NOTICE
Unit will not operate if wires are disconnected or
pinched. Upon reassembly, ensure all wires are
connected and not pinched.
ti26349a
NOTICE
Unit will not operate if wires are disconnected or
pinched. Upon reassembly, ensure all wires are
connected and not pinched.
NOTICE
Unit will not operate if wires are disconnected or
pinched. Upon reassembly, ensure all wires are
connected and not pinched.


