Ver. 5A
This
Quick Installation Guide
only provides you with some basic instructions. For more
detailed information, please refer to the User Manual on the supplied CD.
Quick Installation Guide
Package Content:
•
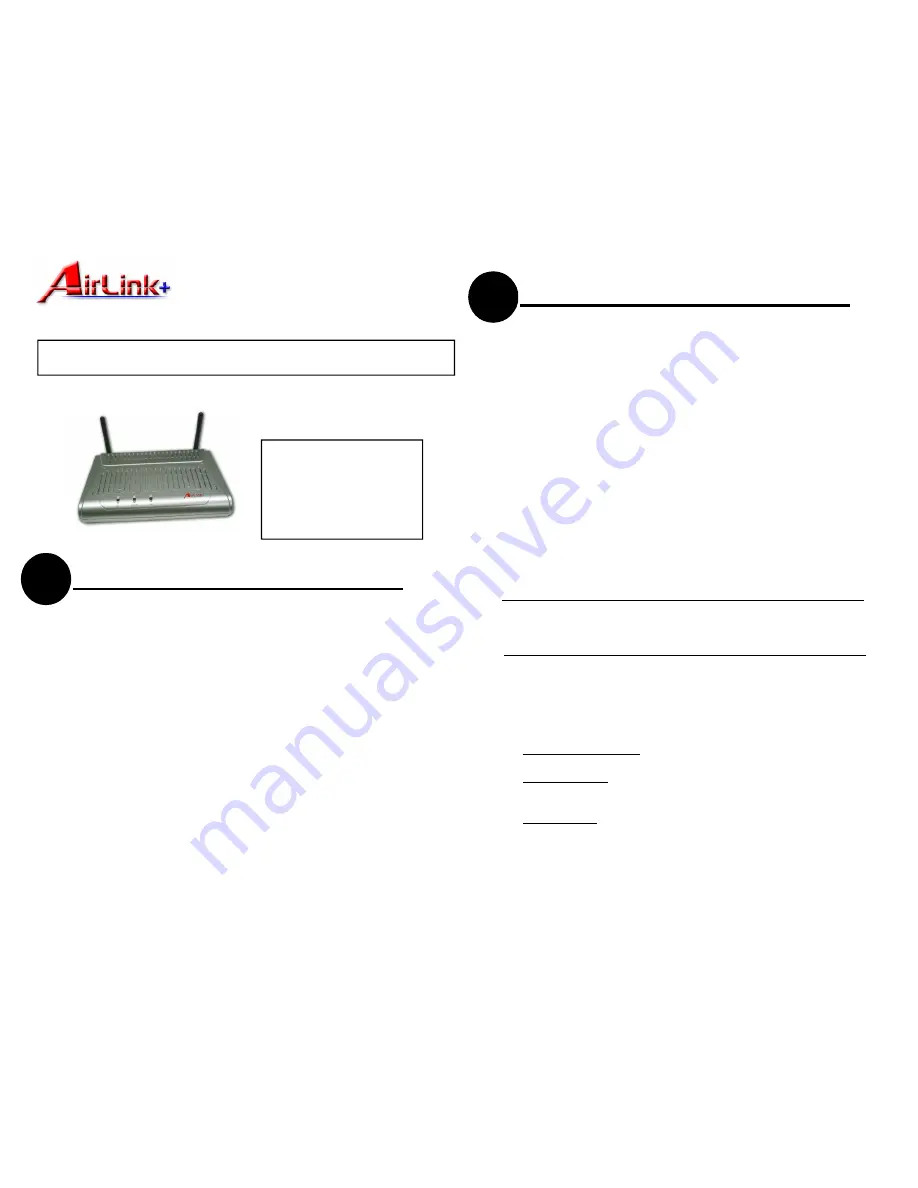
802.11g access point
•
Power Adapter
•
Category 5 UTP cable
•
Utility CD
•
Quick Installation Guide
1
Connecting the Access Poing (AP)
Prior to connecting the hardware, make sure to power off
your Ethernet device, Cable/ADSL modem and AP. Then
follow the steps below to connect the related devices.
Step 1
Connecting the power adapter.
Connect the single DC output connector of the power adapter
to the power jack on the back of the AP. Then connect the
supplied power cord to the power adapter and the other end to
an AC outlet.
Step 2
Connecting to Ethernet network.
Attach one end of the Ethernet cable with RJ-45 connectors to
your hub, switch or a PCs Ethernet port, and the other end to
the
LAN
port of your AP.
Setting Up Ethernet/WLAN Client
2
You can choose to access the APs Web interface via Ethernet or
wireless network. Whatever your choice, you must properly
configure the network settings of your PC to be in the same
subnet with the AP. As the AP is shipped with these defaults:
Step 1
Click the
Start
button. Select
Settings
and/or click the
Control
Panel
icon.
For Windows 98 and ME, double-click the
Network
icon.
For Windows 2000, double-click the
Network and Dial-up Con-
nections
icon. Double-click the
Local Area Connection x.
For Windows XP, click the
Network and Internet Connections
icon. Click the
Network Connections
. Double click the
Local
Area Connection x
under
LAN or
High-Speed Internet.
Model # RT211W
•
IP address: 192.168.1.1
•
Subnet mask: 255.255.255.0
•
DHCP server: Disabled
Therefore, you should configure your PC’s TCP/IP settings to use
a static IP as below:
•
IP address: 192.168.1.x (x is between 2 and 254)
•
Subnet mask: 255.255.255.0
•
Gateway: 192.168.1.1
Note
: Before you change the TCP/IP configuration, you should write
down your original configuration setting in case you need to restore it
later.


