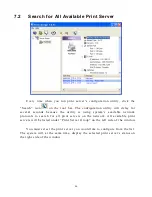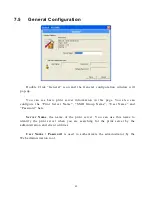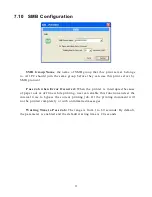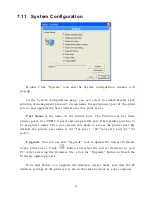
7.11 System Configuration
Double Click “System” icon and the System configuration window will
pop-up.
In the System configuration page, you can select to enable/disable each
printing or management protocol, assign name for each printer port of this print
server, and upgrade the new firmware for this print server.
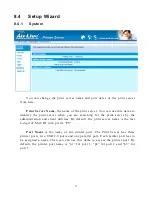
Port Name
is the name of the printer port. The Print Server has three
printer ports, two USB 2.0 ports and one parallel port. Each printer port has to
be assigned a name. Then you can use this name to access the printer port. By
default, the printer port name is “p1” for port 1, “p2” for port 2 and “p3” for
port 3.
Upgrade
: You can use this “Upgrade” tool to update the newest firmware
of the print server. Click “
” button and select the correct firmware in your
PC. After selecting the firmware file, click the “Upgrade” button to finish the
firmware update process.
Note that before you upgrade the firmware please make sure that the IP
Address settings of the print server are in the same network as your computer.
56
Summary of Contents for P-201
Page 1: ...P 201 P 201U Wired Printer Server User s Manual ...
Page 13: ...NetWare Network see below 8 ...
Page 22: ...17 ...
Page 27: ...22 ...
Page 32: ...4 Windows NT 2000 2003 Network 27 ...
Page 36: ...5 NetWare Network 31 ...
Page 42: ...6 UNIX System Network 37 ...
Page 67: ...8 Web Management 62 ...
Page 94: ...get argument ipconfig reboot exit 89 ...
Page 100: ...95 ...
Page 104: ...Step7 You can print a file to check whether the Print Server is installed successfully 99 ...
Page 109: ...104 ...
Page 111: ...106 ...
Page 112: ...Step4 Select Exceptions tab and click Add Program 107 ...

