AirLive SNMP-FSH2602MG User’s Manual
118
The significant characteristics of this switch are:
1. No redundant hardware required:
Unlike special requirement of connecting cable among “hardware stacking” switches, this
switch provides the least demand as a Gigabit module to build up a stacking set. The
Gigabit module give the best performance for inter-communication between stacking
switches and the administrator can spare one port of Gigabit module in the top switch or
the bottom one in the stack for flexible usage.
2. Well integrated UI to view status of stacking switches:
An user-friendly Web UI provides user to have a total view of the port link status and
VLAN group settings for all stacked switches
at a glance
.
3. Easy adding or removal stacking member:
All Stacking members can be easily added or removed through the network. By clicking
on the UI, the administrator can quickly determinate which switch will join the stack,
without adjusting the network connection in front of those switches. It saves great efforts
when trouble-shooting the network abnormality.
A guide to build up “Stacking Switches”
Follow these steps to build up a set of “Stacking Switches”:
1. Connect switches with Giga port in serial sequence.
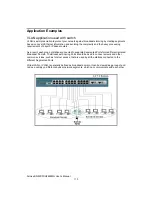
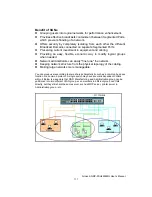
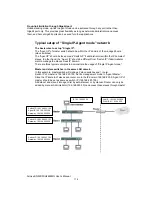
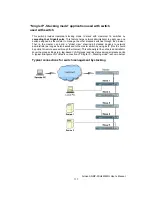
By reference to the picture of typical network connection of “Single IP – Stacking mode”, user
can connect these stacking switches with Giga port in serial sequence.
A connection check by pinging these switches’ IP will help to avoid network failure.
2. Make sure the master switch is set to “Stacking Master” and slaves to “Stacking Slave”.
In the Main Menu in “Administrator/IP & Management Mode”, user has to set the management
mode to “Stacking Master” and slave switches to “Stacking Slave”.
User, who wishes to access the stacking switches from remote IP, should fill up the switch IP
with its real IP and the agent IP with the alternative LAN IP; In other hand, for a local area
network access only, the switch IP and agent IP should be kept as the same as the LAN IP
exactly
.
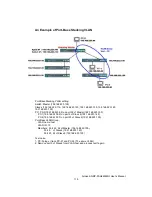
3. Add stacking members in the Stacking management.
Please refer section 2-4-14 for detailed configuration.
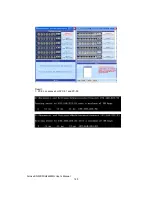
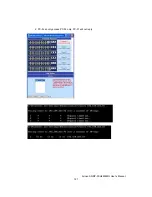
4. Launch the Stack manager.

