14
3.6.4.
Installation of the Service Cover
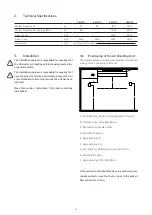
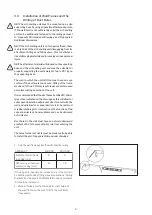
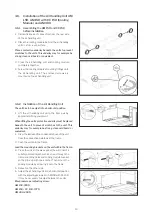
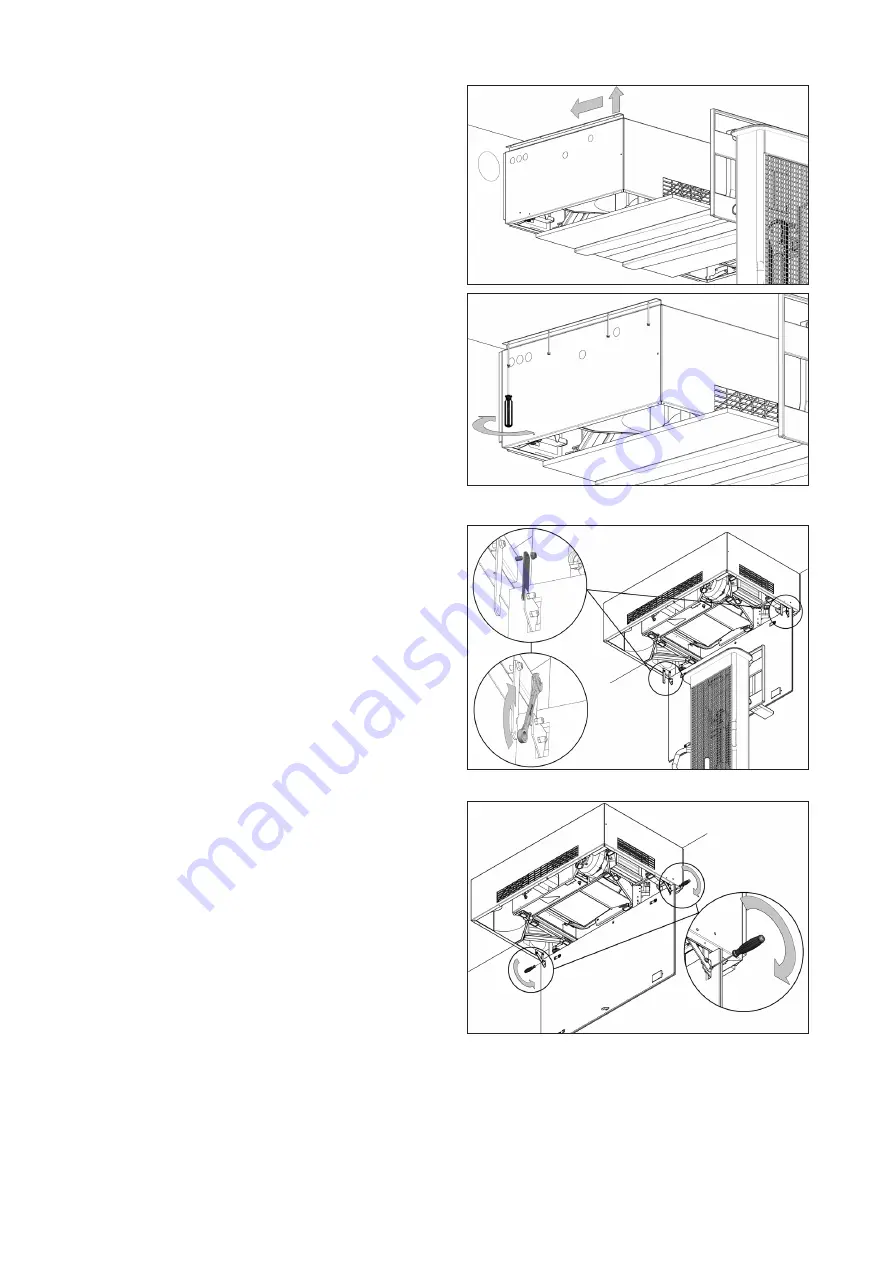
1. Lift the service cover up to the air handling unit,
using appropriate lifting equipment.
We would point out that, when lifting the service cover a
protective underlay must be placed beneath the service
cover to prevent scratches to the service cover. This
underlay may for example be strong, clean cardboard or
equivalent.
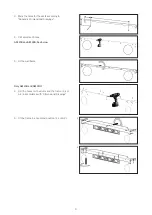
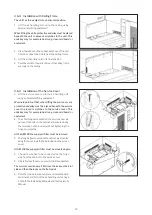
2. The short hinges mounted on the service cover are
put over the bolts on the cabinet and secured using
the two lock nuts provided, without tightening the
hinges completely.
At the AM 150 the supply air filter must be removed.
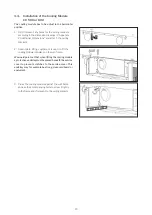
3. The long hinges mounted on the cabinet are mounted
using the two screws that are provided on the service
cover.
At AM 150 the supply air filter must be mounted again.
4. The earth wire has to be connected on the hinge
side from the cabinet to the service cover.
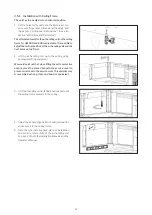
5. Carefully close the service cover while it is supported.
The service cover is heavy. First close the locks on the inlet
side and then the locks on the frame side.
6. Note the type, date supplied, place of installation and
serial numbers (S/N) of the air handling unit on page
2 of both the Installation Manuals and the Operator’s
Manual.
3.6.3. Installation with Ceiling Frame
The unit has to be adjust into a horizontal position.
1. Lift the air handling unit up to the ceiling, using
appropriate lifting equipment.
When lifting the unit a protective underlay must be placed
beneath the unit to prevent scratches to the unit. This
underlay may for example be strong, clean cardboard or
equivalent.
2. Draw the leads and the condensate hose of the unit
from the connection points past the ceiling frame.
3.
Lift the air handling unit to its final position.
4. Push the unit into the wall and mount the ceiling frame
securely to the ceiling.


