GRAZ
hopper
Version 8.0 Owners Manual
Updated January 2013
©2006-2013, Airparamo LLC www.airparamo.com www.grazhopper.com
Page 5 of 12
•
Premium 12” (30cm) Wheeleez wheels
are included. These wheels are ideally suited
for PPG trikes with low weight, suberb suspension capabilities, flexibility and robustness
on all types of surfaces, puncture resistance, easy field repairs, and flat tread with low
grip to help self-correct wing oscillations
•
Quality sealed steel bearings
in all three wheels are included as standard equipment
offering significantly improved wear and service life over nylon bearings are commonly
used by the competition.
3.
First Set-Up Assembly
The first time you assemble the GRAZ
hopper
, it is helpful to have a few tools handy: a
rubber mallet; two wrenches in 1/2”, and two wrenches in 7/16” to attach or tighten various
bolts and nuts; a small flat head screwdriver; and a 3/16” allen wrench. Estimate 1 to 2
hours to assemble and hang test your GRAZ
hopper
.
To begin assembly of the GRAZ
hopper
:
3.1
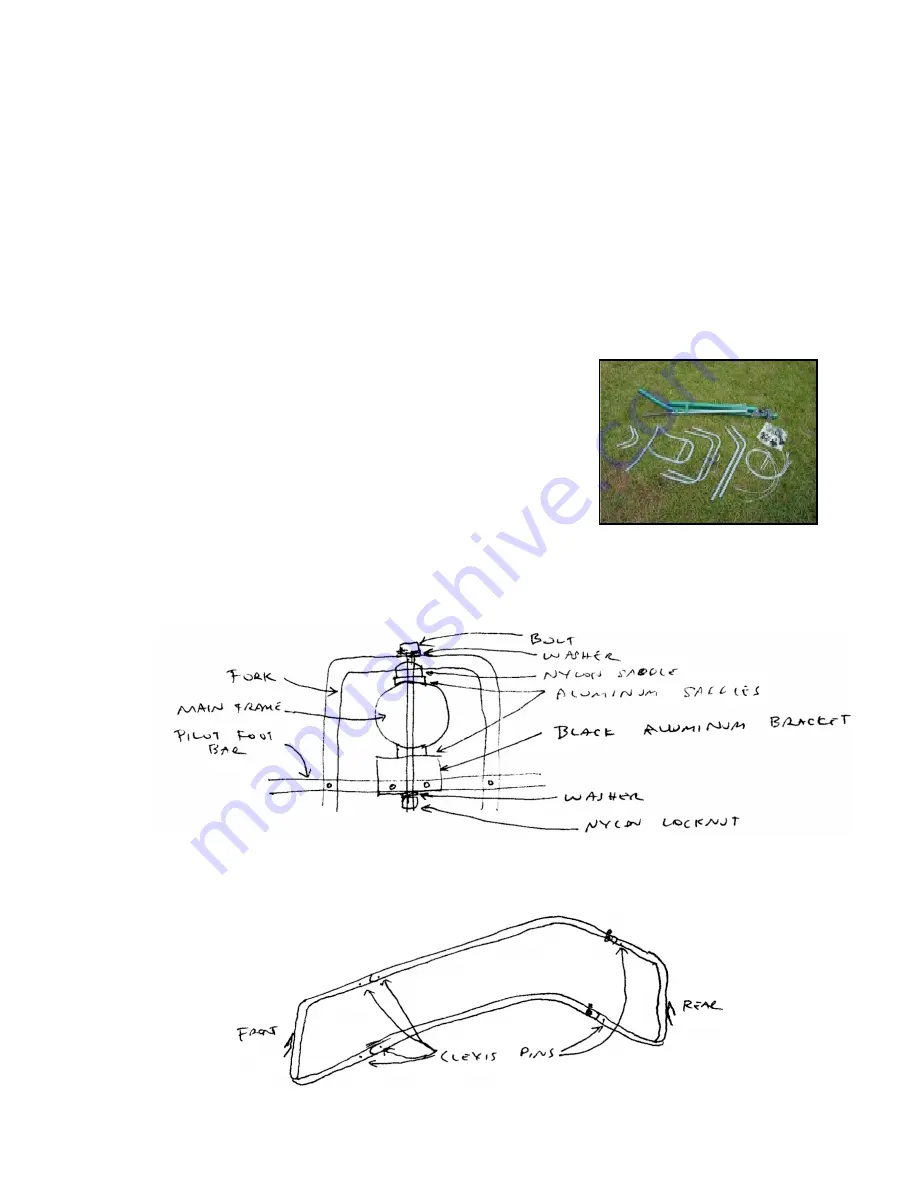
Start by separating and checking the parts
: the
main frame, the wheels, the front fork components, the
roll bar components, all hardware, and the harness(es).
The small footprint of the basic components makes for
simplified and inexpensive shipping of the GRAZ
hopper
.
3.2
Fill the Rolleeze wheels with the correct air
pressure
as listed on the tire.
ATTENTION
:
Do not over-inflate the Rolleeze wheels.
This could damage them. Be careful to not leave the
Rolleeze wheels in the sun on a warm summer day or in a hot vehicle. Also, be careful
when traveling to high elevations. The tires could burst or be damaged due to over-
inflation from high temperatures or drastic changes in altitude.
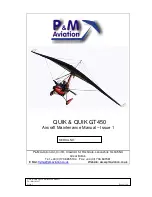
3.3
Attach front fork.
Attach bolt, saddles, washers, and nut to fork and main frame.
See diagram below.
3.4
Assemble the main rail components with the supplied hardware.
Attach four
rail pieces using supplied clevis pins with the key ring facing inwards. Use rubber
mallet to gently align pieces together. Use a small flat head screwdriver to help put
rings onto clevis pins. See diagram below.


