5
Network Indicator LED:
The green LED is on when connected to the network, the yellow LED blinks when
data is transferred.
RJ45 Port:
RJ-45/10-100 base T, connect the network cable here.
Power Jack:
DC 5V/2A power supply.
RESET BUTTON:
Press and hold the RESET BUTTON for 30 Seconds to reset the camera back to the
factory default settings. (Please keep the power on when doing a RESET)
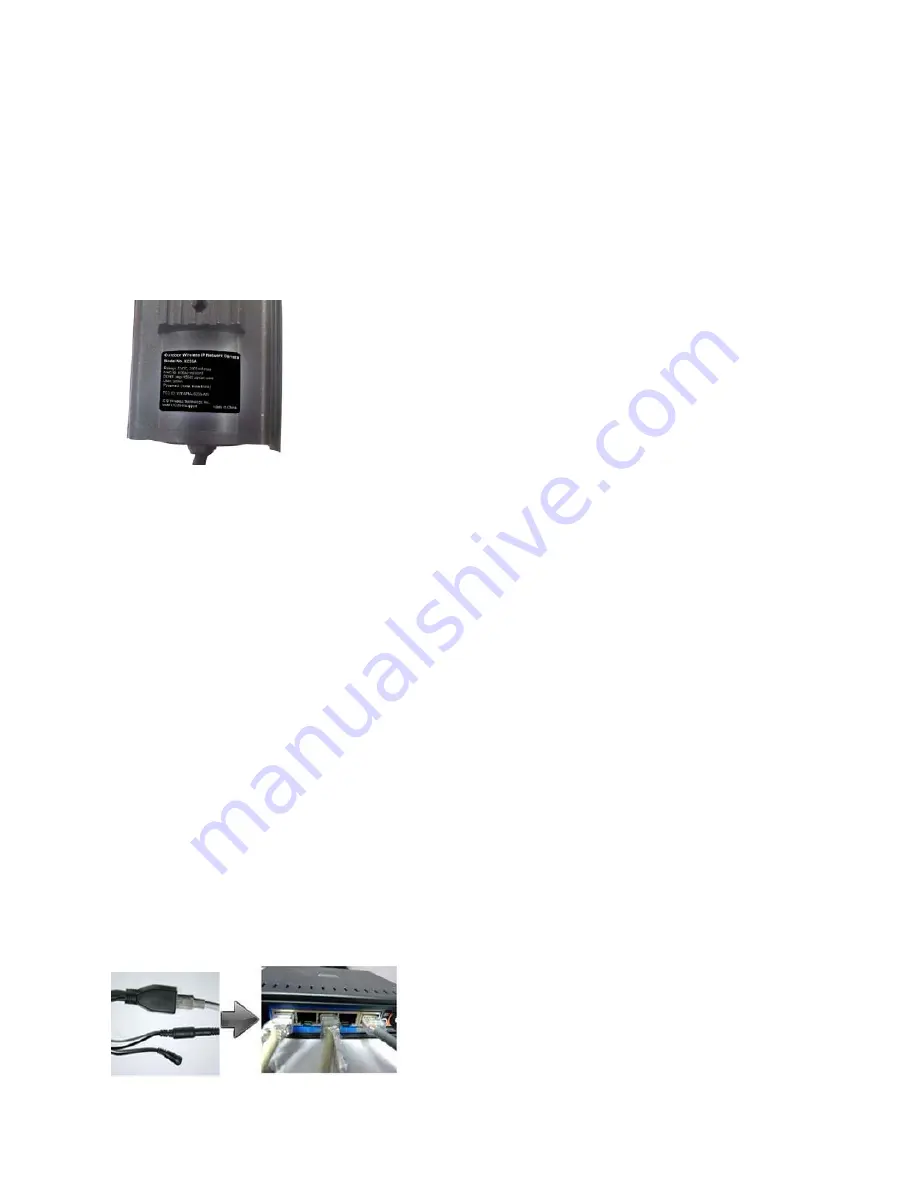
1.3.3 Bottom View
Figure 1.3
Please note the unique MAC and DDNS addresses on the bottom of the camera (different for every camera).
1.4 PC System Requirements
System configuration requirements:
CPU:
2.06 GHZ or above.
Memory
: 256M or above.
Network Card:
10M or above.
Display Card
: 64M or above memory.
Recommendable Operating system:
Windows XP, Windows Vista, Windows 7.
1.5 Hardware Installation
You need to set up your camera using a network cable (wired) first before you attempt to use it wirelessly. It is
recommended that you set the camera up indoors first, before routing the cables through an external wall to
mount it outdoors.
1. Install the Wi-Fi antenna.
2. Plug the power adaptor into the camera.
3. Plug the network cable into camera and router/switch.


