19
Rate and Resolution
:
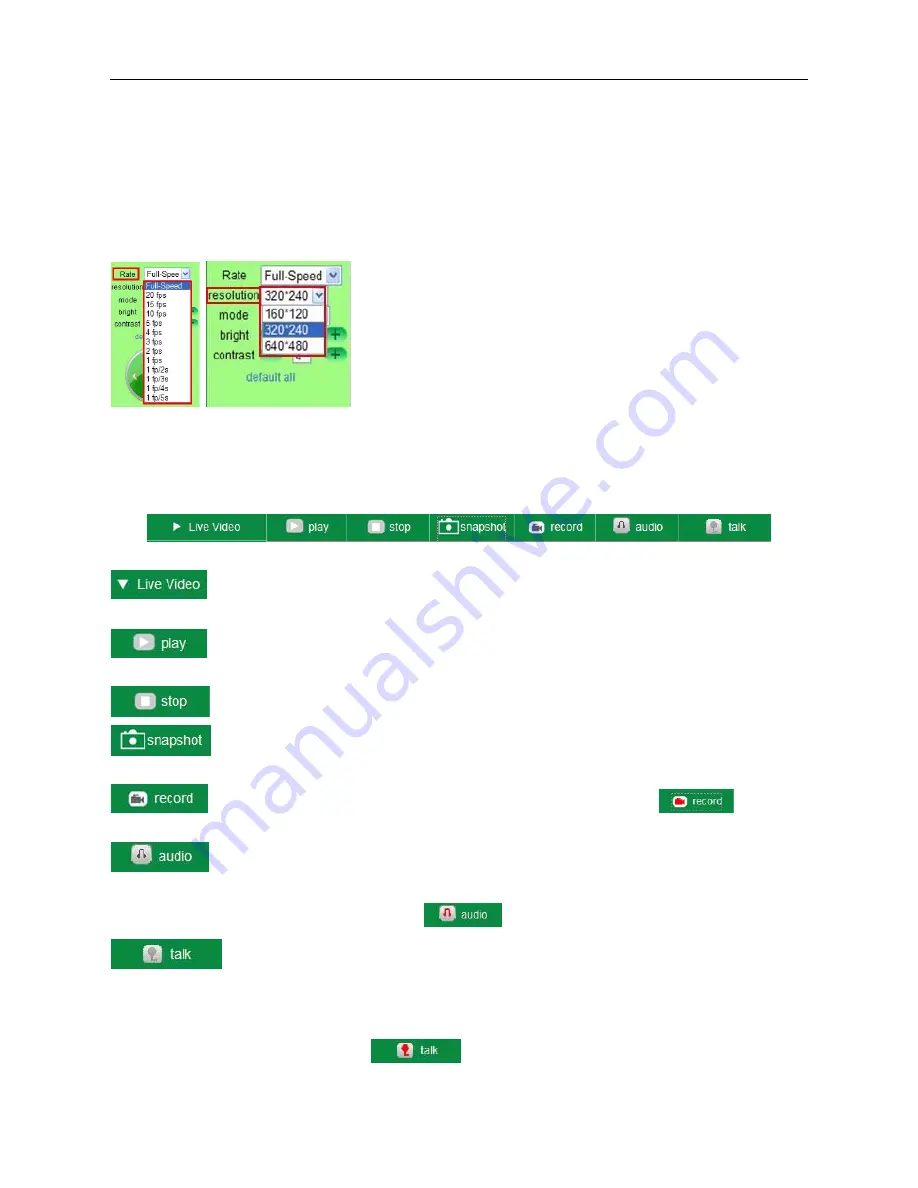
Rate
: Set video frame here, from “full-speed to 1fp/5s”. (Figure 3.8).
Resolution:
Set the resolution to be 160*120/VGA (640*480)/QVGA (320*240). (Figure 3.9).
NOTE: When doing recording, Rate and Resolution parameter settings is very helpful for getting
smaller sized record files, lower the parameter to get a smaller file.
Figure 3.8
Figure 3.9
TOP Menu
:
Figure 4.0
Click to get live video. When you want to get back to live video from other menus, just click it.
Only under live video, you can do the operation on the right side, such as
play, stop, snapshot
etc.
Click to get into play mode, when you click the stop icon, the video will be stopped, then if you
click the play icon, it will show the video again.
Click to stop the live video. You can click the play icon if you want to see live video again.
Click to get snapshot. It will show the date and time of the snapshot you get, if you save it, you
will find the snapshot file named by “snapshot_MAC ID_date_time”
.
Click to start recording manually, and the icon will change to red color
click it
again, it will stop recording. The record file will be saved to the folder you set. (Figure 10.8 - Figure 11.0).
Click to collect the sound from the camera, you will hear the sound from the camera through
the speaker in the computer which you are using. Your IP Camera has a built-in microphone, when you click it
to start working, the icon will change to red color
click it again, will stop the audio function.
Click to start the talk function, (you’ll need to plug a microphone into your computer if it
doesn’t have one built-in). When you talk into the microphone in your computer, the sound will come out from
the built-in speaker in the camera, people beside the camera will hear the sound. If you connect an external
speaker to the audio output jack on the back of the camera (Figure 1.2), you will get better sound. Click it once
to start, the icon will change to red color
click it again to stop the talk function.


