background image

7

It’s important to carefully read the following installation 

instructions before beginning the installation of your oven.

Important installation safety 

– 

Always switch the power off prior to beginning the installation.

 Stainless steel is very easily damaged during installation. Wherever possible,

protect the rangehood with the cardboard box or plastic wrap during the

installation.

For safety reasons, this Rangehood must be earthed.

 A power point must be located within 1.5m of the power cord exit from the

rangehood, and it should be always accessible to allow isolation from power

during cleaning or maintenance.

 A 150mm round ducting adapter is supplied, however all other ducting

accessories are not.

All ducting must comply with building codes and local requirements.

 If you are re-circulating the air, rather than ducting, please ensure that the side

outlet grilles are not obstructed in any way as this will effect the effi ciency of

the rangehood.

 Ensure that the rangehood is mounted in a level position, both horizontally

and vertically. This is essential to ensure the rangehood operates correctly and

prevents grease build

 up at one end.

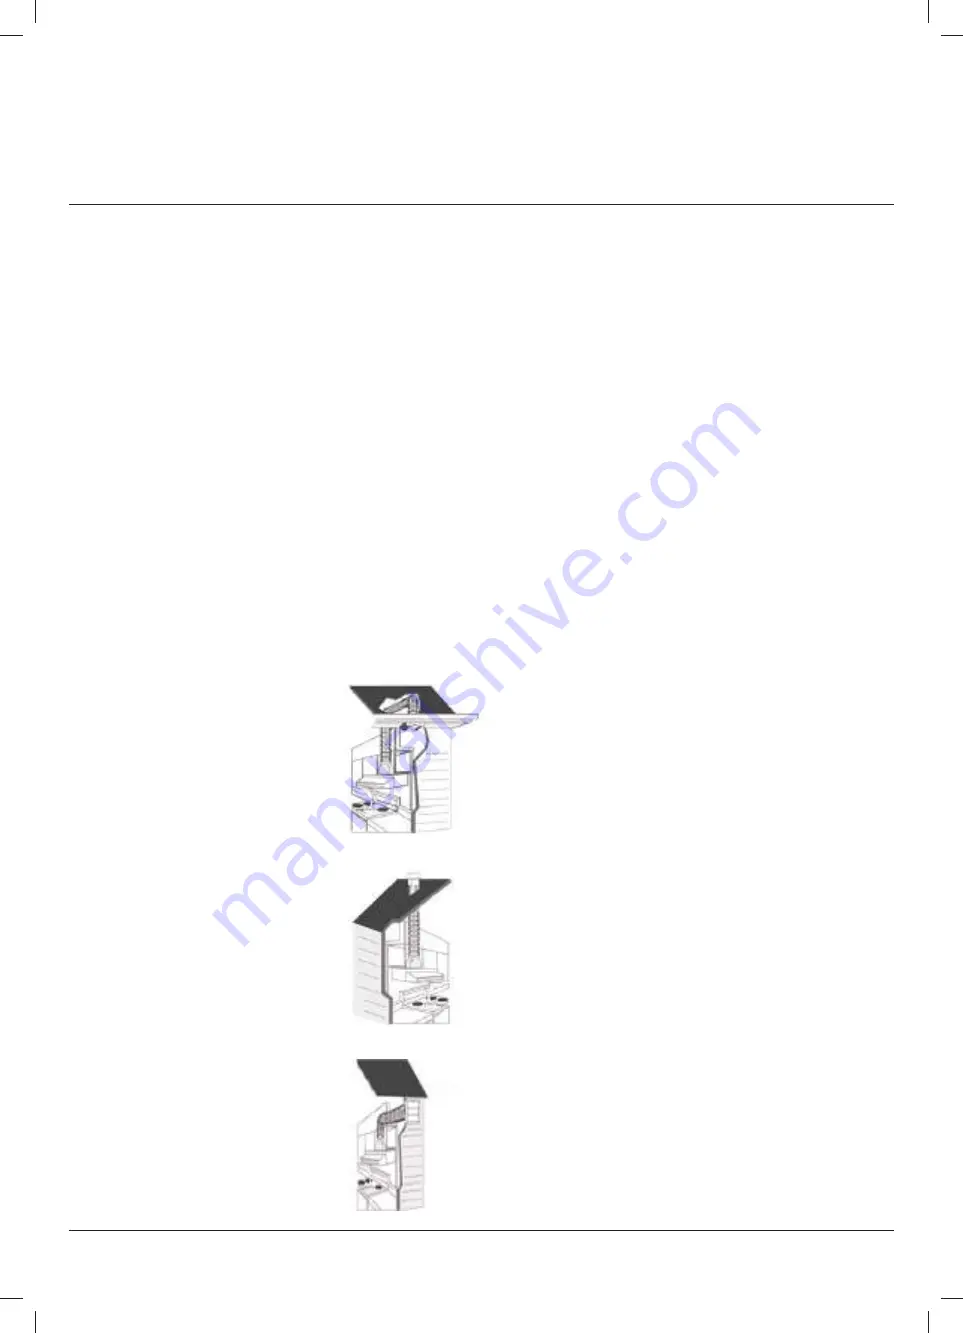
Ducting options 

 Before beginning the installation of your rangehood, the method of ducting should be 

considered and selected. The guide below illustrates the various ducting options.

Note:


This rangehood can be operated in recirculation mode where required, 

although 

Esatto

 recommends to duct wherever possible.

1.

Into your ceiling cavity and then vented through your eaves.

2.

Straight up and through your tiled or metal roof.

INSTALLATION INSTRUCTIONS

Summary of Contents for Esatto ERHGC60

Page 1: ...86 5 0 18 13 0 6 6 XUYHG ODVV DQRS 5DQJHKRRG GQ GQ...

Page 2: ...aning our Support Team are here to help You can use our online Support Centre at anytime by visiting http support residentiagroup com au or you can contact us via telephone by dialling 1300 11 HELP 43...

Page 3: ...y Instructions Your Rangehood Operating Your Rangehood Installation Instructions Cleaning Maintenance Troubleshooting Technical Data Notes Warranty Information Purchase Details PAGE 4 5 6 7 10 11 12 1...

Page 4: ...not affect your statutory rights The use of this rangehood for any other purpose or in any other environment without the express agreement of Residentia Group will invalidate any warranty or liability...

Page 5: ...Stainless Steel flue pieces upper and lower 1 Wall Bracket hook for the rangehood 1 Wall Bracket for the inside of the chimney pieces 1 Outside Chimney bracket Typical installation tools required You...

Page 6: ...for simmering and cooking which does not make much steam Medium Speed button This is ideal for standard cooking operation High Speed button When a high density of smoke or steam is produced use this s...

Page 7: ...re not All ducting must comply with building codes and local requirements If you are re circulating the air rather than ducting please ensure that the side outlet grilles are not obstructed in any way...

Page 8: ...part of the instructions that include details of how to mount the equipment INSTALLATION INSTRUCTIONS CONTINUED After hanging the hood on the bracket remove the filters mark 2 holes inside the hood fo...

Page 9: ...LLATION INSTRUCTIONS CONTINUED Holes on wall Screw 4mm x 30mm Screw plug Fig 5 Fig 6 Wall bracket Fig 8 Fig 7 Upper decorative chimney Inner Lower Chimney bracket Lower decorative chimney Outer Fig 9...

Page 10: ...n coating would be cleaned away Cleaning the cooker hood To protect the main body of your rangehood from corrosion or stains the cooker hood should be cleaned with hot water with a non corrosive deter...

Page 11: ...the appliance or your kitchen then they will not complete a repair This includes situations where the rangehood has been tiled in or sealed in with a sealant Please refer to the conditions of that app...

Page 12: ...12 NOTES...

Page 13: ...epair an Appliance during the Warranty Period g Warranty Period means i where the Appliance is used for personal domestic or household use i e normal single family use as set out in the instruction ma...

Page 14: ...of the Appliance 10 For Appliances and services provided by Residentia Group in Australia the Appliances come with a guarantee by Residentia Group that cannot be excluded under the Australian Consumer...

Page 15: ...below and staple your receipt on the opposite page Store details Store name Address Telephone Purchase date Product details Model no Serial no Note Your serial number can be found on the inside of th...

Page 16: ...16 RECEIPT...

Page 17: ...Visit Us Online www esatto house www airvolution space V E R S I O N N U M B E R 1 2...

Reviews: