24
AIRZONE SUPERMASTER CONTROLLER (AZX6CSMASTER [S/E] [B/G])
Important:
This device is not compatible with the Production Control Board (AZX6CCP).
Assembly
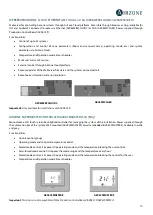
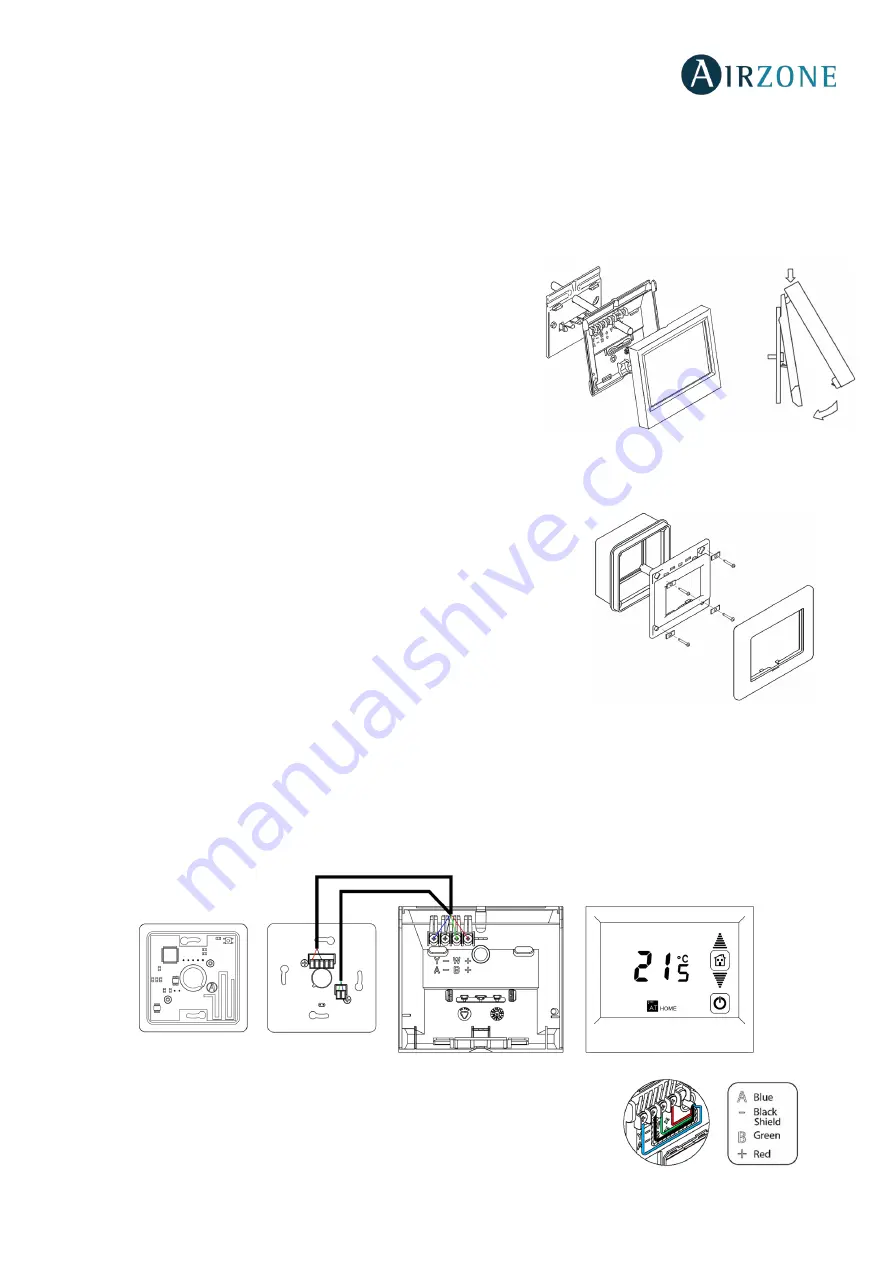
Airzone supermaster controllers can be mounted on wall (AZX6CSMASTERS) or wall-embedded (AZX6CSMASTERE).
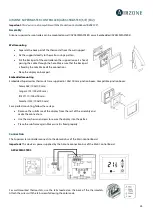
Wall mounting
•
Separate the back part of the thermostat from the wall support.
•
Fix the support directly to the wall or using a patters.
•
Put the back part of the controller on the support (once it is fixed)
passing the cable through the hole. Make sure that the back part
is fixed by the tabs. Make all the connections.
•
Place the display on back part.
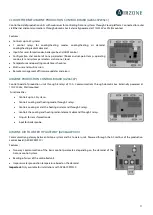
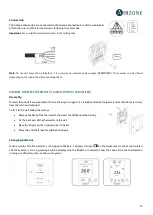
Embedded mounting
Embedded Supermaster thermostats are supplied in 100x100 mm junction boxes. Compatible junction boxes:
-
Solera 362 (100x100 mm)
-
Jangar 2174 (100x100 mm)
-
IDE CT110 (100x100 mm)
-
Fematel Ct35 (100x100 mm)
For a perfect mounting, follow these steps:
•
Remove the sub-frame of the display from the rest of the assembly and
make the connections.
•
Use the washers and screws to secure the display into the patters.
•
Place the sub-frame again. Make sure it is fixed properly.
Connection
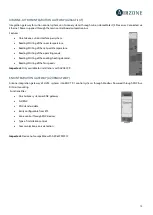
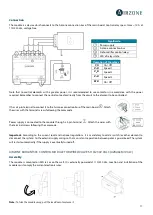
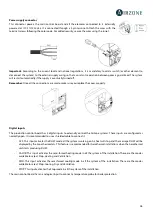
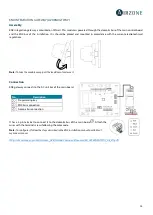
The Supermaster controller connects to the domotic bus of the Main Control Board.
Important
: This device is power supplied by the Airzone connection bus of the Main Control Board.
For wall-mounted thermostats, use the tabs located on the back of the thermostats.
Attach the wires with the tab screws following the color code.
AZX6CSMASTERS
Summary of Contents for 8435418928905
Page 1: ...r e b m u N e g a P d r a o b p il C Installation Manual RADIANT365 AZRA6RADIANT AZRA6CM1VALC...
Page 2: ...1 8 ZONES AZRA6RADIANT AZRA6CM1VALC...
Page 35: ...36 Blueface Think Important Use to confirm and to return...
Page 49: ...50 NAVIGATION TREES NAVIGATION TREE BLUEFACE THERMOSTAT...

