30
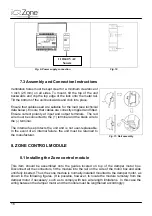
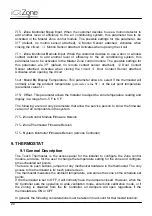
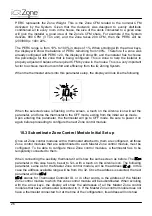
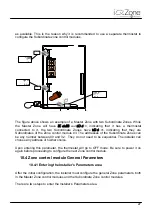
Upon confirmation of the parameter change, the next parameter that will show in the screen
will be
RSt
.
Select ON with the arrow keys
and confirm with a touch to the
Airzone icon.
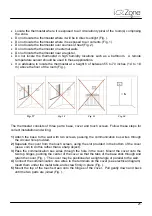
The thermostat will go to the
initial setup screen
At this point the thermostat is ready to enter into the Initial Configuration (section 11.1)
11. ACTIVATING THE SYSTEM CONFIGURATION
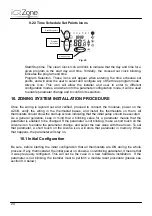
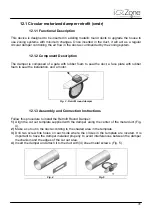
Once all parameters have been set, the installer needs to indicate to the Airzone Controller
that the configuration has been set, and the system is ready. This is done by pressing the
Set Configuration button on the Airzone Controller. While pressing and holding the Set
Configuration button LEDs D13 and D14 will light up. Continue pressing the button until both
LEDs turn off.
The Airzone Controller is now ready to be connected to the iQ Controller.
12. DAMPERS INSTALLATION
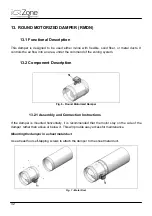
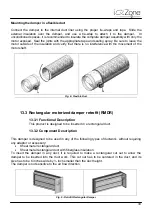
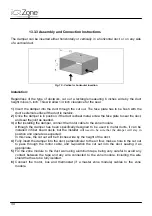
Dampers must be installed in full compliance with the local building code. Since the iQ Zoning
dampers are not spring loaded, they have no air flow direction restrictions. Always install the
dampers in such a way that there will be proper access for maintenance. If the damper has to
be installed in a limited access area, install the Zone control module remote from the damper in
an accessible place. Extend the damper motor cables using AWG18, bicolor, two conductor
stranded cable. In horizontal ducts, avoid installing the damper with the motor underneath the
duct. Although the motor is protected, having the motor on the side of the duct is the ideal
location.
rst
0n
rst
0n
su
b
ZCon
Summary of Contents for iQ Zone
Page 1: ...Installation Manual...
Page 2: ......
Page 5: ......
Page 17: ...17 Fig 12 Fig 13 Fig 14...
Page 43: ......
Page 44: ......
Page 45: ......

