15
EN
FR
ES
IT
PT
DE
LITE THERMOSTATS
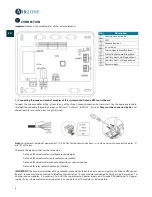
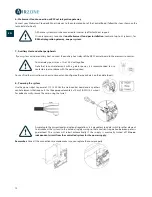
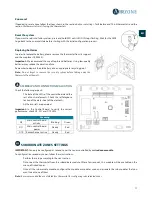
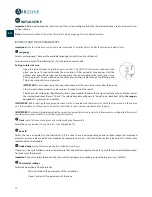
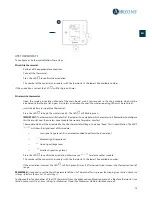
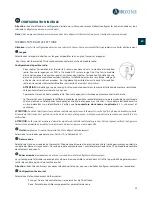
To configure a Lite thermostat, follow these steps:
Wired Lite thermostat
-
Perform all the appropriate connections.
-
Connect the thermostat.
-
Press the LED
to confirm the association.
-
The number of the zone which associates with the thermostat is the lowest free available number.
If the association is correct, the LED
will flash green 5 times.
Wireless Lite thermostat
-
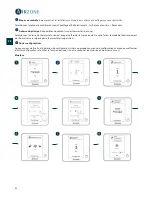
Open the wireless association channel of the main board, wait a few seconds so the zone module, which will be
associated to the thermostat, opens its wireless association channel (the wireless opening LED must be solid red).
-
Insert the battery to supply the thermostat.
-
Press the LED
to begin the wireless search. The LED
will blink in green.
IMPORTANT:
The thermostat will display first the wireless zone modules which are closer to it. Remember to configure
this thermostat near the wireless zone module to associate for greater comfort.
-
The module which will be associated to the Lite thermostat will begin to make a “beep” for its identification. The LEDS
will show the signal level of this module:
o
Low signal range level (It is not recommended to perform the association).
o
Medium signal range level.
o
Good signal range level
o
Excellent signal range level.
-
Press the LED
to confirm the association, otherwise use
to select another module.
-
The number of the zone which associates with the thermostat is the lowest free available number.
-
If the association is correct, the LED
will flash green 5 times. If it flashes red twice, it means the thermostat is out of
range.
REMEMBER:
Is required to set the Main ID parameter of the Lite Thermostat for its proper functioning
(see section
Advanced
settings – Blueface thermostat
,
Zone settings
).
Configure other functionalities of the LITE thermostat from the advanced configuration menu of a Blueface thermostat (see
section
Advanced settings
,
Zone settings
) or Webserver Cloud (See Webserver Cloud installation manual).

