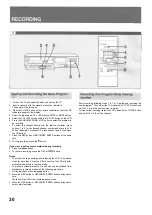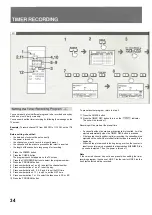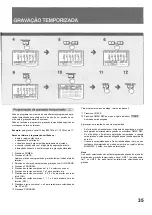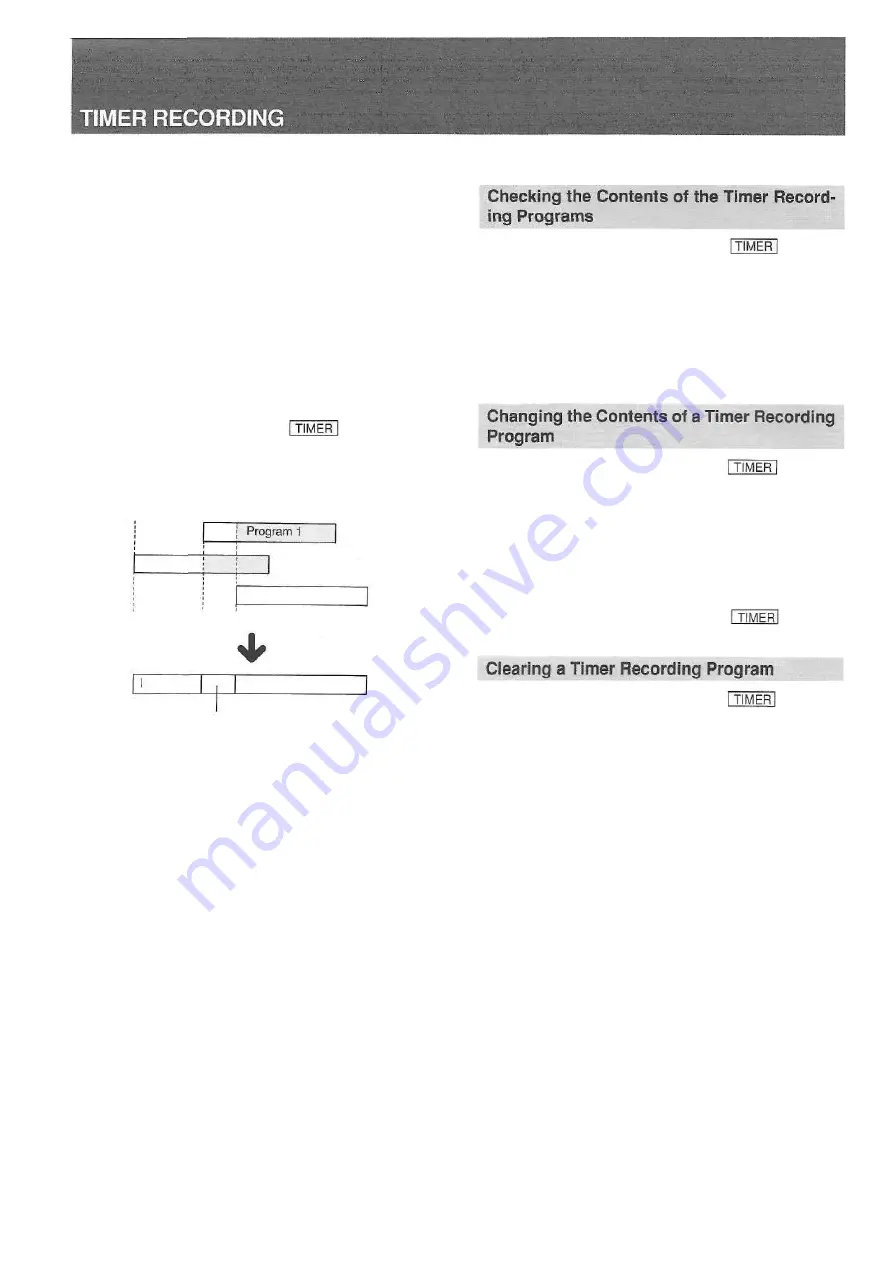
Program 1
Program 3
Program 2
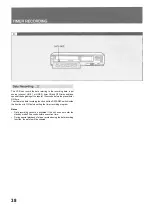
Actual recording
9:00
10:00 10:30
12:30
Program 3
Program 2
To set for daily recording
In step 6, press the 9/E.DAY button so that the "EVDY" indication is
displayed. Follow steps 7 to 12. Recording will be made at the same time
everyday.
To set for weekly recording
In step 6, press the 8/E.WEEK button so that the "EW--" indication is
displayed. Then select the desired day and follow steps 7 to 12. Record-
ing will be made at the same time on the same day every week.
To record from the equipment connected to LINE IN 1 or 2
Press the INPUT button in step 5 so that the "L-" indication is displayed.
Select the LINE 1 (on the rear) or LINE 2 (on the front) with number
button 1 or 2.
To operate the VCR when the timer recording is activated
' Press the TIMER REC button so that the indicator goes off.
To reactivate the timer recording, press the TIMER REC button again.
If two programs overlap
• When the programs overlap, the later program has priority.
• When the programs overlap, the program contents overlapped blink
on the TV screen.
• When the quick timer recording (see page 40) and an automatic
timer recording program overlap, the quick timer recording has pri-
ority.
36
1 Press the TIMER REC button to turn off the indicator.
2 Press the POWER button.
3 Press the CHECK button.
The program check list will appear on the TV screen.
To turn off the check list, press the CHECK button again.
• If the programs overlap, the VCR beeps 3 times or more.
• In the timer standby mode you can check the contents on the display
window.
1 Press the TIMER REC button to turn off the indicator.
2 Press the POWER button.
3 Press the CHECK button.
4 Press the CH/CURSOR button to select the program number to be
changed.
5 Press the PROGRAM button.
6 Press the CH/CURSOR button to select the item to be changed.
7 Change the item using the number buttons.
8 Press the PROGRAM button.
9 Press the CHECK button.
10 Press the TIMER REC button to turn on the indicator, if
necessary.
1 Press the TIMER REC button to turn off the indicator.
2 Press the POWER button.
3 Press the CHECK button.
4 Select the program number with the CH/CURSOR v or ^ button.
5 Press the PROGRAM button.
6 Press the CANCEL button.
The program will be cleared.
Summary of Contents for HV-BR3000
Page 1: ......
Page 48: ...80 JU2 911 01 900510 ATM Y Printed in Japan AIWA Co Ltd...

