ENGLISH
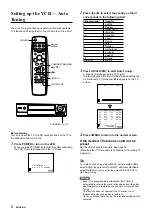
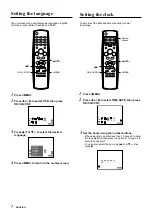
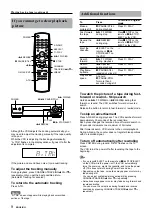
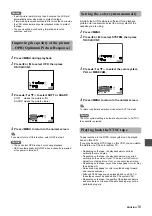
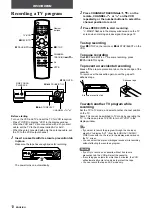
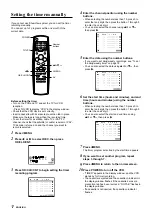
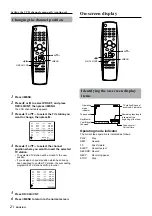
Set the minutes, day, month and year in the
same way as in step 3.
The day of the week will automatically appear when you
set the year.
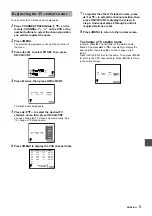
Press i/MENU to start the clock.
The normal screen returns.
To correct the digits while setting
Before pressing i/MENU in step 5, press
j
or
l
to select
the item you want to correct. Reset the digits using the
number buttons,
i+
or
k-
.
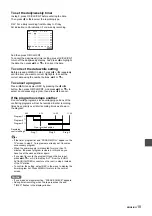
Tip
When the power supply is interrupted for more than 10 minutes,
the clock setting is cleared. In this case, you have to set the
clock again.
Note
The date can be set from A.D. 2000 to A.D. 2099.
HH
1 0 :
.
.
MM
2 0
DD
1 4
MM
0 6
YY
0 0 WED
TIME
DATE
8
4
5
CONTINUE
1
PLAYBACK
Playing back a tape
2
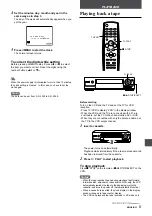
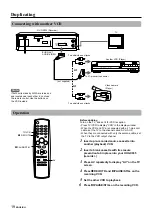
Before starting
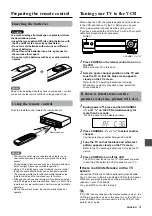
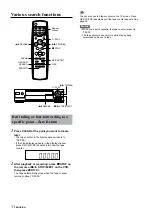
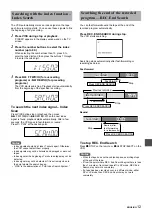
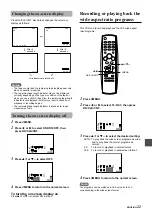
Turn on the VCR and the TV and set the TV for VCR
reception.
- Press TV/VCR to display “VCR” in the display window.
- When the VCR and the TV are connected with a 21-pin
scart cable, set the TV to the channel called AV or AUX.
- When they are connected with only the antenna cable, set
the TV to the VCR output channel.
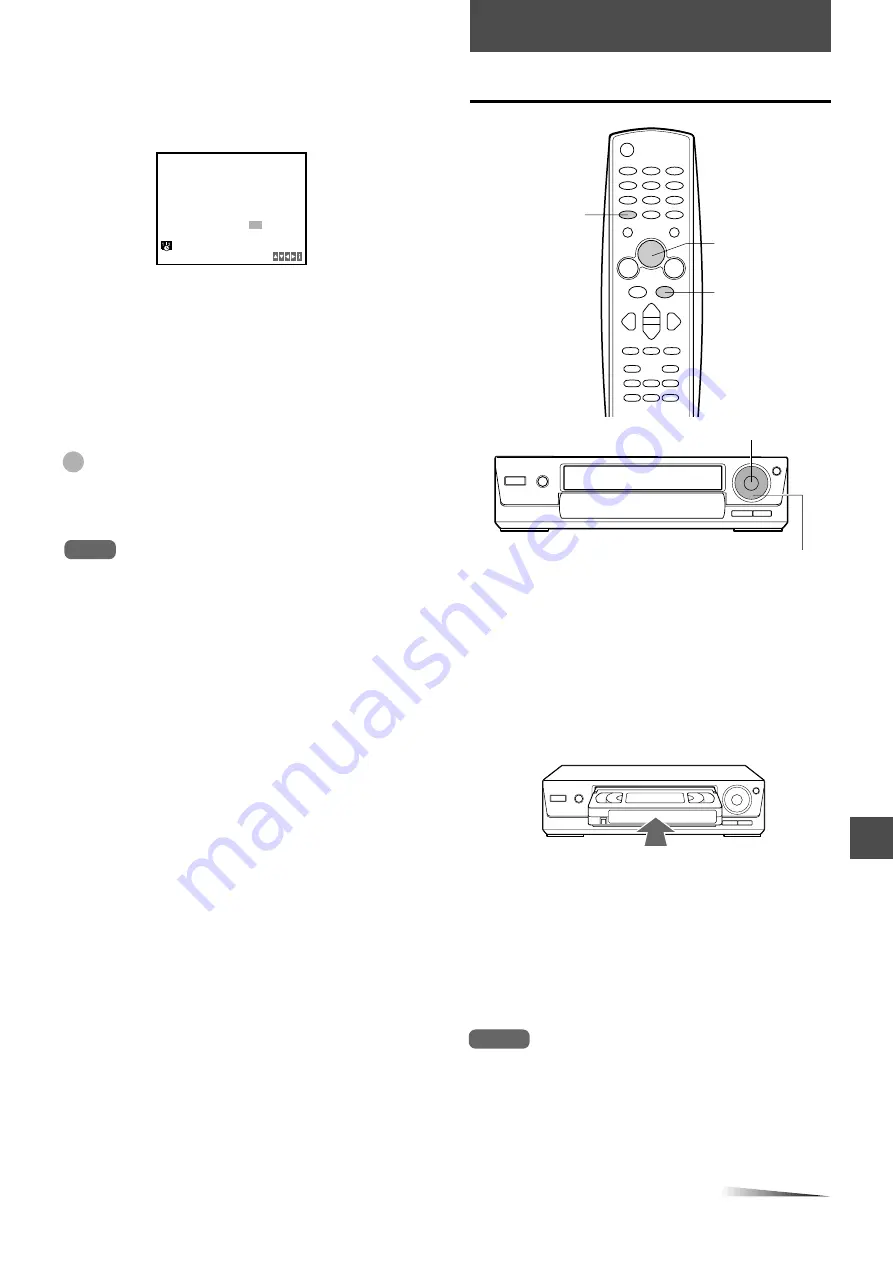
Insert a cassette.
The power turns on automatically.
Playback starts immediately if the erasure prevention tab
has been removed from the cassette.
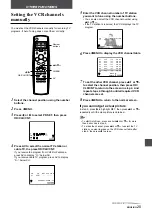
Press
C
PLAY to start playback.
To stop playback
Press
s
STOP on the remote or
Z
STOP/EJECT on the
VCR.
Notes
• When the tape reaches the end during playback, fast-forward,
forward search, skip search, index search or AD-skip, the VCR
automatically rewinds the tape to the beginning, ejects the
cassette, and turns the power off. (Automatic rewind function)
• When a cassette is inserted, the clock display in the display
window changes to tape counter display.
• The VCR can playback the tape recorded in SP mode only.
C
PLAY
s
STOP
Z
STOP/EJECT
C
PLAY
TV/VCR


