
9
ENGLISH
• During “
"
” play, random play can be performed.
• When you start random play during “
"
1” play, the repeat
play will be cancelled.
• To repeat only selected tracks, program the desired tracks (see
below) before choosing “
"
” function.
• During “
"
” play or “
"
1” play, the remaining time cannot be
checked.
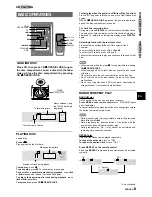
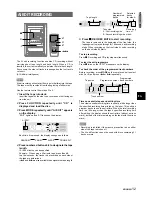
BLANK SKIP PLAY
The silent portions between tracks recorded on a CD can be
skipped during playback.
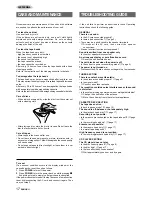
1 Press CD BLANK SKIP.
“CD BLANK SKIP ON” is displayed and “
” will appear in
the display.
2 Press
d
d
d
d
d
to start playback.
The silent portions between tracks will be skipped, and the
sound will be played back without interruption. If a track fades
out (ends with the sound gradually decreasing), the fade-out
portion will also be skipped.
To return to normal playback
Press CD BLANK SKIP again so that “CD BLANK SKIP OFF”
is displayed, and “
” in the display will disappear.
• There may be a case where BLANK SKIP PLAY does not
function correctly.
• BLANK SKIP PLAY is automatically cancelled when performing
AI EDIT RECORDING (page 12), PROGRAMMED EDIT
RECORDING (page 13), PROGRAMMED PLAY recording
(page 9), RANDOM PLAY recording (page 8) or “
"
1” PLAY
recording (page 8).
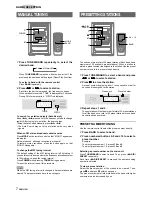
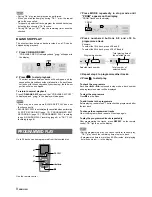
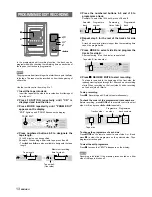
PROGRAMMED PLAY
Up to 30 tracks can be programmed from the inserted disc.
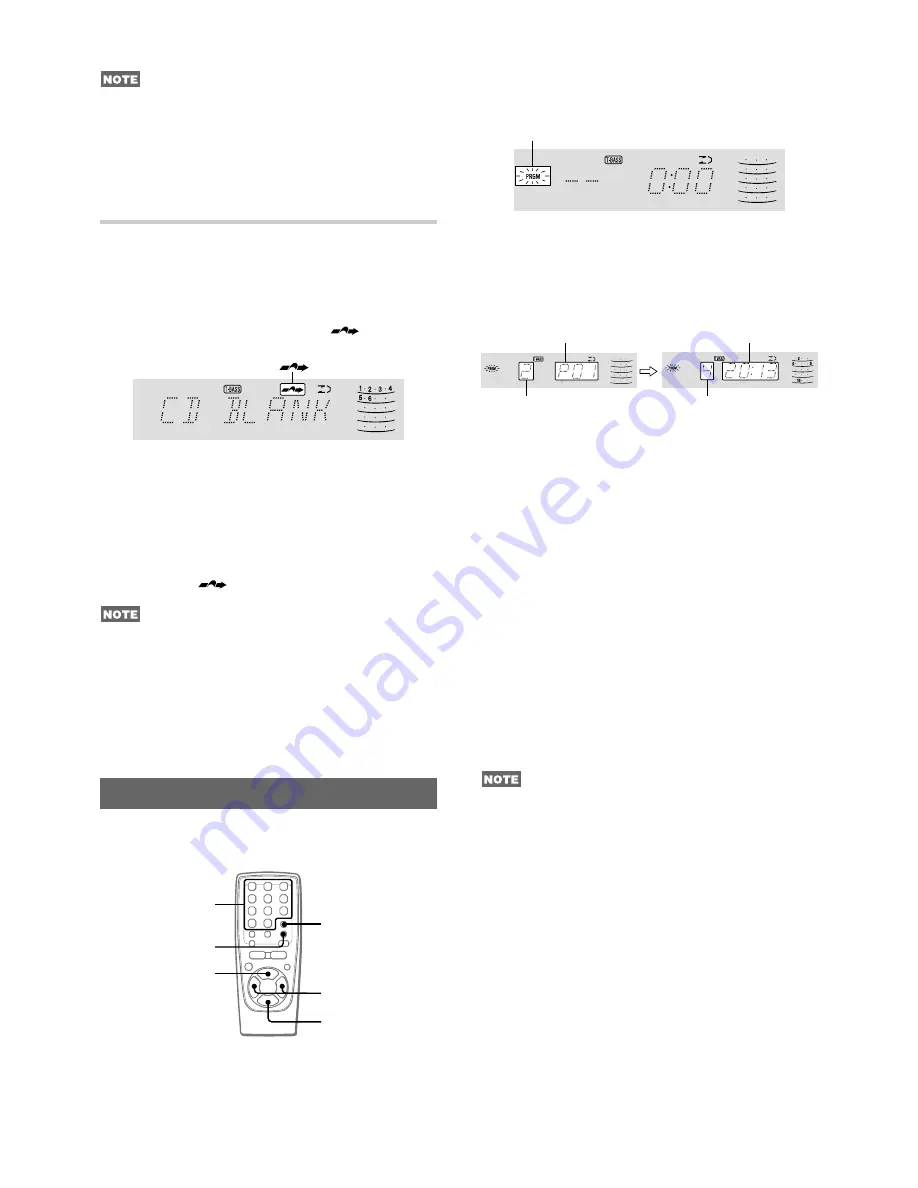
REPEAT
4
2
1
s
f
,
g
Use the remote control.
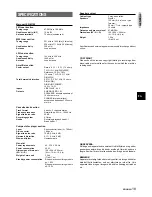
1 Press MODE repeatedly in stop mode until
“PRGM” appears on the display.
“PRGM” flashes on the display.
PRGM
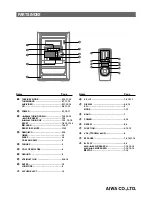
2 Press numbered buttons 0-9 and +10 to
programme a track.
Example:
To select the 12th track, press +10 and 2.
To select the 20th track, press +10, +10 and 0.
Total playing time of
Programme number
the selected tracks
Selected track number Total number of
selected tracks
3 Repeat step 2 to programme other tracks.
4 Press
c
c
c
c
c
to start play.
To check the programme
Each time
f
or
g
is pressed in stop mode, a track number
and programme number will be displayed.
To clear the programme
Press
s
in stop mode.
To add tracks to the programme
Before playing, repeat step 2. The track will be programmed after
the last track.
To change the programmed tracks
Clear the programme and repeat all the steps again.
To play the programmed tracks repeatedly
After programming the tracks, press REPEAT on the remote
control, “
"
” lights up on the display.
• During programmed play, you cannot perform random play,
“
"
1” play, check the remaining time or select a track.
• If programmed time is more than 99:59 minutes, total playing
time is shown as --:-- in the display.


