
En
ENGLISH
16
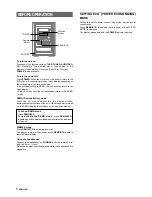
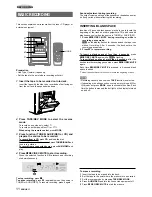
CLOCK AND TIMER
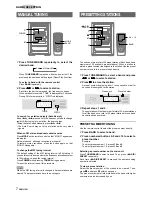
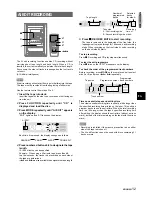
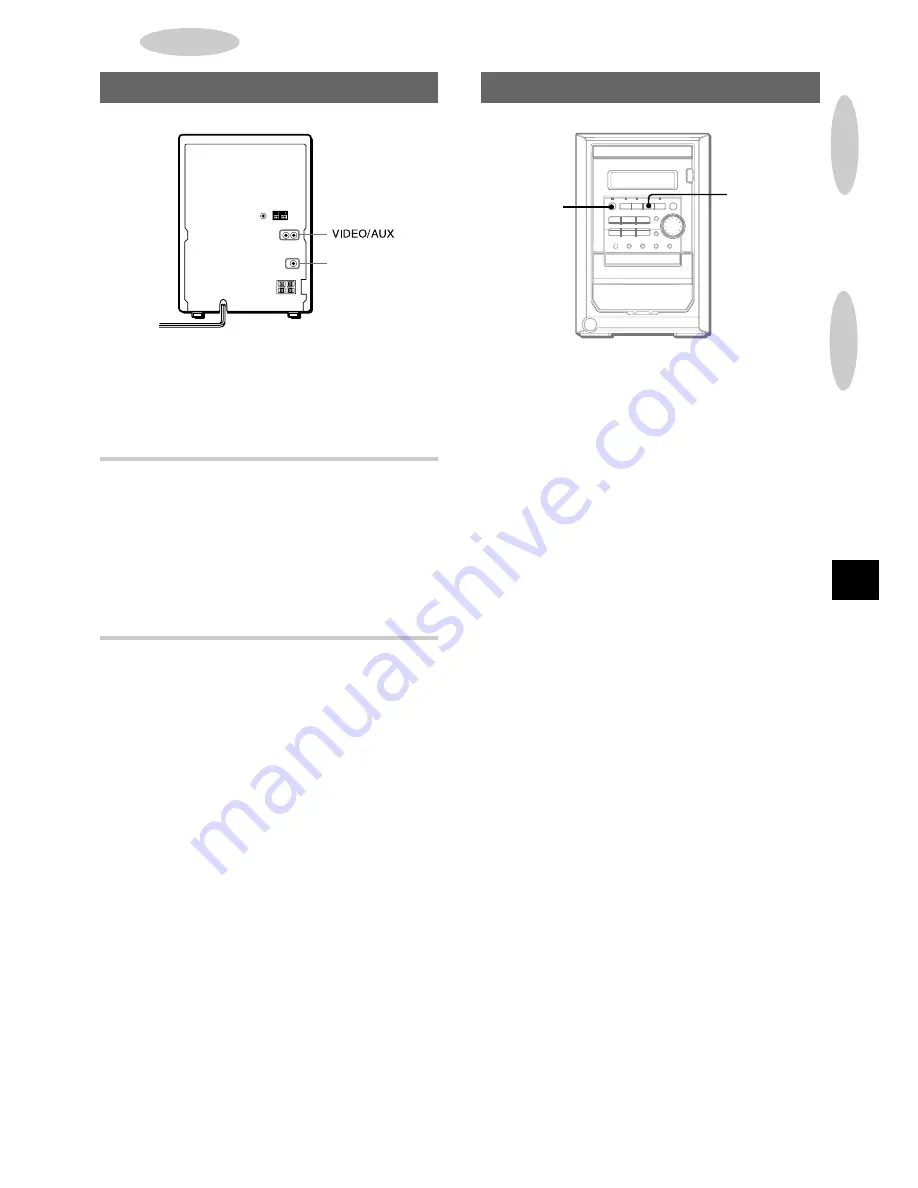
LISTENING TO EXTERNAL SOURCES
POWER
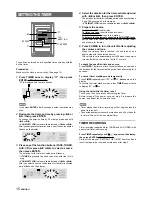
1
To play equipment connected to the VIDEO/AUX jacks, proceed
as follows.
1 Press AUX/VIDEO.
“AUX” appears on the display.
2 Play the connected equipment.
To change a source name in the display
When AUX/VIDEO is pressed, “AUX” is displayed initially. It can
be changed to “TV” or “VIDEO”.
With the power on, press POWER while pressing AUX/VIDEO.
Repeat the procedure to select one of the source names.
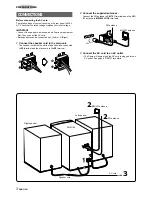
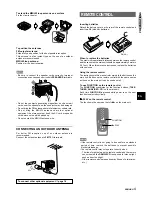
OTHER CONNECTIONS
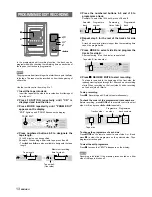
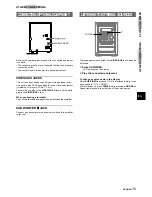
CONNECTING OPTIONAL EQUIPMENT
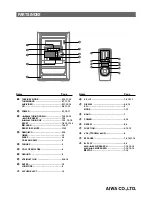
SUB WOOFER
Refer to the operating instructions of the connected equipment
for details.
• The connecting cords are not supplied. Obtain the necessary
connecting cords.
• Consult your local Aiwa dealer for optional equipment.
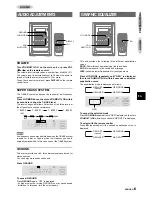
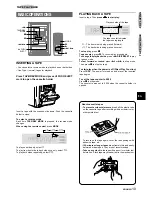
VIDEO/AUX JACKS
This unit can input analog sound signals through these jacks.
Use a cable with RCA phono plugs to connect audio equipment
(turntables, LD players, VCRs, TV, etc.).
Connect the red plug to the VIDEO/AUX R jack, and the white
plug to the VIDEO/AUX L jack.
When connecting a turntable
Use an Aiwa turntable equipped with a built-in equalizer amplifier.
SUB WOOFER
3
3
3
3
3
JACK
Connect an optional powered sub woofer with built-in amplifier
to the jack.
OTHER CONNECTIONS


