32
Chapter 6—Editing Samples
Z4/Z8 User Guide—Version 1.0
“P>ALL,” “P>STOP”
While any parameter other than “St” and “End” is selected, the F6 button engages the
“P>ALL” button function.
1
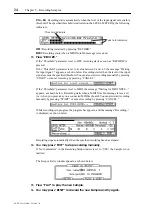
Press “P>ALL” to audition the entire Sample.
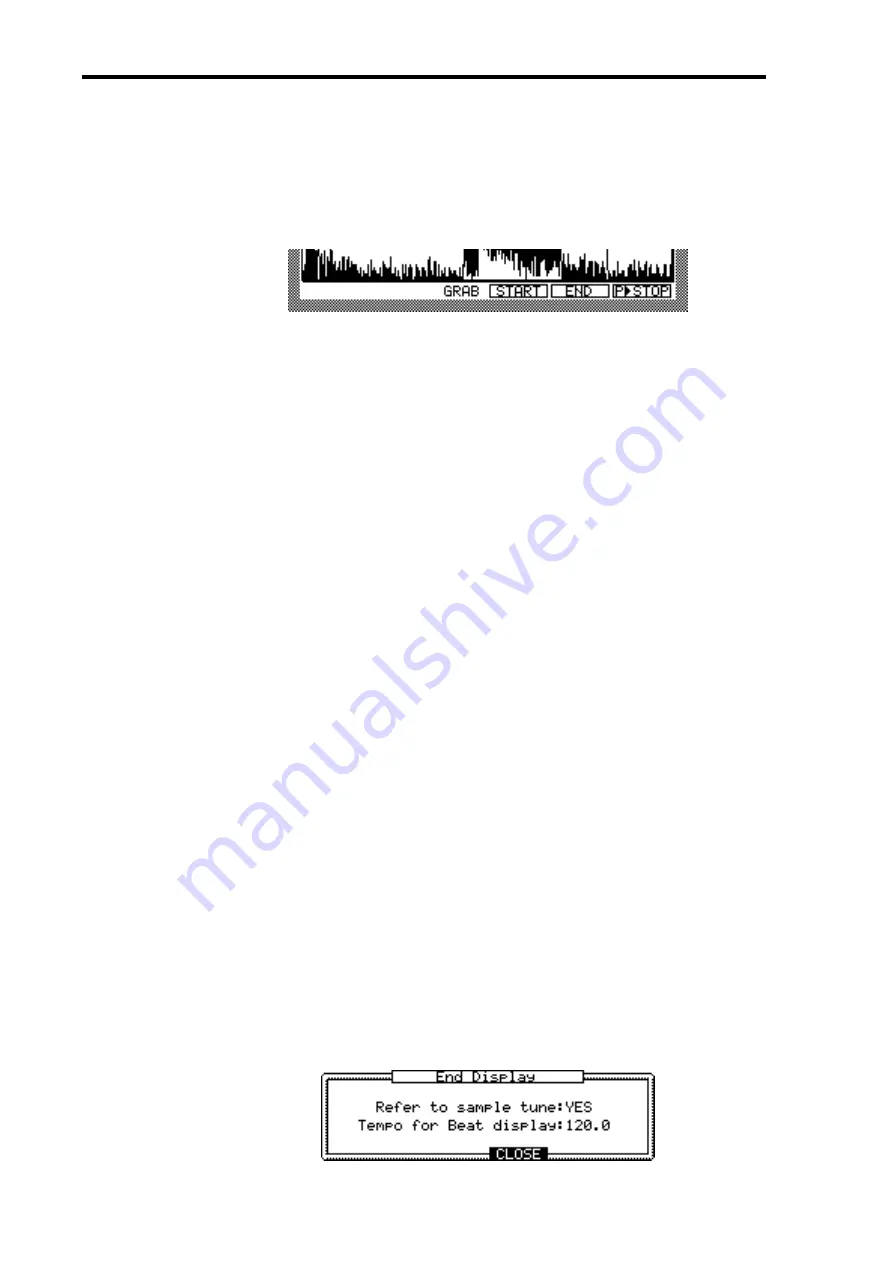
While auditioning is in progress, the “START,” “END,” and “P>STOP” buttons appear,
as shown below:
2
Press “P>STOP” to stop the audition.
“START,” “END”
While auditioning the Sample by pressing “P>ALL,” you can grab the Start and End
points of the Sample on the fly.
1
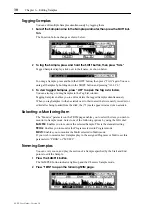
Press “START” at the point you want to set as the Start point, or press “END”
at the point you want to set as the End point.
The Start or End point is set.
Setting the Start Point
You can also set the Start point set manually.
1
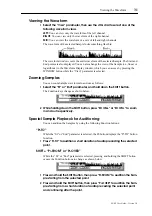
On the TRIM page, select the “St” parameter.
2
Use the JOG dial to specify the Start point.
To quickly change the value, press and hold down the SHIFT button, and use the Left or
Right CURSOR button to select the desired digit to change. Then use the JOG dial to
change the number. In this way, you can make a coarse setting by changing the higher
digits, then fine-tune the value by adjusting the units digit.
Setting the End Point
You can set the End point by various methods, depending on the “End” parameter display
options. Note that the “End” parameter and its value can be selected independently. In
Steps 1 and 2 below, you must select the parameter name, not the value.
1
Select “End,” then use the JOG dial to select one of the following options:
End:
Displays the End point in points counted from the beginning of the Sample.
Length:
Displays the length of the section between the Start and End points in points.
Time:
Displays the length of the section between the Start and End points in hours, min-
utes, and seconds.
Beat:
Displays the length of the section between the Start and End points in beats. (Note
that this is not supported in Version 1.0 of the software. It will be supported in a future
update.)
2
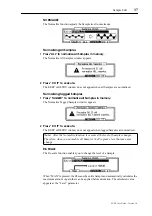
To open the End Display window, press the WINDOW button while the “End”
parameter display option is selected.
In the End Display window, you can adjust the settings for the “Time” and “Beat”
options.
Summary of Contents for Z4
Page 106: ......


