Setting Regions
43
Z4/Z8 User Guide—Version 1.0
Setting Regions
A section of a Sample can be divided into as many as 32 Regions, as follows. This is use-
ful when you edit phrase Samples.
1
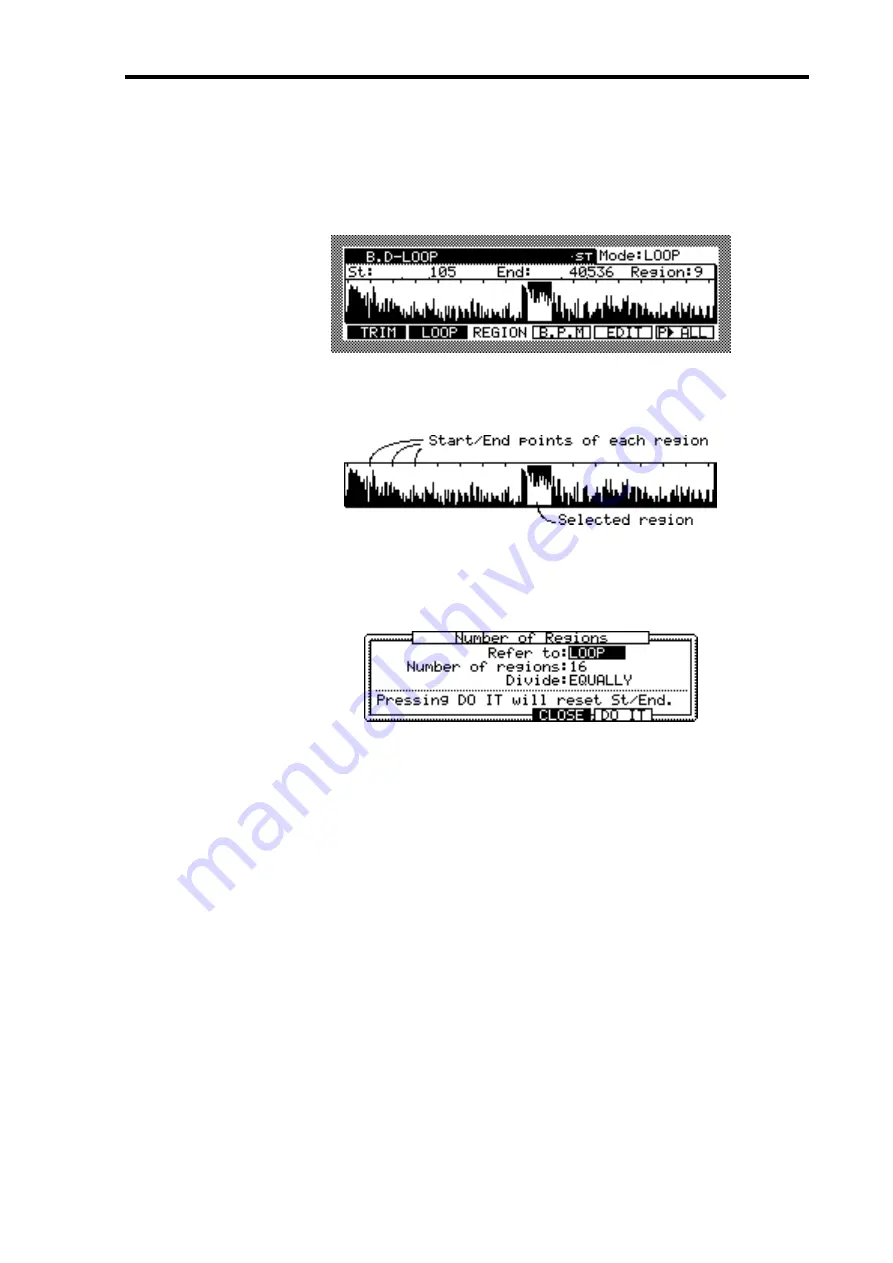
Press the SAMPLE button to enter Sample mode, then press “REGION.”
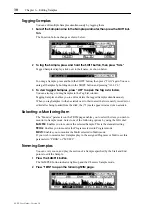
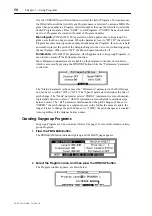
The REGION page appears (shown below).
Regions are sections into which a Sample is divided. The Start and End points of each
region appears as markers in the upper part of the waveform. The selected region is high-
lighted as shown below.
2
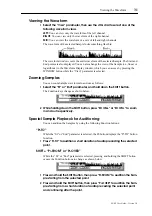
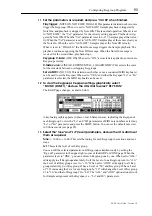
Select the “Region” parameter, then use the JOG dial to select a Region.
3
In the “Region” parameter, press the WINDOW button.
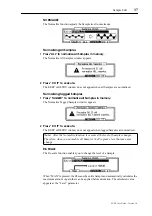
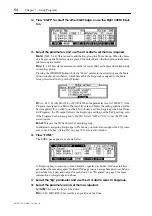
The Number of Regions window appears, as shown below.
In the Number of Regions window, you can change the number of regions and adjust for
the Regions setting.
4
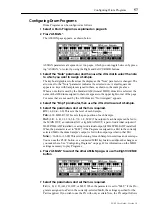
Select the parameters, then use the JOG dial to set them as required.
Refer to:
(LOOP, TRIM, SAMPLE) This is used to select the section of the Sample that
you want to divide into Regions. When the parameter is set to “LOOP,” the section
between the specified Loop Start and Loop End points is used to create Regions.When it
is set to “TRIM,” the section between the specified Start and End points is used to create
Regions. And when it is set to “SAMPLE,” the entire Sample is used to create Regions.
Number of regions:
(1–32) This determines the number of Regions.
5
Press “DO IT” to set the Regions.
The Number of Regions window closes.
Adjusting Region Start & End Points
You can adjust the Region Start and End points in the same way as the Start and End
points on the TRIM and LOOP pages. However, since the Start point of each Region is
the same as the End point of the previous Region, adjusting the Start point of the current
Region also adjusts the End point of the previous Region. Likewise, adjusting the End
point of a Region also adjusts the Start point of the subsequent Region.
Summary of Contents for Z4
Page 106: ......


