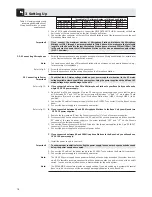
3 Setting Up
Important!
3.1 Base Unit(s)
3.1.1 Setting up the Base
Unit(s)
Refer to fig. 5.
Table 3: Internal jumpers.
Note:
3.1.2 Connecting Several Base
Units Together
Refer to fig. 6.
3.1.3 Connecting Remote
Controls and Indicators
Refer to fig. 7.
Important!
3.1.4 Connecting an Equalizer
or Feedback Killer
3.1.5 Connecting Other
External Devices
3.2 Microphone Stations
3.2.1 Setting up Microphone
Stations
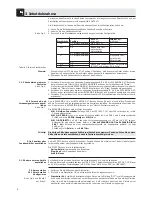
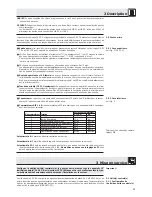
Set up the Base Unit(s) and Microphone Stations, install all 19" components (CS 2 BU Base Unit(s),
CS PS 100) in your rack, and make all audio and expansion connections before connecting your
system to power.
The CS 2 BU Base Unit provides an internal equalizer (6-dB bass rolloff at 500 Hz) and an insert for an
outboard equalizer or feedback killer. As delivered, the internal EQ affects the built-in loudspeakers on all
Microphone Stations and the insert is ahead of the LINE OUTPUT.
Three jumpers inside the Base Unit let you change this configuration:
1. Remove the fixing screws of the Base Unit top panel.
2. Remove the top panel.
3. Place the jumpers for the desired configuration:
If you place both X10 and X7 in position 1-2, the external device and the internal EQ will be connect-
ed in series and both affect the built-in loudspeakers.
4. Screw the top panel back on the Base Unit case.
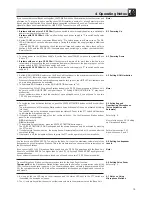
1. Use an IC AS 8 optional expansion cable to connect the EXPANSION OUT jack on the first Base Unit
(the master) to the EXPANSION IN jack on the second Base Unit (the slave).
The Base Unit with a cable connected to EXPANSION OUT only is automatically detected as the
master whose POWER switch turns power to the master and all slave Base Units on and off.
2. Use another optional IC AS 8 expansion cable to connect EXPANSION OUT on the second Base Unit
to EXPANSION IN on the third Base Unit (and so on).
3. Use AWG 20 (0.5 mm
2
) or heavier wire to connect the 0V terminals on all Base Units together in series.
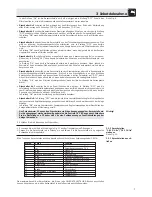
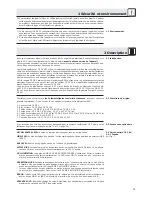
You can use EXPANSION IN or EXPANSION OUT to connect a remote on/off switch and other controls
or indicators to the Base Unit. If you use several Base Units in a master/slave configuration, you can only
use EXPANSION IN on the master unit.
EXPANSION pinout:
Pin 2: Remote on/off. As long as pin 2 is connected to DC INPUT 0V1 or 0V2, power to the Base Unit
is ON.
Pins 3+4: ERROR. If any internal fuse blows, pins 3 and 4 will be shorted. Connect your ERROR indi-
cator to pins 3+4. Connect your ERROR indicator to pins 3+4.
Pins 7+8: PRIORITY. Pin 7 caries a +23 to +36 VDC supply voltage (depending on power supply con-
figuration) for a remote lamp, relay, etc. (EXPANSION OUT only! Pin 7 on EXPANSION IN is not
used.) As long as the priority button is held down on any Chair Station, pin 8 will be tied to 0V.
Connect your relay etc. to pins 7+8.
All other pins are used exclusively for connections between Base Units. To prevent damage to the
Base Unit, do not connect any remote devices to these pins.
You can use a Y cable (not supplied) to connect an equalizer or feedback killer to the EFFECT insert jack
on the rear panel of the Base Unit.
EFFECT pinout:
Tip: Return
Ring: Send
Shaft: Ground
Connect your other external equipment to the appropriate ins and/or outs.
Examples: External sound system to LINE OUTPUT; recording device to REC OUT; CD player to AUX IN;
wireless microphone system (e.g., WMS 81 or WMS 40 from AKG) to LINE INPUT.
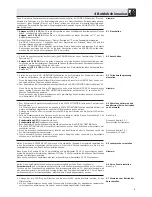
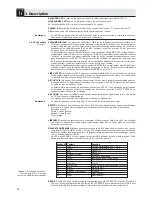
1. Remove the dip switch cover.
2. Set dip switches nos. 1 through 8 conforming to your system design:
16
EFFECT
Internal EQ
Jumper
Position
affects:
affects:
X9
1-1 (factory preset)
LINE OUTPUT
--
2-3
--
--
X10
1-2
Built-in Microphone
--
Station
loudspeakers
2-3 (factory preset)
--
--
X7
1-2 (factory preset)
--
Built-in Microphone
Station
loudspeakers
2-3
--
--
X10
1-2
Built-in Microphone Station loudspeakers
X7
1-2
(EFFECT and internal EQ in series)
Summary of Contents for CS 2
Page 62: ...Notizen Notes Notes Note Notas Notas 62 ...
Page 63: ...63 ...
Page 64: ... X7 X9 X10 Fig 1 Fig 2 Fig 6 Fig 3 Fig 5 Fig 4 Master Slave IC AS 8 A P3 B 0V Fig 9 Fig 7 ...
Page 66: ......
Page 67: ...Notizen Notes Notes Note Notas Notas 64 ...
Page 68: ...Notizen Notes Notes Note Notas Notas 65 ...


