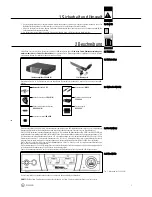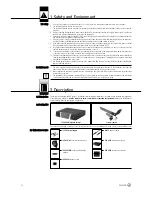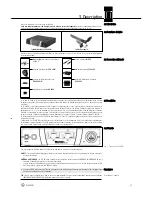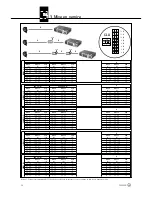
2.5 PSU 4000 Central Power Supply
(optional)
2.6 Receiving Antennas (optional)
2.6.1 SRA 2 B/W
2.6.2 RA 4000 B/W
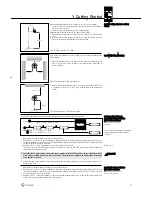
3.1 Rack Mounting
a Single Antenna Splitter
Refer to fig. 8.
3.2 Rack Mounting
Two Antenna Splitters Side by Side.
Refer to fig. 9.
Note:
3.3 Setting Up Antennas
3.3.1 Placement
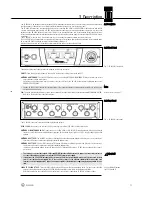
The PSU 4000 central power supply delivers a 12 VDC, 2 A secondary voltage for powering three PS 4000 W antenna splitters and
the receivers (12 max.) connected to the antenna splitters. For details refer to the PSU 4000 user manual.
Passive and active directional antennas as well as passive and active omnidirectional antennas are available for the PS 4000 W
antenna system. All antennas are wideband devices for the entire UHF band.
The active antennas are powered by the PS 4000 W antenna splitter via the antenna cables. For complex systems with long anten-
na cables, we recommend powering each active antenna from a PSU 4000 central power supply via an ASU 4000 remote power
adapter.
The SRA 2 B/W is an active directional antenna with a rugged, water-resistant case designed specifically for indoor and outdoor use
at a distance from the performance area. An integrated high-performance antenna booster allows you to position the antenna up to
100 m (330 ft.) away from the receiver. Using RG213 antenna cables and two AB 4000 antenna boosters in series, you can set up
the SRA 2 B/W even 200 m (660 ft.) away from the receiver.
The antenna provides a BNC output, status LED, and integrated stand adapter.
The RA 4000 B/W is an active omnidirectional antenna with a rugged, water-resistant case designed specifically for indoor and out-
door use in close proximity to the performance area. An integrated high-performance antenna booster allows you to position the
antenna up to 100 m (330 ft.) away from the receiver. Using RG213 antenna cables and two AB 4000 antenna boosters in series, you
can set up the
RA 4000 B/W even 200 m (660 ft.) away from the receiver.
The antenna provides a BNC output, status LED, and integrated stand adapter.
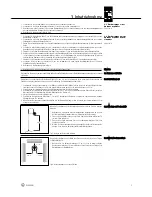
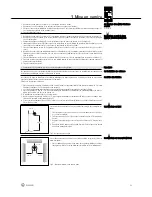
1. Unscrew the four rubber feet (1) from the antenna splitter bottom panel.
2. Unscrew the two fixing screws (2) from each side panel.
3. Use the fixing screws (2) to screw the short bracket (3) to one side panel and the long bracket (4) to the other side panel. The
brackets are contained in the supplied rack mounting kit.
4. Install the antenna splitter in your rack.
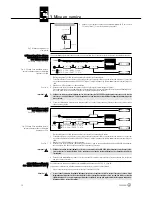
1. Unscrew the four rubber feet (1) from each antenna splitter's bottom panel and remove the screws (5) from the rubber feet (1).
2. Unscrew the two fixing screws (2) from the right-hand side panel of one antenna splitter and from the left-hand side panel of
the other antenna splitter.
3. Remove the plastic covers (3) from the side panels with the fixing screws (2) still on.
4. Insert one connecting strip (4) into each free slot in the side panel of the first antenna splitter, making sure to align the hole in
each connecting strip (4) with the appropriate threaded hole in the antenna splitter bottom panel.
5. Fix the two connecting strips (4) on the first antenna splitter using two of the screws (5) you removed from the rubber feet.
6. To join the two antenna splitters, slide the connecting strips (4) on the first antenna splitter through the free slots in the side
panel of the second antenna splitter. Make sure to align the hole in each connecting strip (4) with the appropriate threaded hole
in the bottom panel of the second antenna splitter.
7. Fix the two connecting strips (4) on the second antenna splitter using two of the screws (5) you removed from the rubber feet.
8. Screw a short bracket (6) to the outer side panel of each antenna splitter using for each bracket two of the screws (2) you
removed from the antenna splitter side panels.
9. Install the antenna splitters in your rack.
• Be sure to keep the remaining screws (5) for later use.
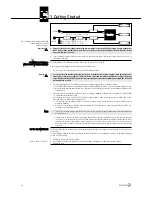
The following hints on placing antennas apply to both single-channel and multichannel systems with any number of channels.
Reflections off metal parts, walls, ceilings, etc. or the shadow effects of musicians and other people may weaken or cancel the direct
transmitter signal. For best results, place the antennas as follows:
1. Place the antennas near the performance area (stage). Make sure, though, that the transmitter will never get any closer to the
antennas than 16 ft. (5 m). Place the two antennas at least 8 inches. (20 cm) from each other.
2. There should always be a direct line of sight between the transmitter and antennas.
3. Place the receiver at least 5 ft. (1.5 m) away from any big metal objects, walls, scaffolding, ceilings, etc.
4. Do not place antennas in wall recesses.
5. Place antennas at least 5 ft. (1.5 m) away from any equipment that may emit RF radiation such as lighting racks, fluorescent
lamps, digital effects units, or PCs.
6. If you set up two antennas side by side (e.g., for diversity reception), check that the two antennas are spaced at least 20 cm (8
in.) apart.
2 Description
14
PS 4000 W
3 Getting Started
Summary of Contents for PS4000 W
Page 56: ...Fig 8 56 PS 4000 W A B C ...
Page 57: ... Fig 9 PS 4000 W 57 D A B C ...


