en
gl
is
h
4
9
cdj-mp32
cdj-mp32
cdj-mp32
- Allow for sufficient heat dispersion when installed on a rack.
- Handle the power cord carefully.
- Hold the plug when unplugging the cord.
- Keep the appliance free from moisture, water, and dust.
-Unplug the power cord when not using the appliance for long
periods of time.
-Do not obstruct the ventilation holes. (For units with ventilation
holes)
- Do not drop foreign objects into the unit.
- Do not let insecticides, benzene, and thinner come in contact with
the set.
- Never disassemble or modify the set in any way.
NOTE ON USAGE
-
-
-
4 ,
8 ,
-
-
-
-
-
-
-
-
-
-
-
Instant start within 10 msec (sound is produced immediately
when the PLAY button is pressed)
Auto cue function (-48dB)
Pitch range: +/- % +/- % +/-16%
Pitch bend: +/-16%
Pitch accuracy: +/-0,15 %
Pitch display
Selectable elapsed, remain and total remain time display
Single / continuous
Relay play allows consecutive playback during two decks
Frame search
4 fast search mode
S/PDIF digital audio RCA coaxial
+ 10 track skip search
Fader start, Fader stop, Relay playback
Antishock
FEATURES
1. Checking the Contents
2. Installing the Uni
3.Connections
CAUTION:
Check that the carton contains the following items:
1) Main unit
6)AC power cord
2) Control unit
7)8P cable right angle
3) Control cords
4) Pair of RCA pin cord.
5) Operating instruction (this booklet)
t
Mount the unit into your console or rack with 19" EIA rack rails.
1) Turn off the POWER switch.
2) Connect the RCA pin cord to the input on your mixer.
3) Connect the control cords to the REMOTE connector on the
main unit.
Be sure to use the supplied control cords. Using another type of
cable may result in damage.
Be sure the power is off when connecting the control cords.
Otherwise the units may not work properly.
PREPARATIONS
1. Precautions on handling compact discs.
- Do not allow fingerprints, oil or dust to get on the surface of the
disc.
- If the disc is dirty, wipe it off with a soft dry cloth.
- Do not use benzene, thinner, water, record spray, electrostatic-
proof chemicals, or silicone-treated cloths to clean discs.
- Always handle discs carefully to prevent damaging the surface;
in particular when removing a disc from its case or returning it.
- Do not bend the disc.
- Do not apply heat.
- Do not enlarge the hole in the center of the disc.
- Do not write on the label (printed side) with a hard-tipped
implement such as a pencil or ball point pen.
- Condensation will form if a disc is brought into a warm area from
a colder one, such as outdoors in winter. Do not attempt to dry the
disc with a hair dryer, etc..
2.
Precaution on storage
- After playing a disc, always unload it from the player.
- Always store the disc in the jewel case to protect from dirt or
damage.
- Do not place discs in the following areas:
- Areas exposed to directs sunlight for a considerable time.
- Areas subject to accumulation of dust or high humidity.
- Areas are affected by heat from indoor heaters, etc..
HANDLING COMPACT DISCS
SETUP/ CONEXIONES
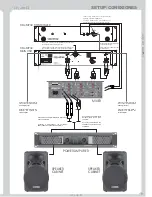
Connect to an amplfier with Balance inputs. Use
a Jack 6.3 esterero.
Connect to an amplfier without
Balance inputs. Use a RCA
connector.
Cable 8 Pin conecta controladora
con unidad principal.
Conexion “Fader Start” a mezcladores que
dispongan de esta funcion. Conector Mini Jack.
Power cord. Connect to net outlet and make sure that local
net voltage meets de needs of your unit.
Connect to a Mini disc, CD-R,
or any other recording device
with a digital input.
Connect to a Mini disc, CD-R,
or any other recording device
with a digital input.
Conectar a Mini disc, CD-R, o
cualquier otro aparato con
entrada digital.
Conectar a Mini disc, CD-R, o
cualquier otro aparato con
entrada digital.
Conectar a amplificador con entradas
balanceadas. Se utiliza Jack 6.3 esterero.
Conectar a amplificador con
entradas no balanceadas. Se
utiliza RCA.
8 Pin connector to link controller
with Main Unit.
Cable de alimentación. Conectar ala red asegurandose de
que el voltaje coincide con el especificado en su unidad.
“Fader Start” connectors to a mixer with this
function. Connector is Mini Jack.
MIXER
POWER AMPLIFIER
SPEAKER
CABINET
SPEAKER
CABINET
CDJ MP32 CONTROLLER
-
CDJ MP32
MAIN UNIT
-
en
gl
is
h
CAUTION:
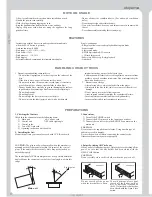
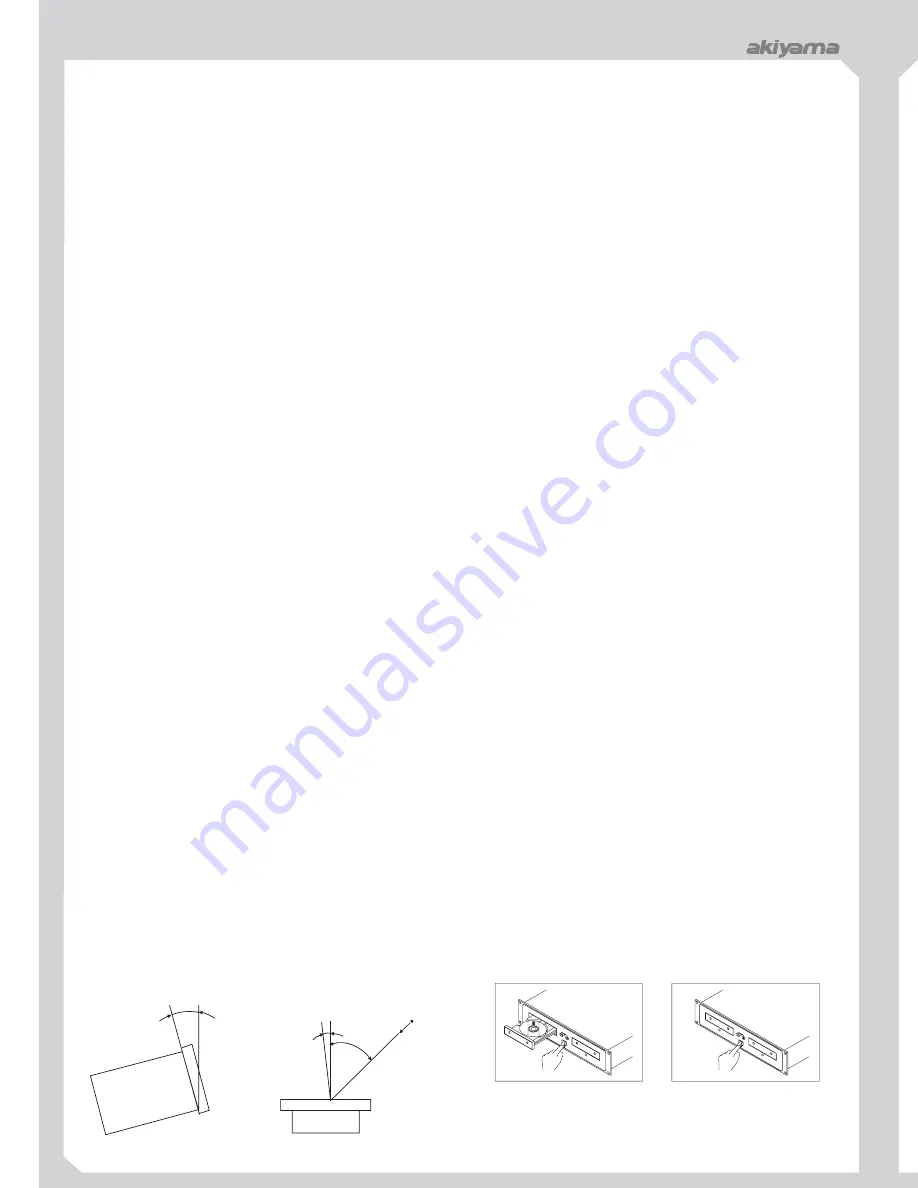
The player will work normally when the main unit is
mounted with the front panel at within 15 degrees of the vertical
plane. If the unit is tilted excessively, discs may not be loaded or
unloaded properly.
The control panel's LCD's are designed to be clearly visible within the
angles. Mount the control unit so that the visual angle is within this
range.
15
0
Main unit
4.Befpre Switching Off The Power
CAUTION:
When you have finished using the CD player, before switching off the
power, be sure that the disc holder had been closed with the
OPEN/CLOSE button.
Do not forcibly close the disc holder when the power is off.
Do not switch off the power
when the disc holder is open.
To avoid damage, please don't
switch off the power until“no
disc” or “time code” is showed on
the LCD after the disc holder has
been closed with the Open/Close
button.
POWER OFF
?
POWER OFF
45
0
5
0
Sight point


