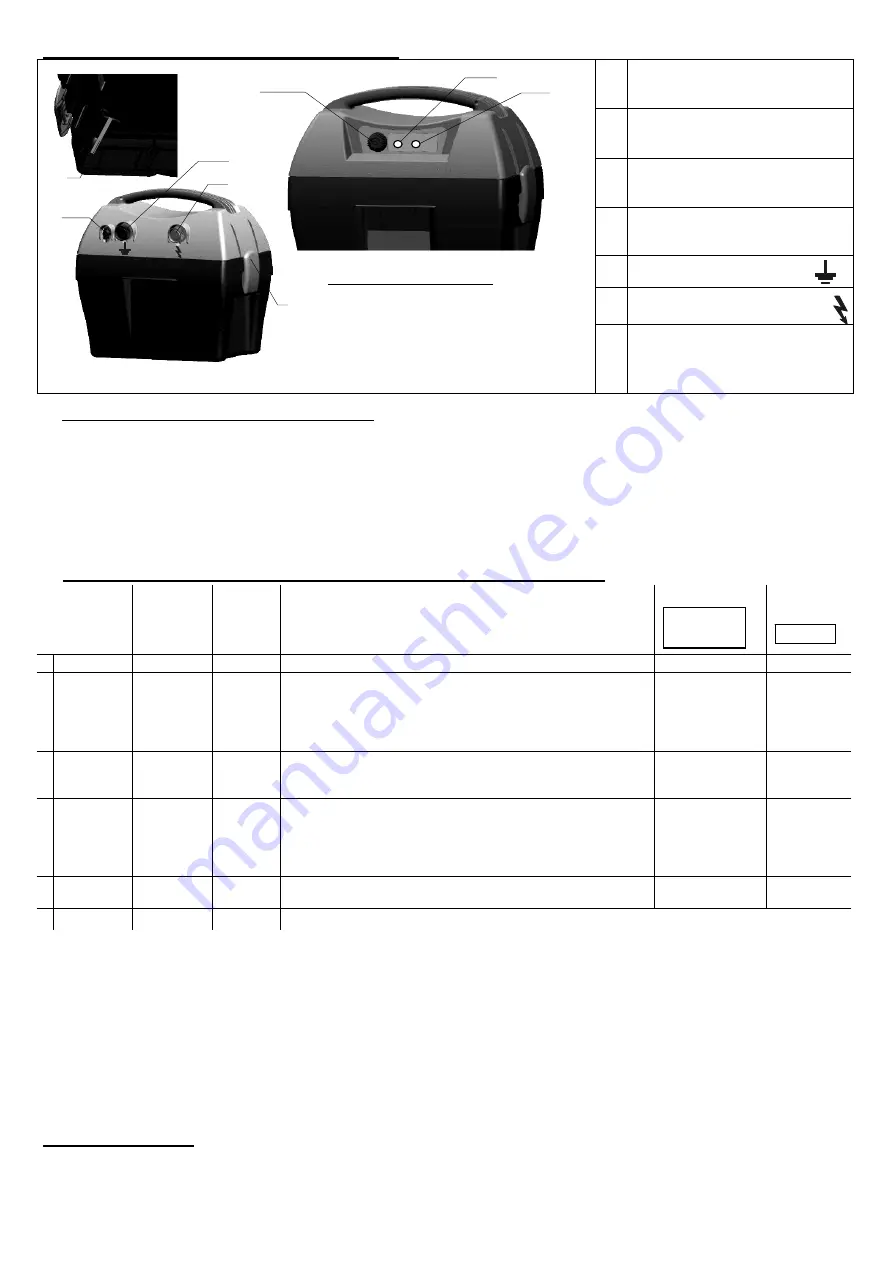
3
Version : 2014.3
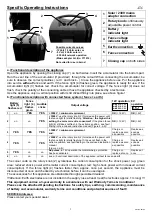
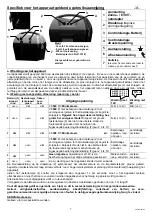
Specific Operating Instructions
-EN-
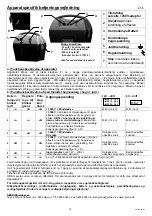
1
Solar / 230V mains
adapter connection
2
Rotary knob
continuously
adjustable power control
3
Battery
indicator light
4
Fence voltage
indicator light
5
Earth connection
6
Fence connection
7 Closing cap
on both sides
a.) Functional description of the appliance
Open the appliance by opening the closing cap (7) on both sides. Insert the accumulator into the bottom part.
Run the vent line of the accumulator (if provided) through the cutout! When connecting the accumulator, be
sure to observe the correct polarities ( red + and black - ). Close the appliance before use. Put the appliance
into service
without
fence and earth. If the fence light (4) flashes green, the appliance is ready for use. If the
accumulator light (3) flashes red, check the accumulator for correct voltage. If the fence light (4) does not
flash, check the polarity of the connecting cable or have the appliance checked by a technician.
Use the appliance only in vertical position with its lid clicked firmly into place, see above figure!
b.) Functional description with connected fence system ( fence + earth )
Battery
light (3)
flashes red
Fence
light (4)
flashes
green
Audible
clicks
Output voltage
12V operation 9V
operation
1
NO
YES YES
> 3500 V = minimum requirement
OK
(>12,2V)
OK
(>6V)
2
NO NO
YES
< 3500 V
; use the rotary knob (2) to increase the power until
the fence light (4) starts flashing
Attention: the higher this
setting, the more current is consumed!
If the green fence
light (4) still does not flash in the extreme position, see fault
finding in the enclosed instruction manual (Figure 2, p.5)!
OK
(>12,2V)
OK
(>6V)
3
YES
YES YES
> 3500 V = minimum requirement
and:
Charge or
replace as soon
as possible
Replace as
soon as
possible
4
YES
NO
YES
< 3500 V
; use the rotary knob (2) to increase the power until
the fence light (4) starts flashing. If it does not flash in the
extreme position, see fault finding in the enclosed instruction
manual
(Figure 2, p.5)!
Charge or
replace as soon
as possible
Replace as
soon as
possible
5
YES
NO NO
No pulses,
in 12V operation the total discharge protection
has been activated
Charge or
replace at once
Replace at
once
6
NO NO
NO
see a.) Functional description of the appliance, without fence and earth
The colour code on the rotary knob (2) symbolises the current consumption for the shock power (e.g. green
area: reduced shock power with smaller current consumption; red: high shock power with increased current
consumption). If the fence light (4) flashes faster than approx. once per second, the appliance must be
disconnected at once and checked by a technician before it can be used again.
The accessories for this appliance are obtainable through specialised dealers!
!!!Attention: Earth electrodes are not included in the supply (use at least 3 earth electrodes approx. 1m long) !!!
This equipment carries a 3-year warranty in accordance with our Warranty Terms & Conditions!
Please see the attached Operating Instructions for safety tips, earthing, commissioning, maintenance
of battery and accumulator, warranty terms and conditions and potential sources of fault!
SERVICE Addresses:
Please contact your specialist dealer
Possible current sources:
-12 Volt, 12 Volt+ solar, or
- 9 Volt, 9 Volt+ solar or
- 230 Volt network operation
(
Mains adapter Art.-No: 371012)
Not suited for use in barns!
A-MPZ 12- 1,3 J
A-MPZ 16- 2,0 J
A-MPZ 25- 3,0
J
0,5 J
2
3
4
5
6
1
7
9
Summary of Contents for A1200
Page 1: ...BA 1125 ...
Page 24: ......


