Aktobis AG, Borsigstr. 20, D-63110 Rodgau / Germany
Email: info@aktobis.de
Instruction:
1. Commissioning
1.1. Plug the power plug properly into the wall outlet.
1.2. Check that the condensation tank is properly seated in the dehumidifier. (During initial
operation, the "Condensation tank full" light may light up. Simply pull out the
condensation tank for a short time and then press it in again immediately and you are
ready to go.)
1.3. Switch on the device with the power button (On/Off). Now press the humidity adjustment keys (arrow keys) and
set your target humidity as desired. The target value of 30% humidity actually corresponds to continuous
operation!
1.4. Use the "SPEED" button to select between low and high fan power / air circulation. Then adjust the movable
blades of the fan output in your desired direction.
1.5. If you want to activate/use the timer function (function for determining the remaining time or function for
specifying a start time), press the TIMER key.
Determination of the remaining time: Press the TIMER button during operation to select the desired remaining
time of the dehumidifier. (A value between 1 and 24 hours can be selected). After this selected operating time
has elapsed, the unit switches off automatically.
Determination of a start time: When the dehumidifier is switched off, press the TIMER button to select the
desired start time. (A value between 1 and 24 hours can be selected). After this selected time has elapsed, the
unit switches on automatically (with the settings last used).
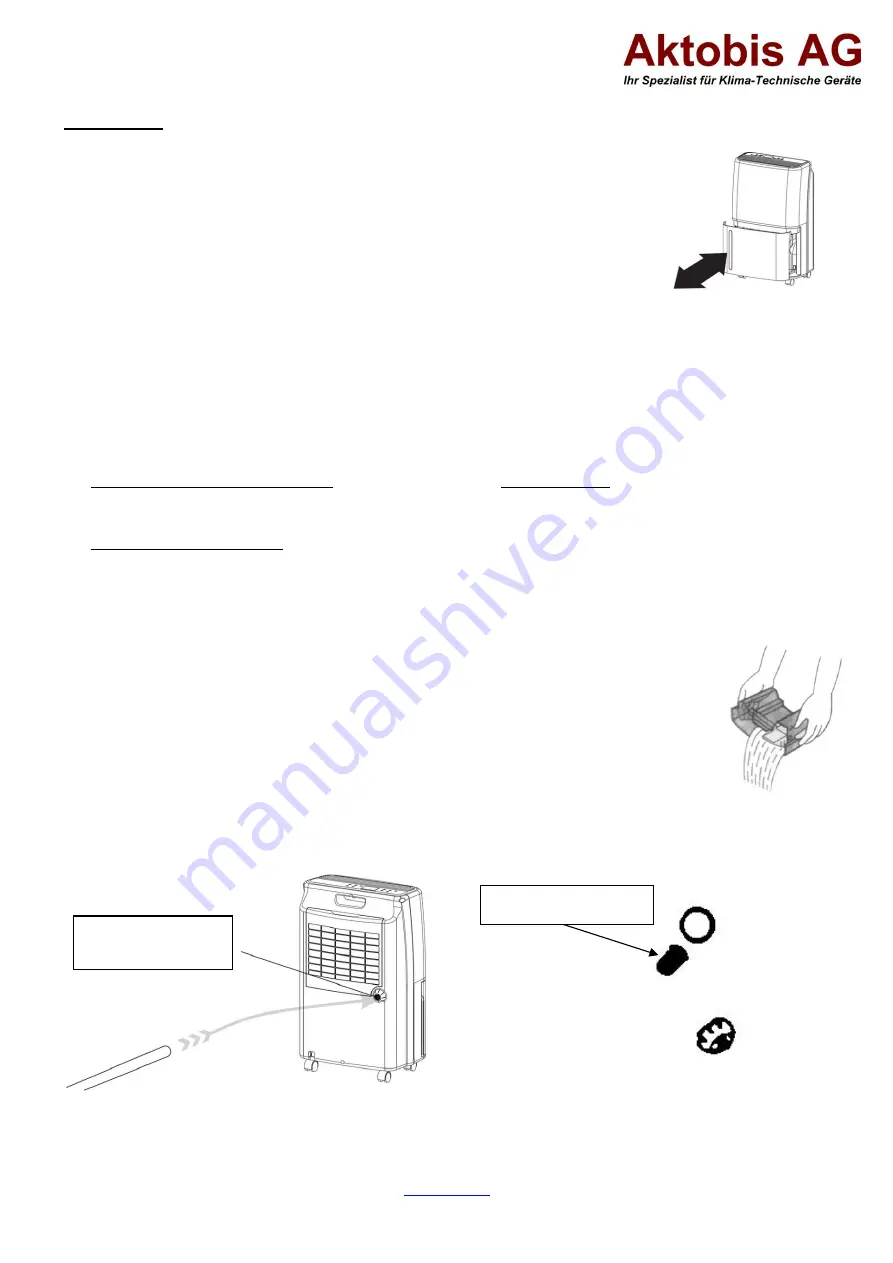
2. Emptying the condensation tank / When the "Bucket Full" light is on
When the condensation tank is full, the signal lamp lights up and the dehumidifier
automatically stops dehumidifying. Remove the condensation tank and empty it. After you
have properly pushed the condensation tank back into the unit, dehumidification operation
starts again automatically.
3. Connecting a hose for continuous condensate drainage
3.1. You need a ½-inch (diameter 13 mm) plastic hose.
3.2. Loosen the screw cap on the rear right side of the dehumidifier and keep it in a safe place!
(See Fig. 1)
3.3. Next, remove the black rubber plug from the drain for the condensation hose and also pick up the black rubber
plug well! (See Fig. 2)
3.4. Now connect the plastic hose to the connection tap by pushing it firmly over the tap.
Screw cap for
the hose connection
PLEASE REMOVE
Black rubber stopper
PLEASE REMOVE
Fig. 1
Fig. 2


