10
Setting up your unit
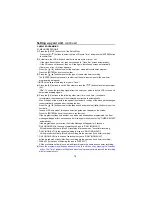
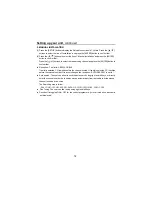
1. Once you have connected your unit and put batteries in the remote control,
you must
do the following :-
l
Connect the TV aerial located at the back.
l
Press the Power switch to ON. (Located at the back)
l
Press the standby button on the handset or front panel. The screen should light after a few
seconds.
2. BASIC OPERATION
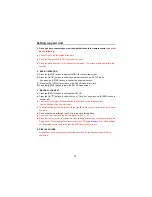
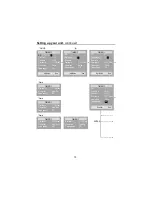
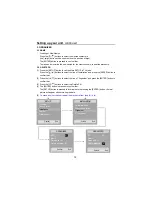
(1) Press the [SETUP] button to display the SETUP menu on the screen.
(2) Press the [ / ] buttons to select the desired function on the SETUP menu.
And press the [ENTER] button to confirm the selected function.
(3) Press the [SETUP] button to return to the SETUP menu at any time.
(4) Press the [SETUP] button to leave the SETUP menu screen.
3.
MANUAL CLOCK SET
l
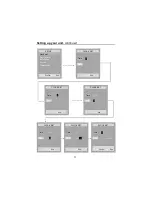
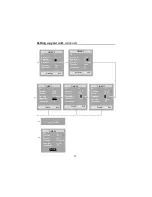
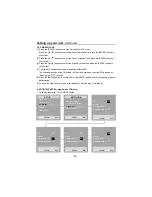
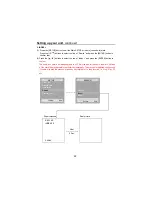
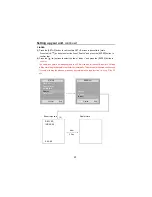
Press the [SETUP] button to call the Main SETUP.
l
Press the [ / ] buttons to select the line of “Clock Set” and press the [ENTER] button to
confirm that.
l
To set the clock for the first time, use the [0-9] buttons, in the following order:
Hours->Minutes->Day->Month->Year.
l
To correct settings, move the cursor with the [ / ] to the correct location and input the new
numbers.
l
The clock will work, although the VCR is in the clock setting state.
l
To set the “Year”, use only the last two digits, i.e. 2001 = 01.
l
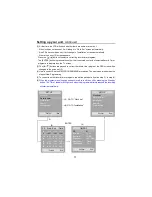
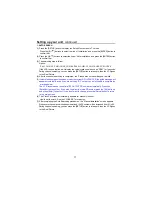
Press the [ Enter ] button to confirm the clock settings. After storing, the menu reverts to the
Setup menu. The settings being also stored in the VCR setup
memory.
If the Clock settings
are interrupted before completion then the VCR timer will not operate.
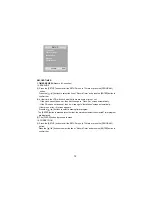
4. DISPLAY COLORS
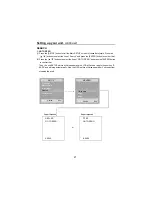
All lines have a Grey background. Selected lines have a Green background with White
characters.


